Making a Pattern from Blender
28 Dec 2022 - mvj
For the Hedeby Quiver, I decided to try to generate the pattern myself, with 3d-modeling and UV coordinate maps, rather than building on the approach taken by the Leather Working Reverend.
I was encouraged in the ambition by the Seams to Sewing Pattern plugin by Thomas Kole. So, building on the documentation pages for the plugin, I set out learning enough blender to pull off the project.
Here’s how that went:
Modeling the quiver
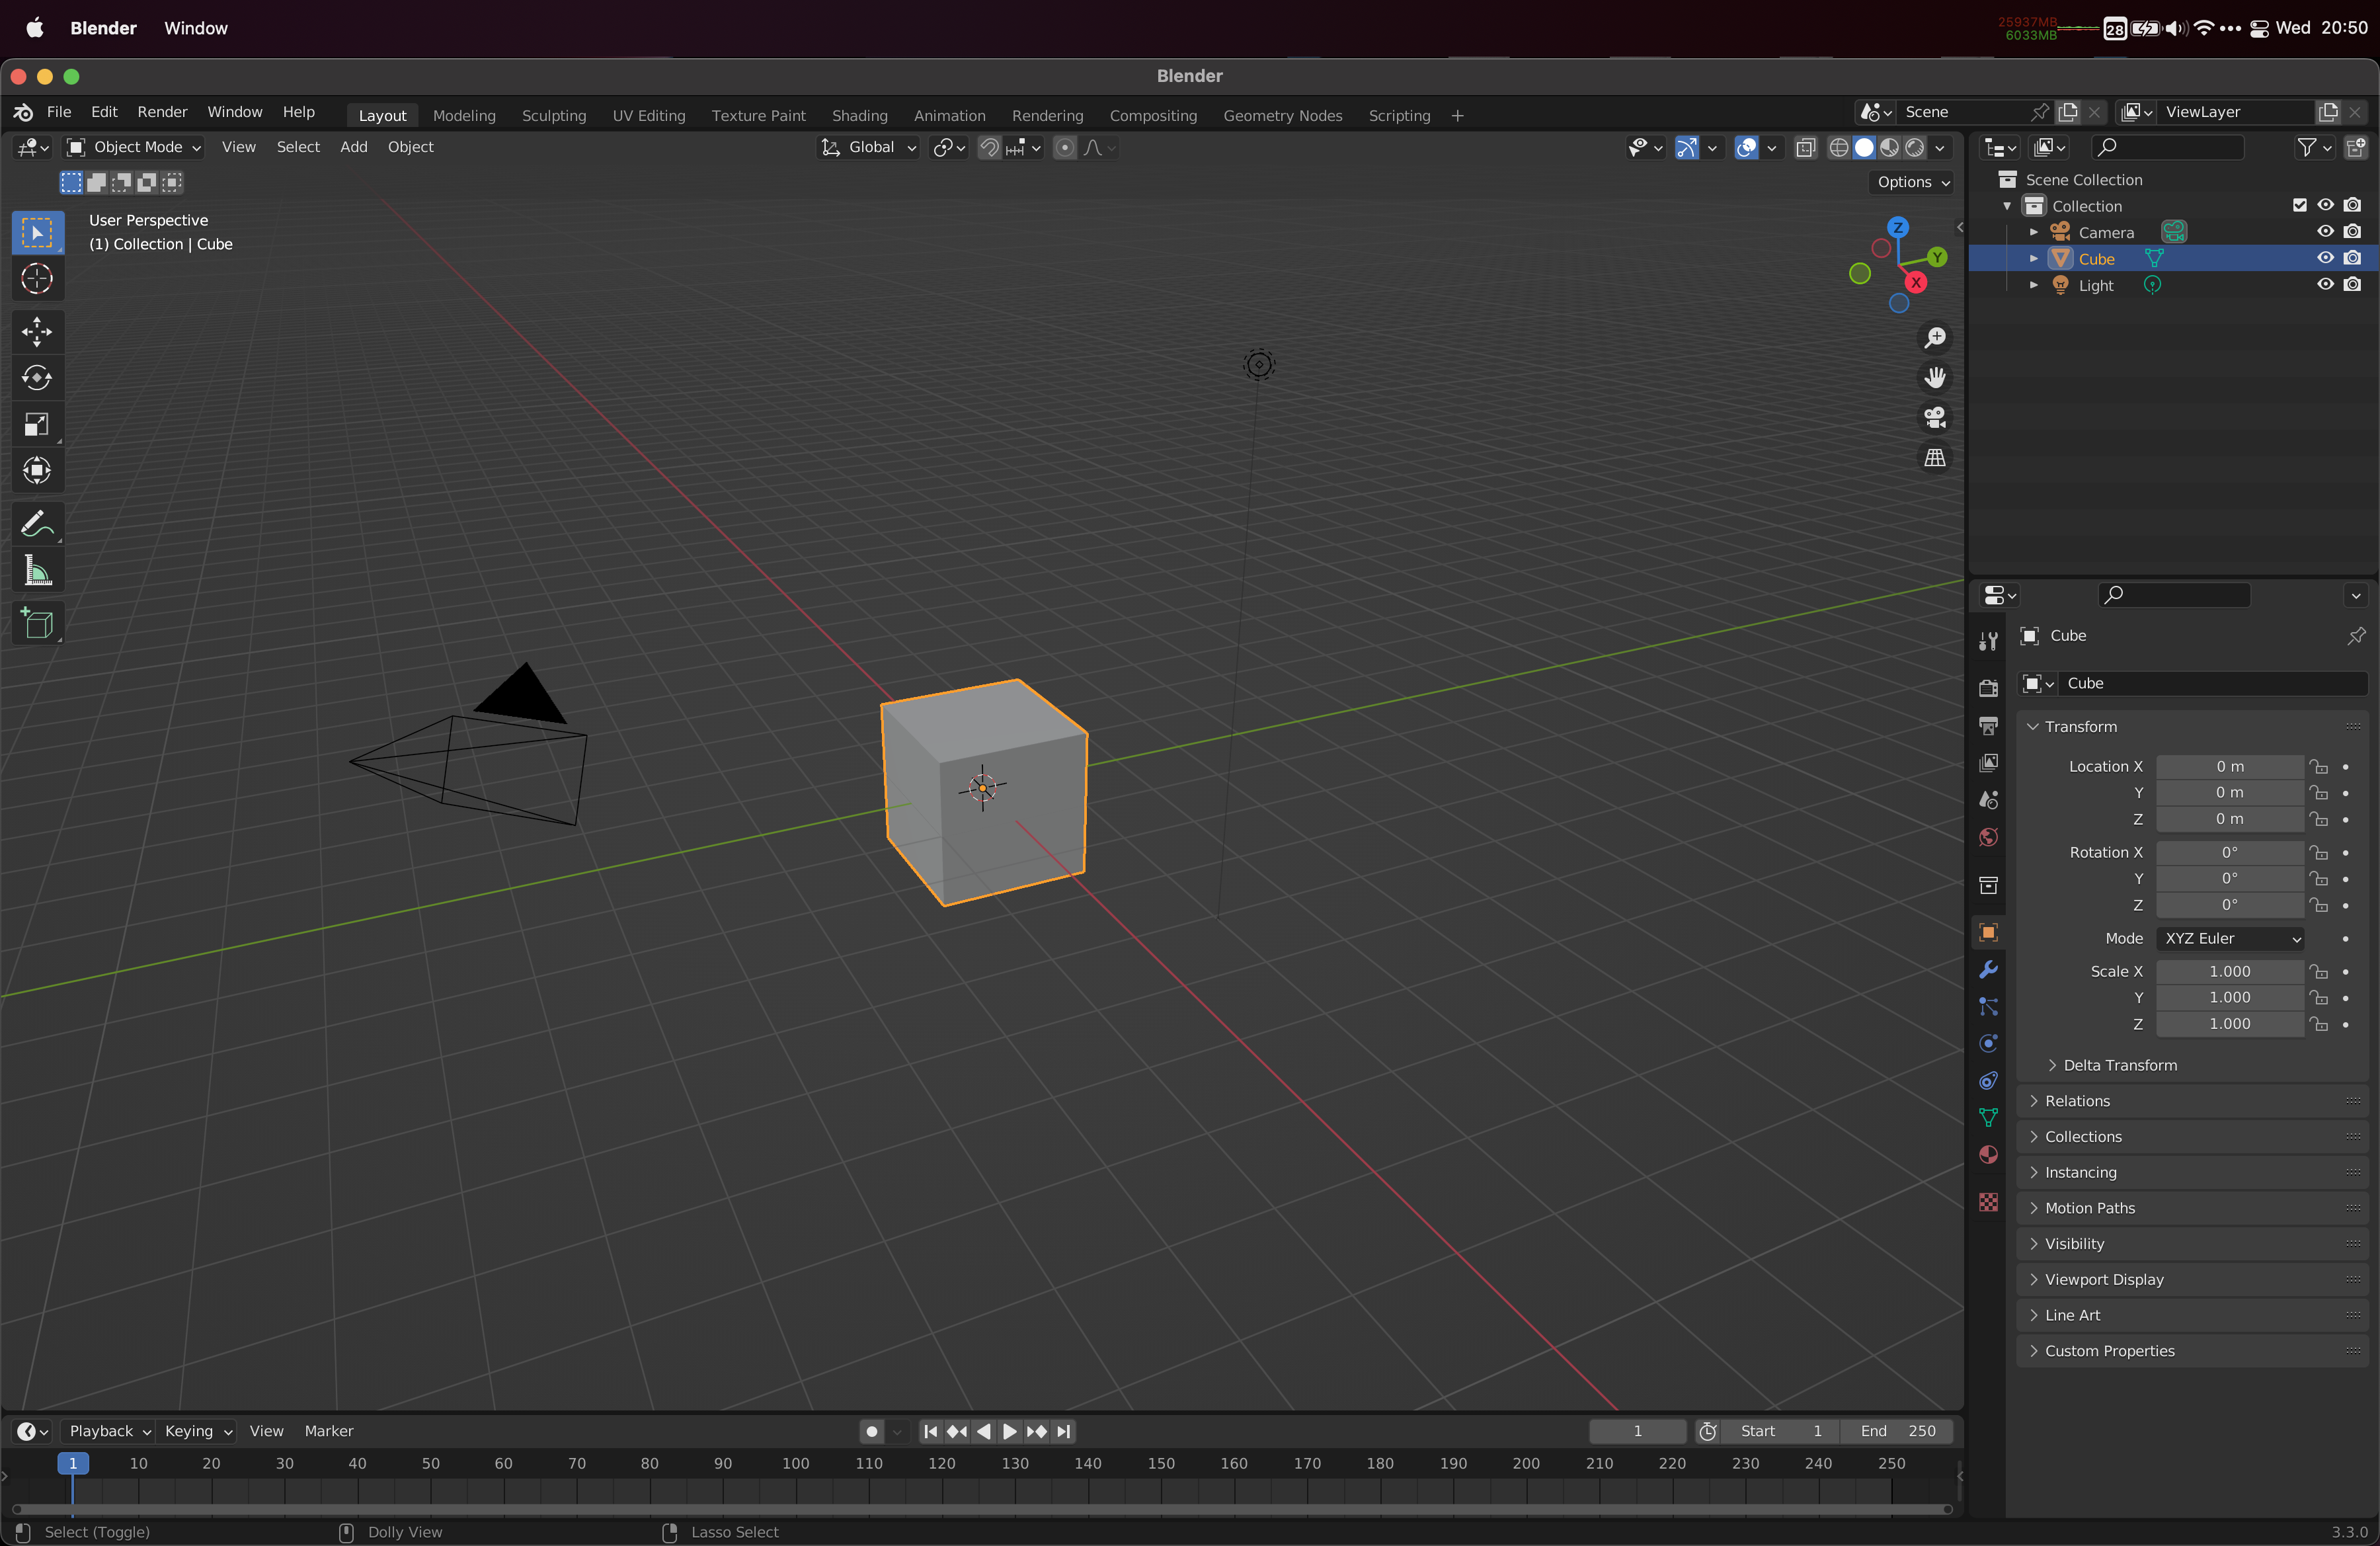
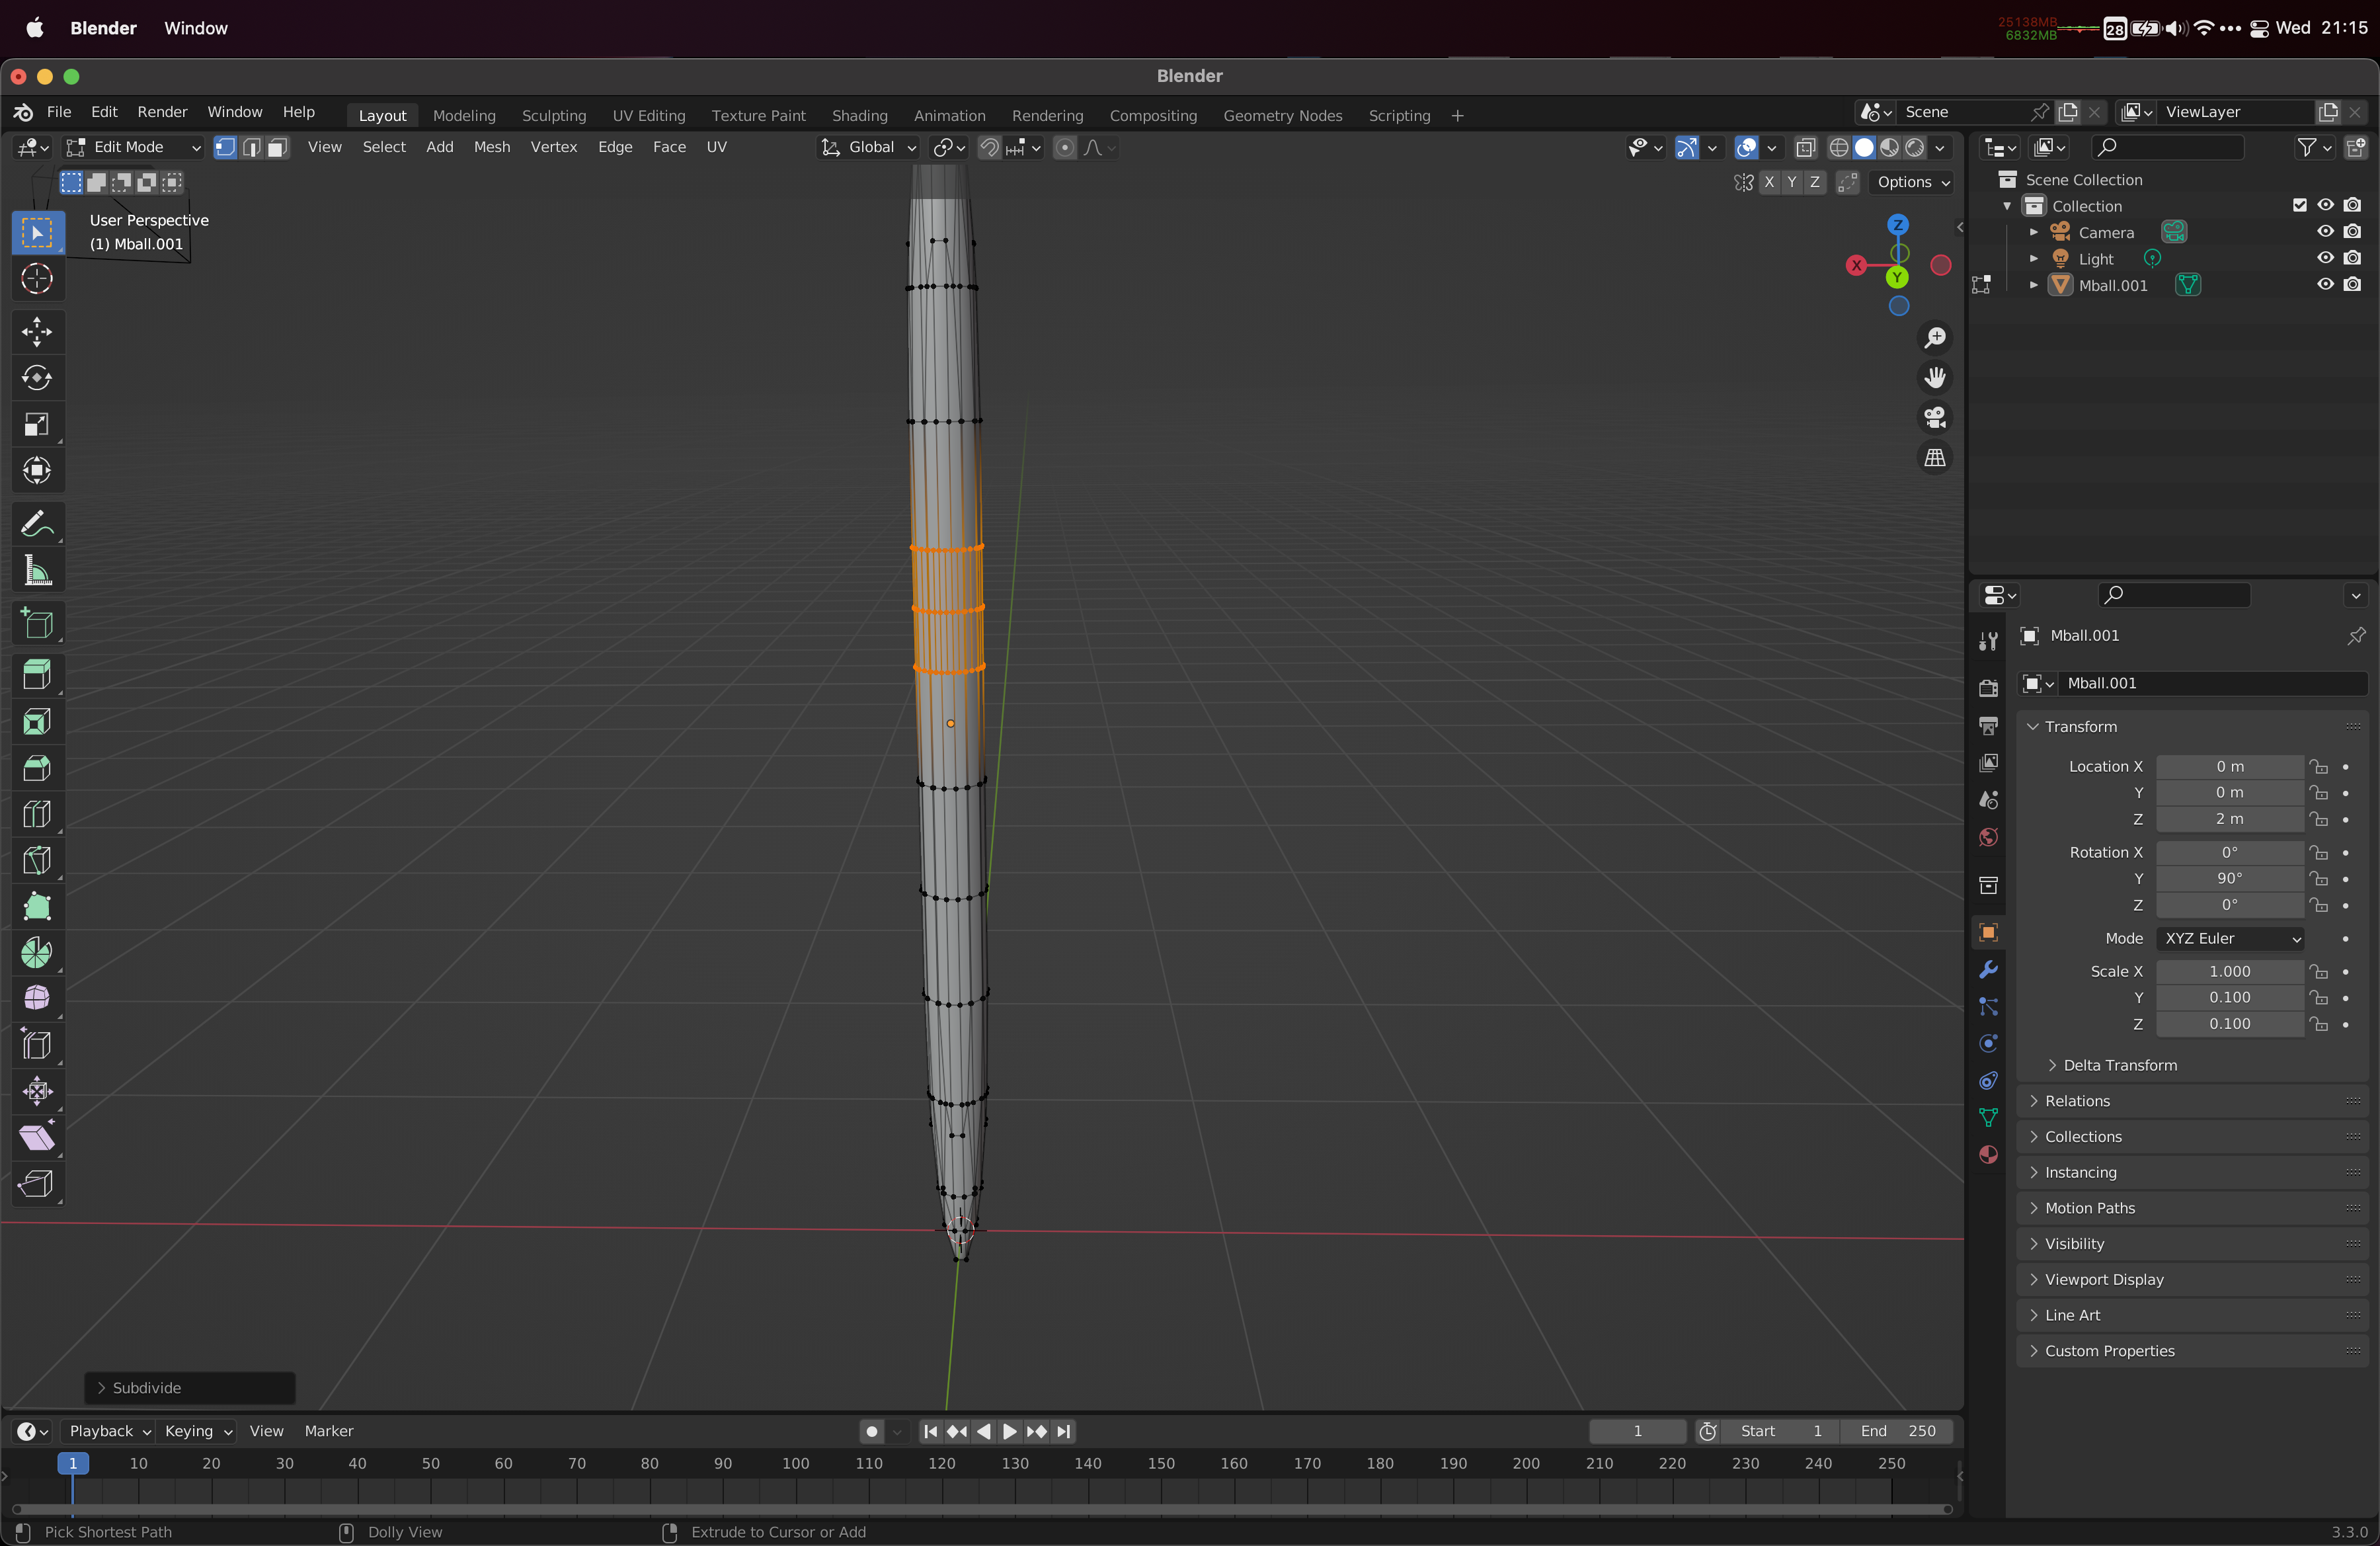
First, remove the cube (select it, and use x or an appropriate menu). Next, we will add a Capsule (and build the quiver as a chopped off and drawn out capsule shape).

To get the sizing we want from the capsule, let’s:
- rotate it by 90º around the Y-axis to stand it upright
- scale it by 0.1 along the Y- and Z-axes to squeeze it
- translate it by 2m along the X-axis to stand it on top of the origin plane.
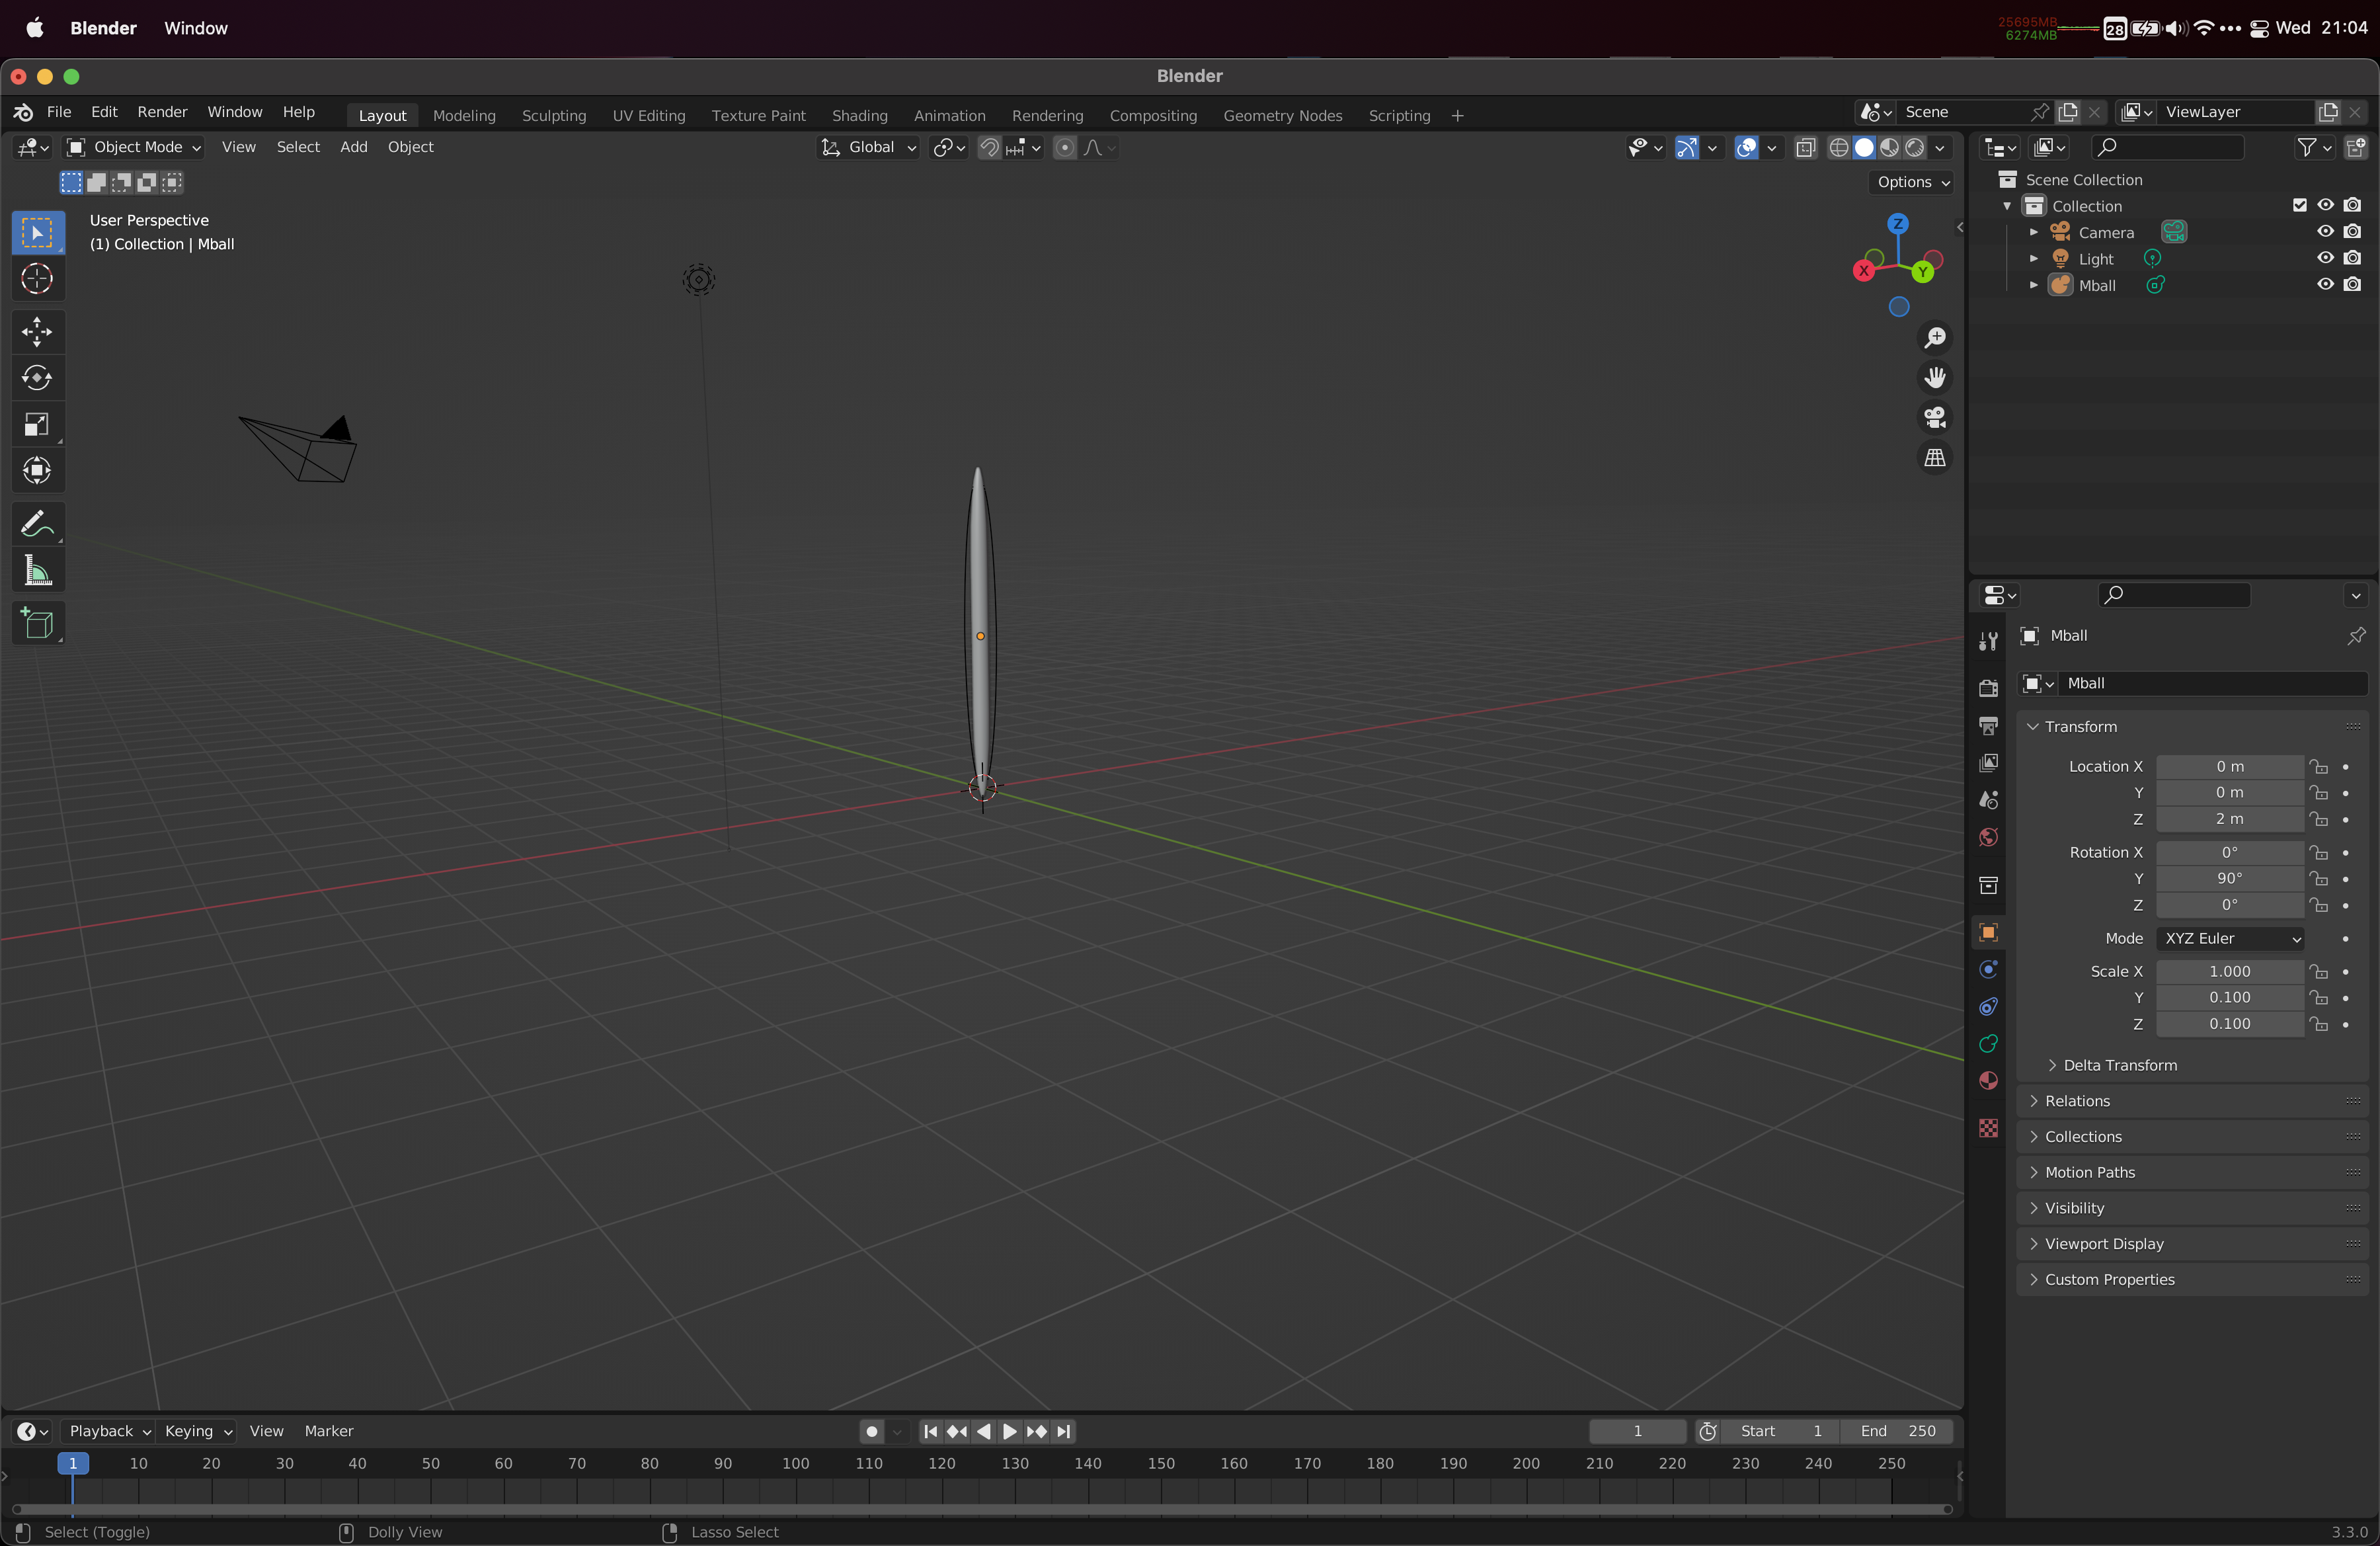
Now, it’s time to convert this from an Metaball to a Mesh so that we can go in and chop it up into the pieces we need.
Select the capsule, go to the Layout context and the Object menu. Find the Convert submenu and choose to convert it to a Mesh.
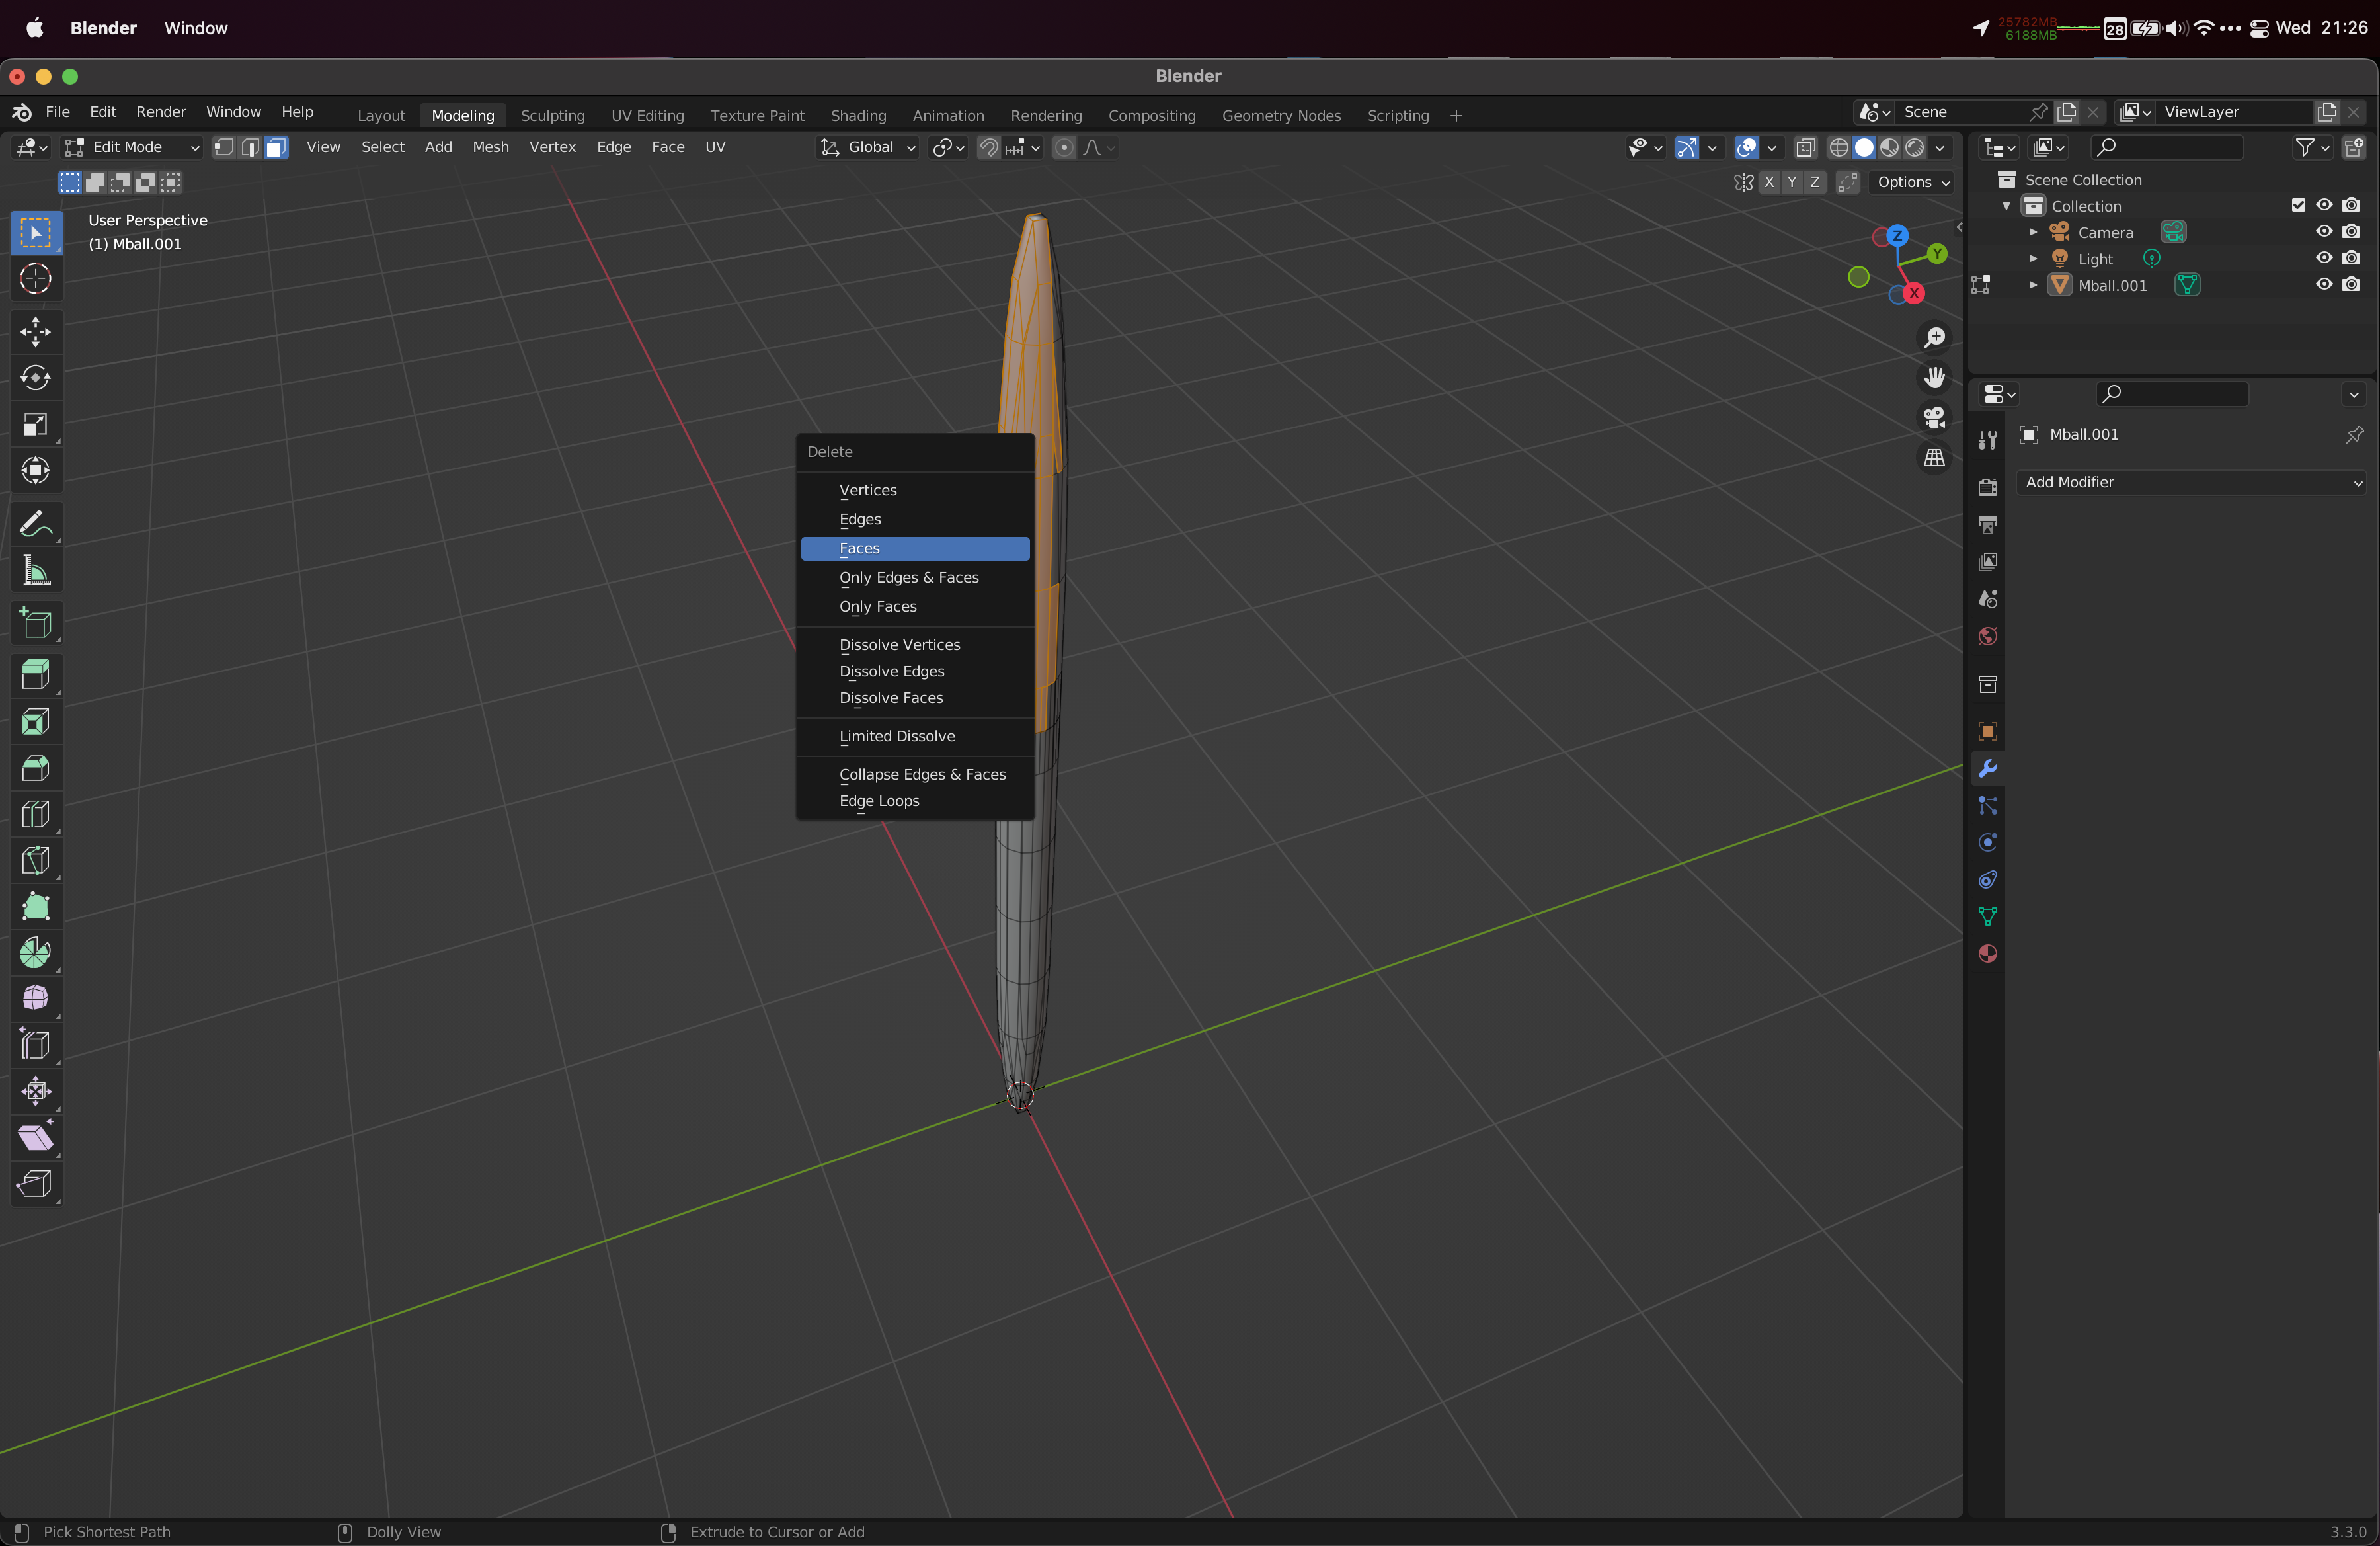
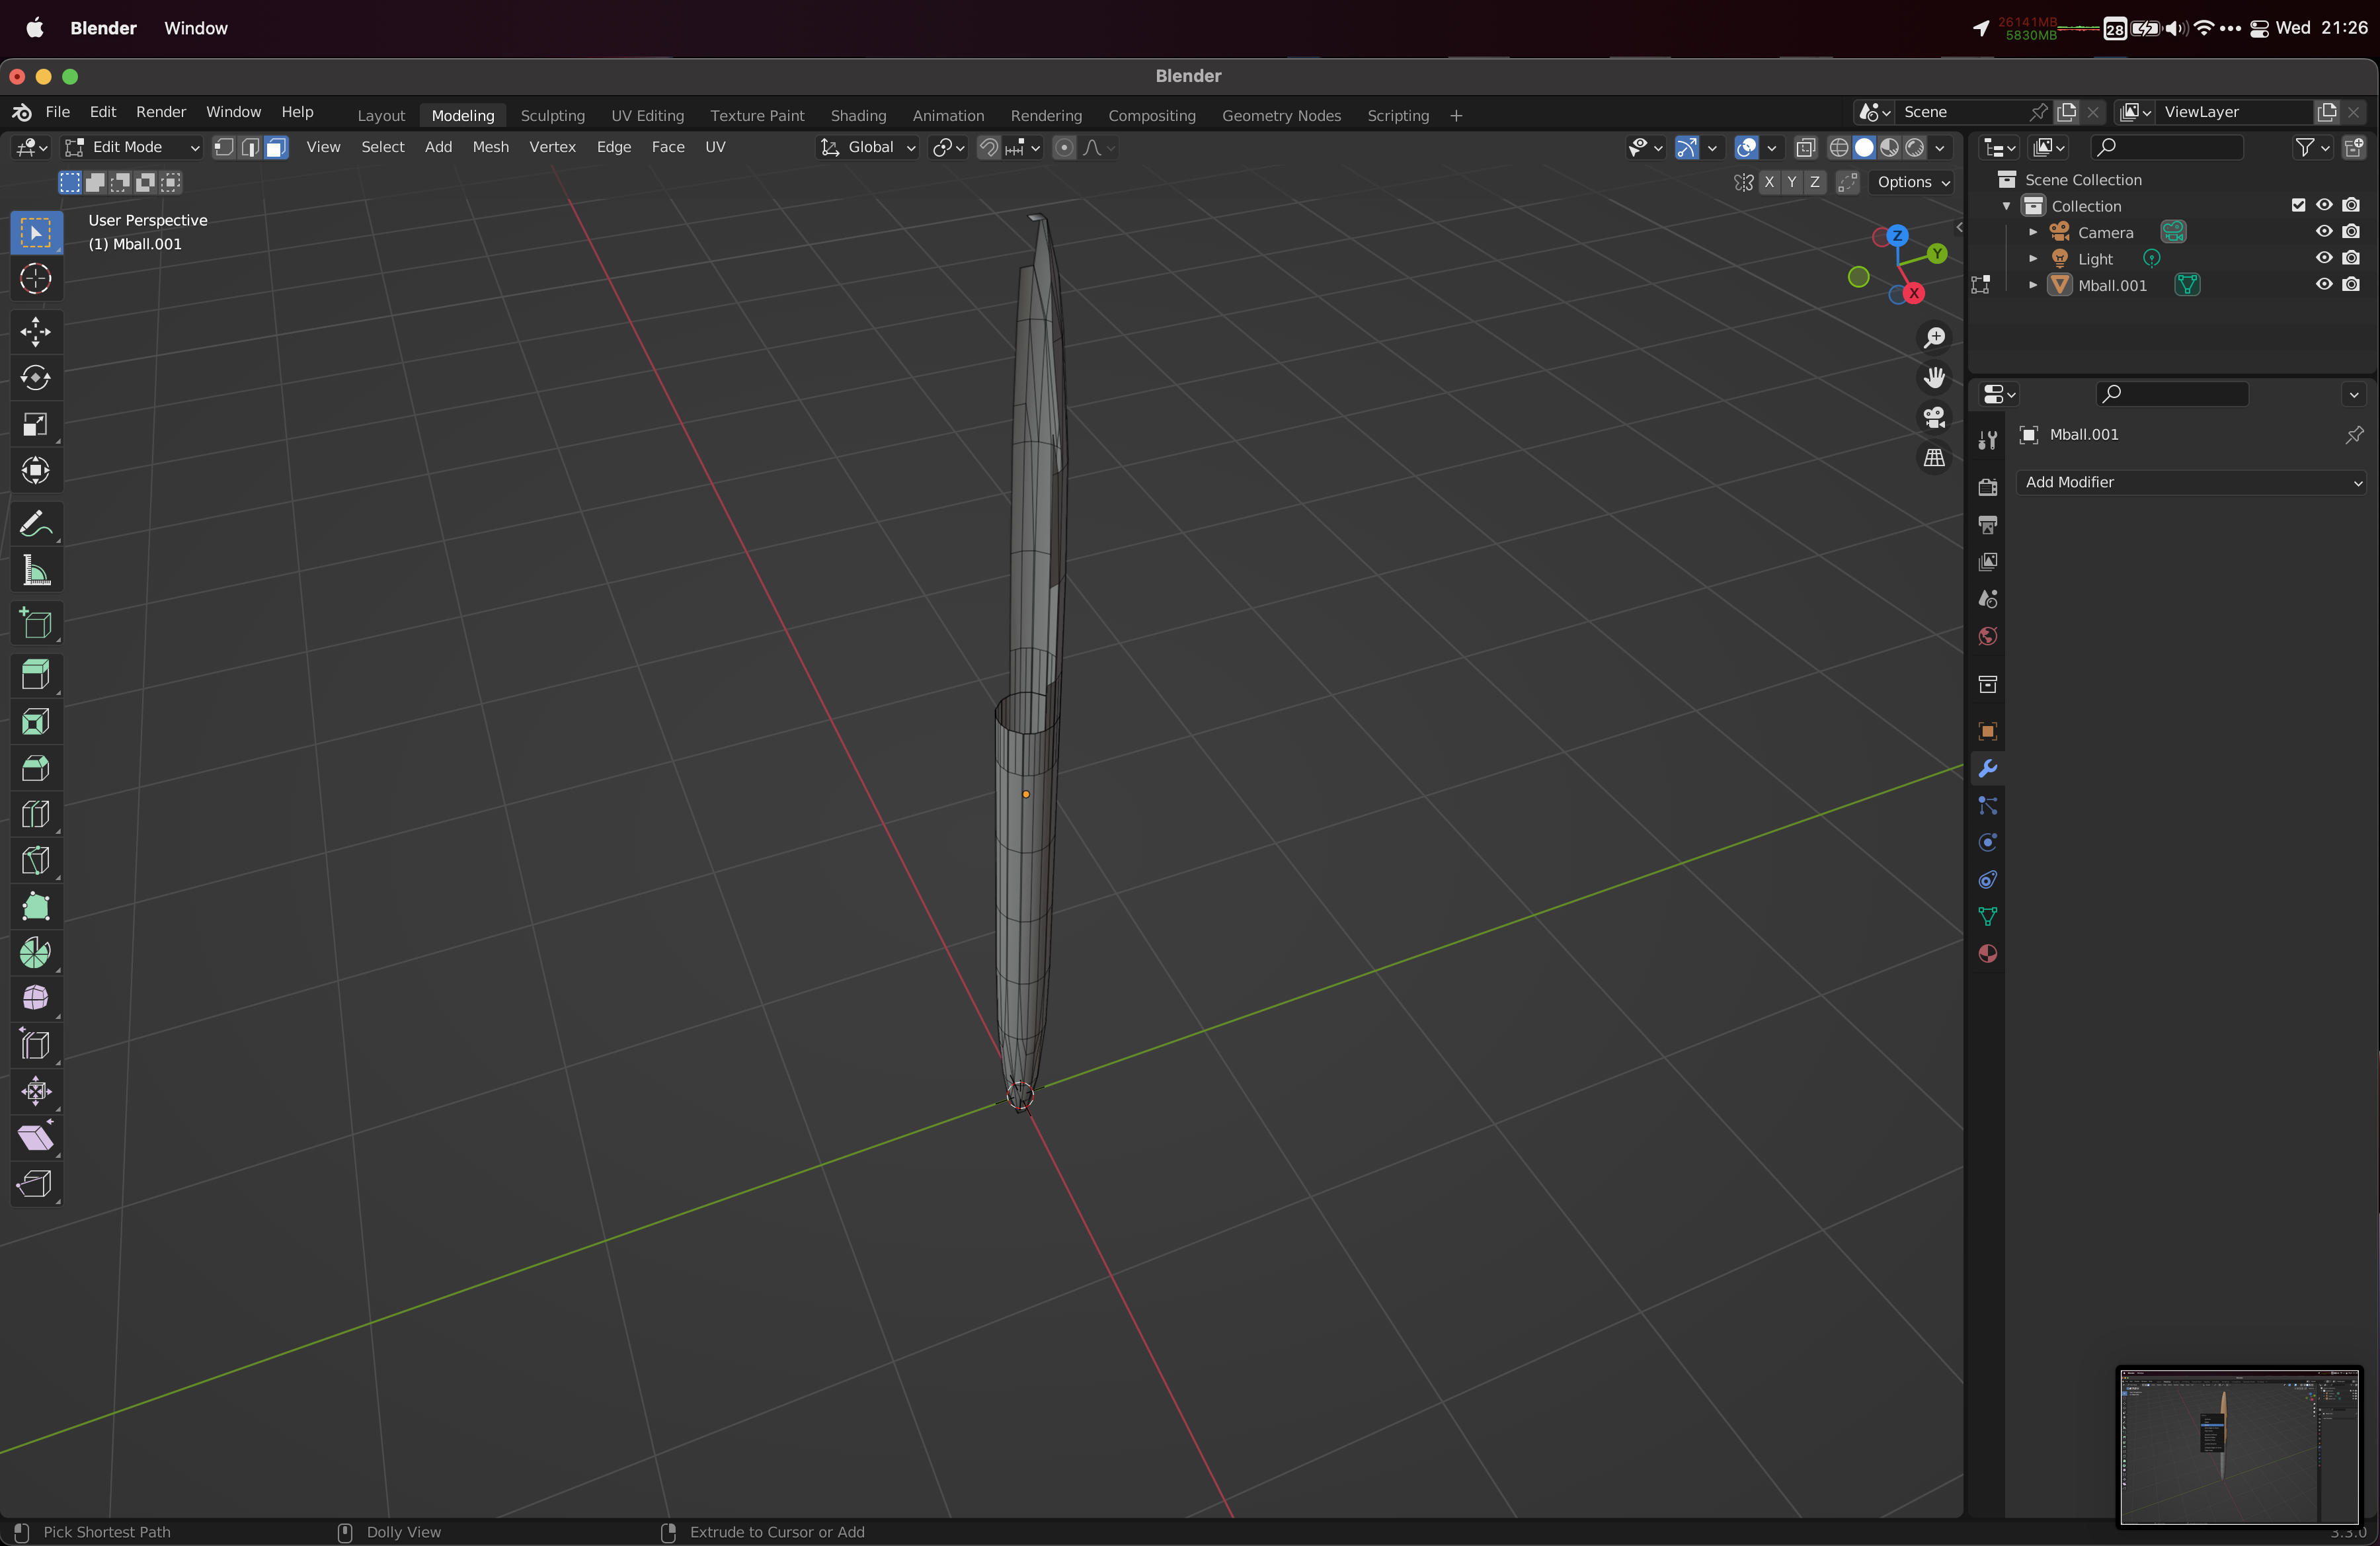
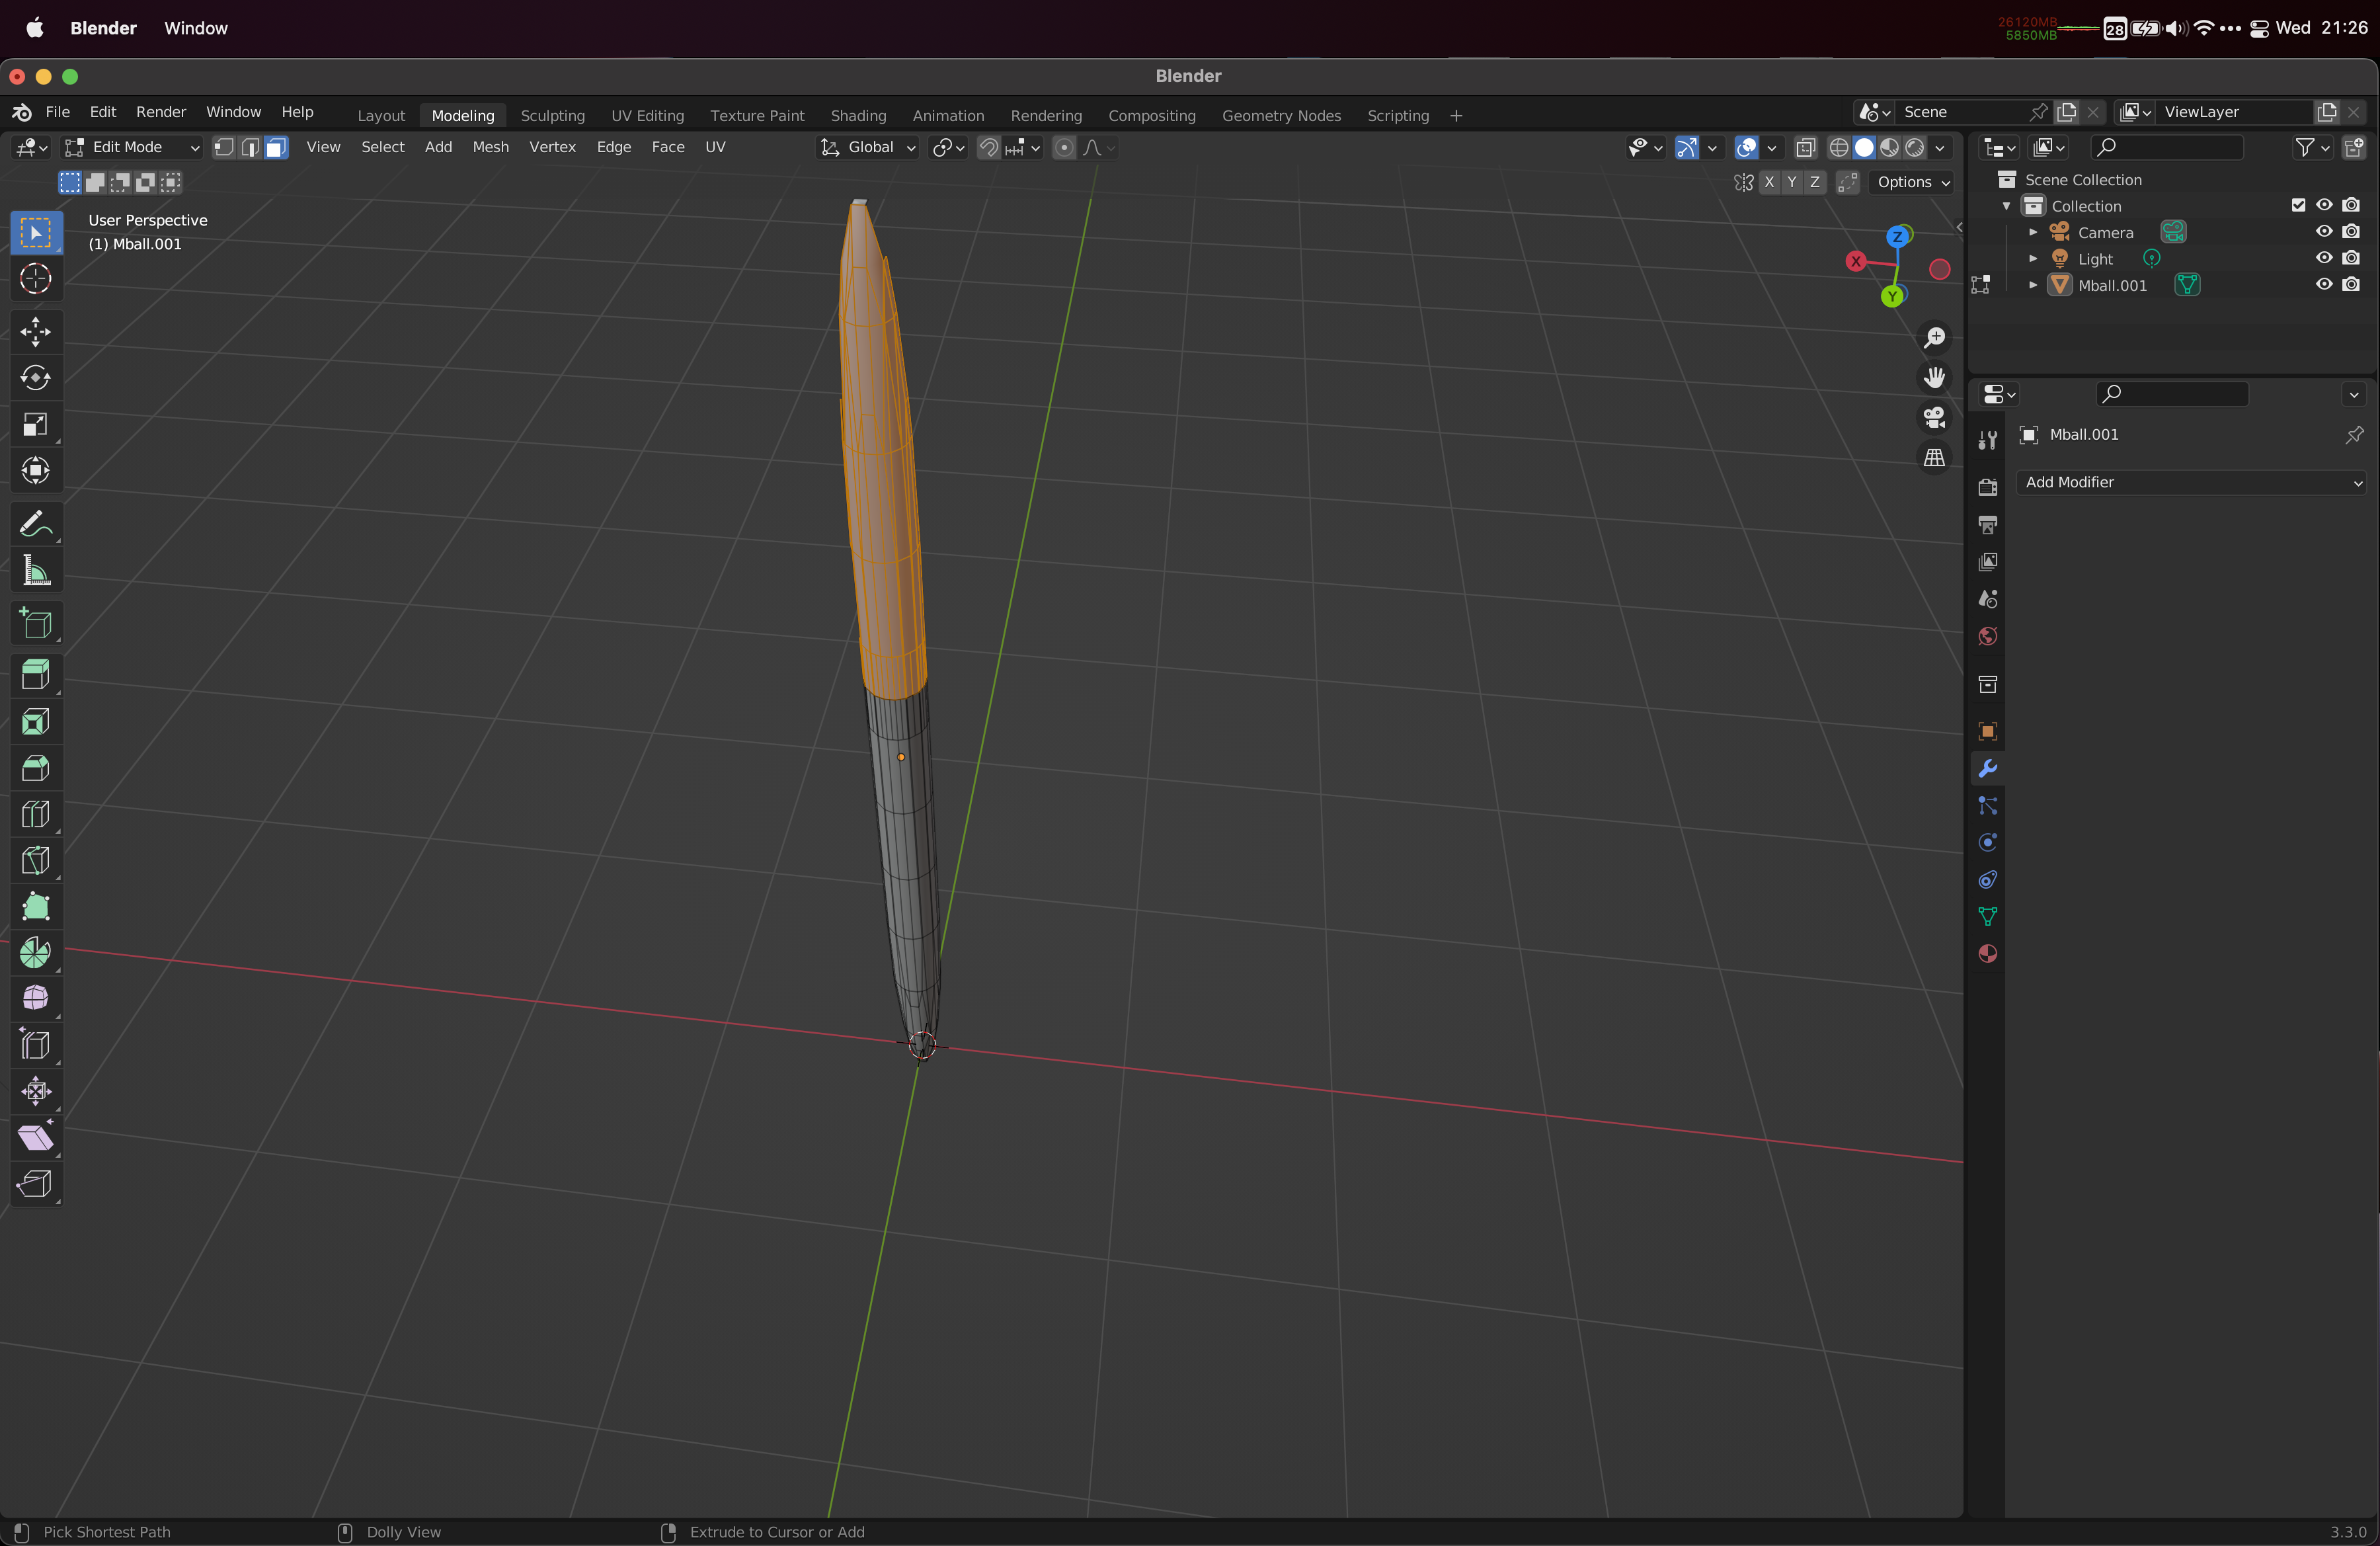
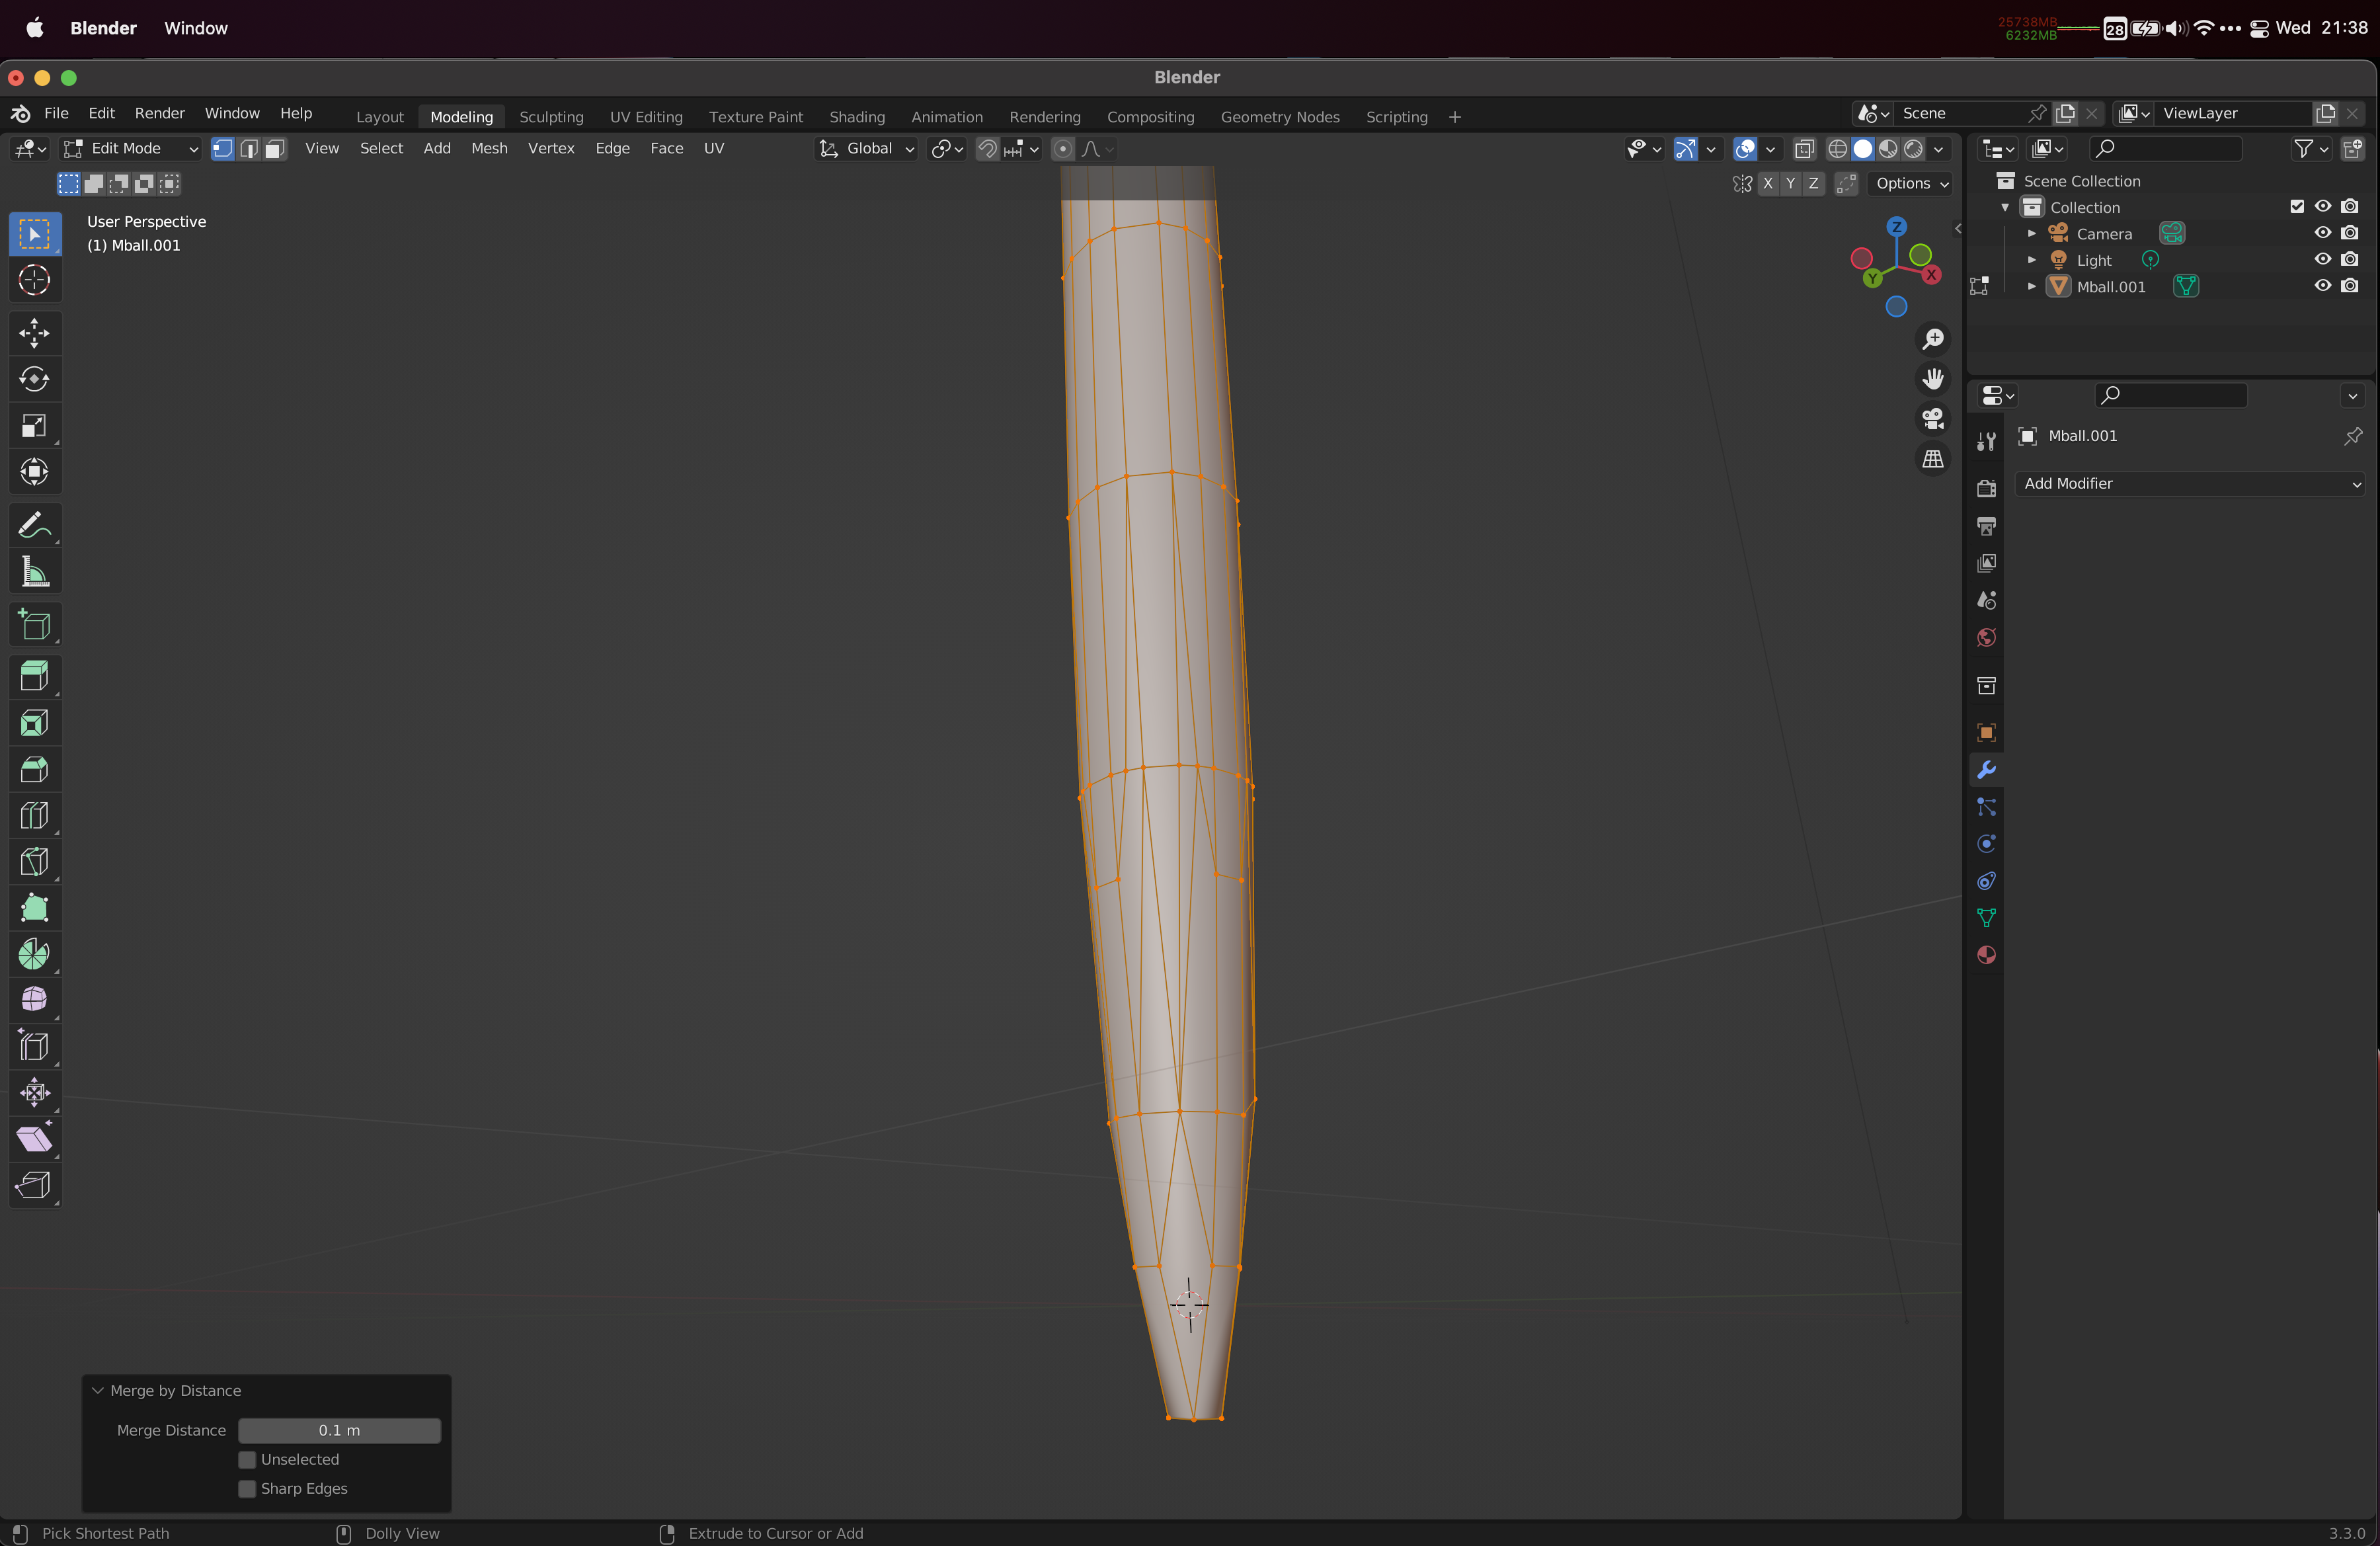
At this point, we could try to do something to increase the polygon count and get a smoother shape – I didn’t. Instead, now that we have a mesh it’s time to go in and carve out the pieces we want to keep.
I used the Measure tool to figure out where 0.7m tall would fall on this shape, and used that to guide my cutting of the shape. Once you know where to cut, the process I followed is to select vertices above my designated cut and remove them (and everything defined by or connected to them). I discovered doing this that I would need to subdivide the edges near my cut (so that I could cut halfway between two rows of vertices) and needed to rotate the mesh and add to my selection to get the things behind the object as well.
Hold shift and keep selecting to get the things you need.
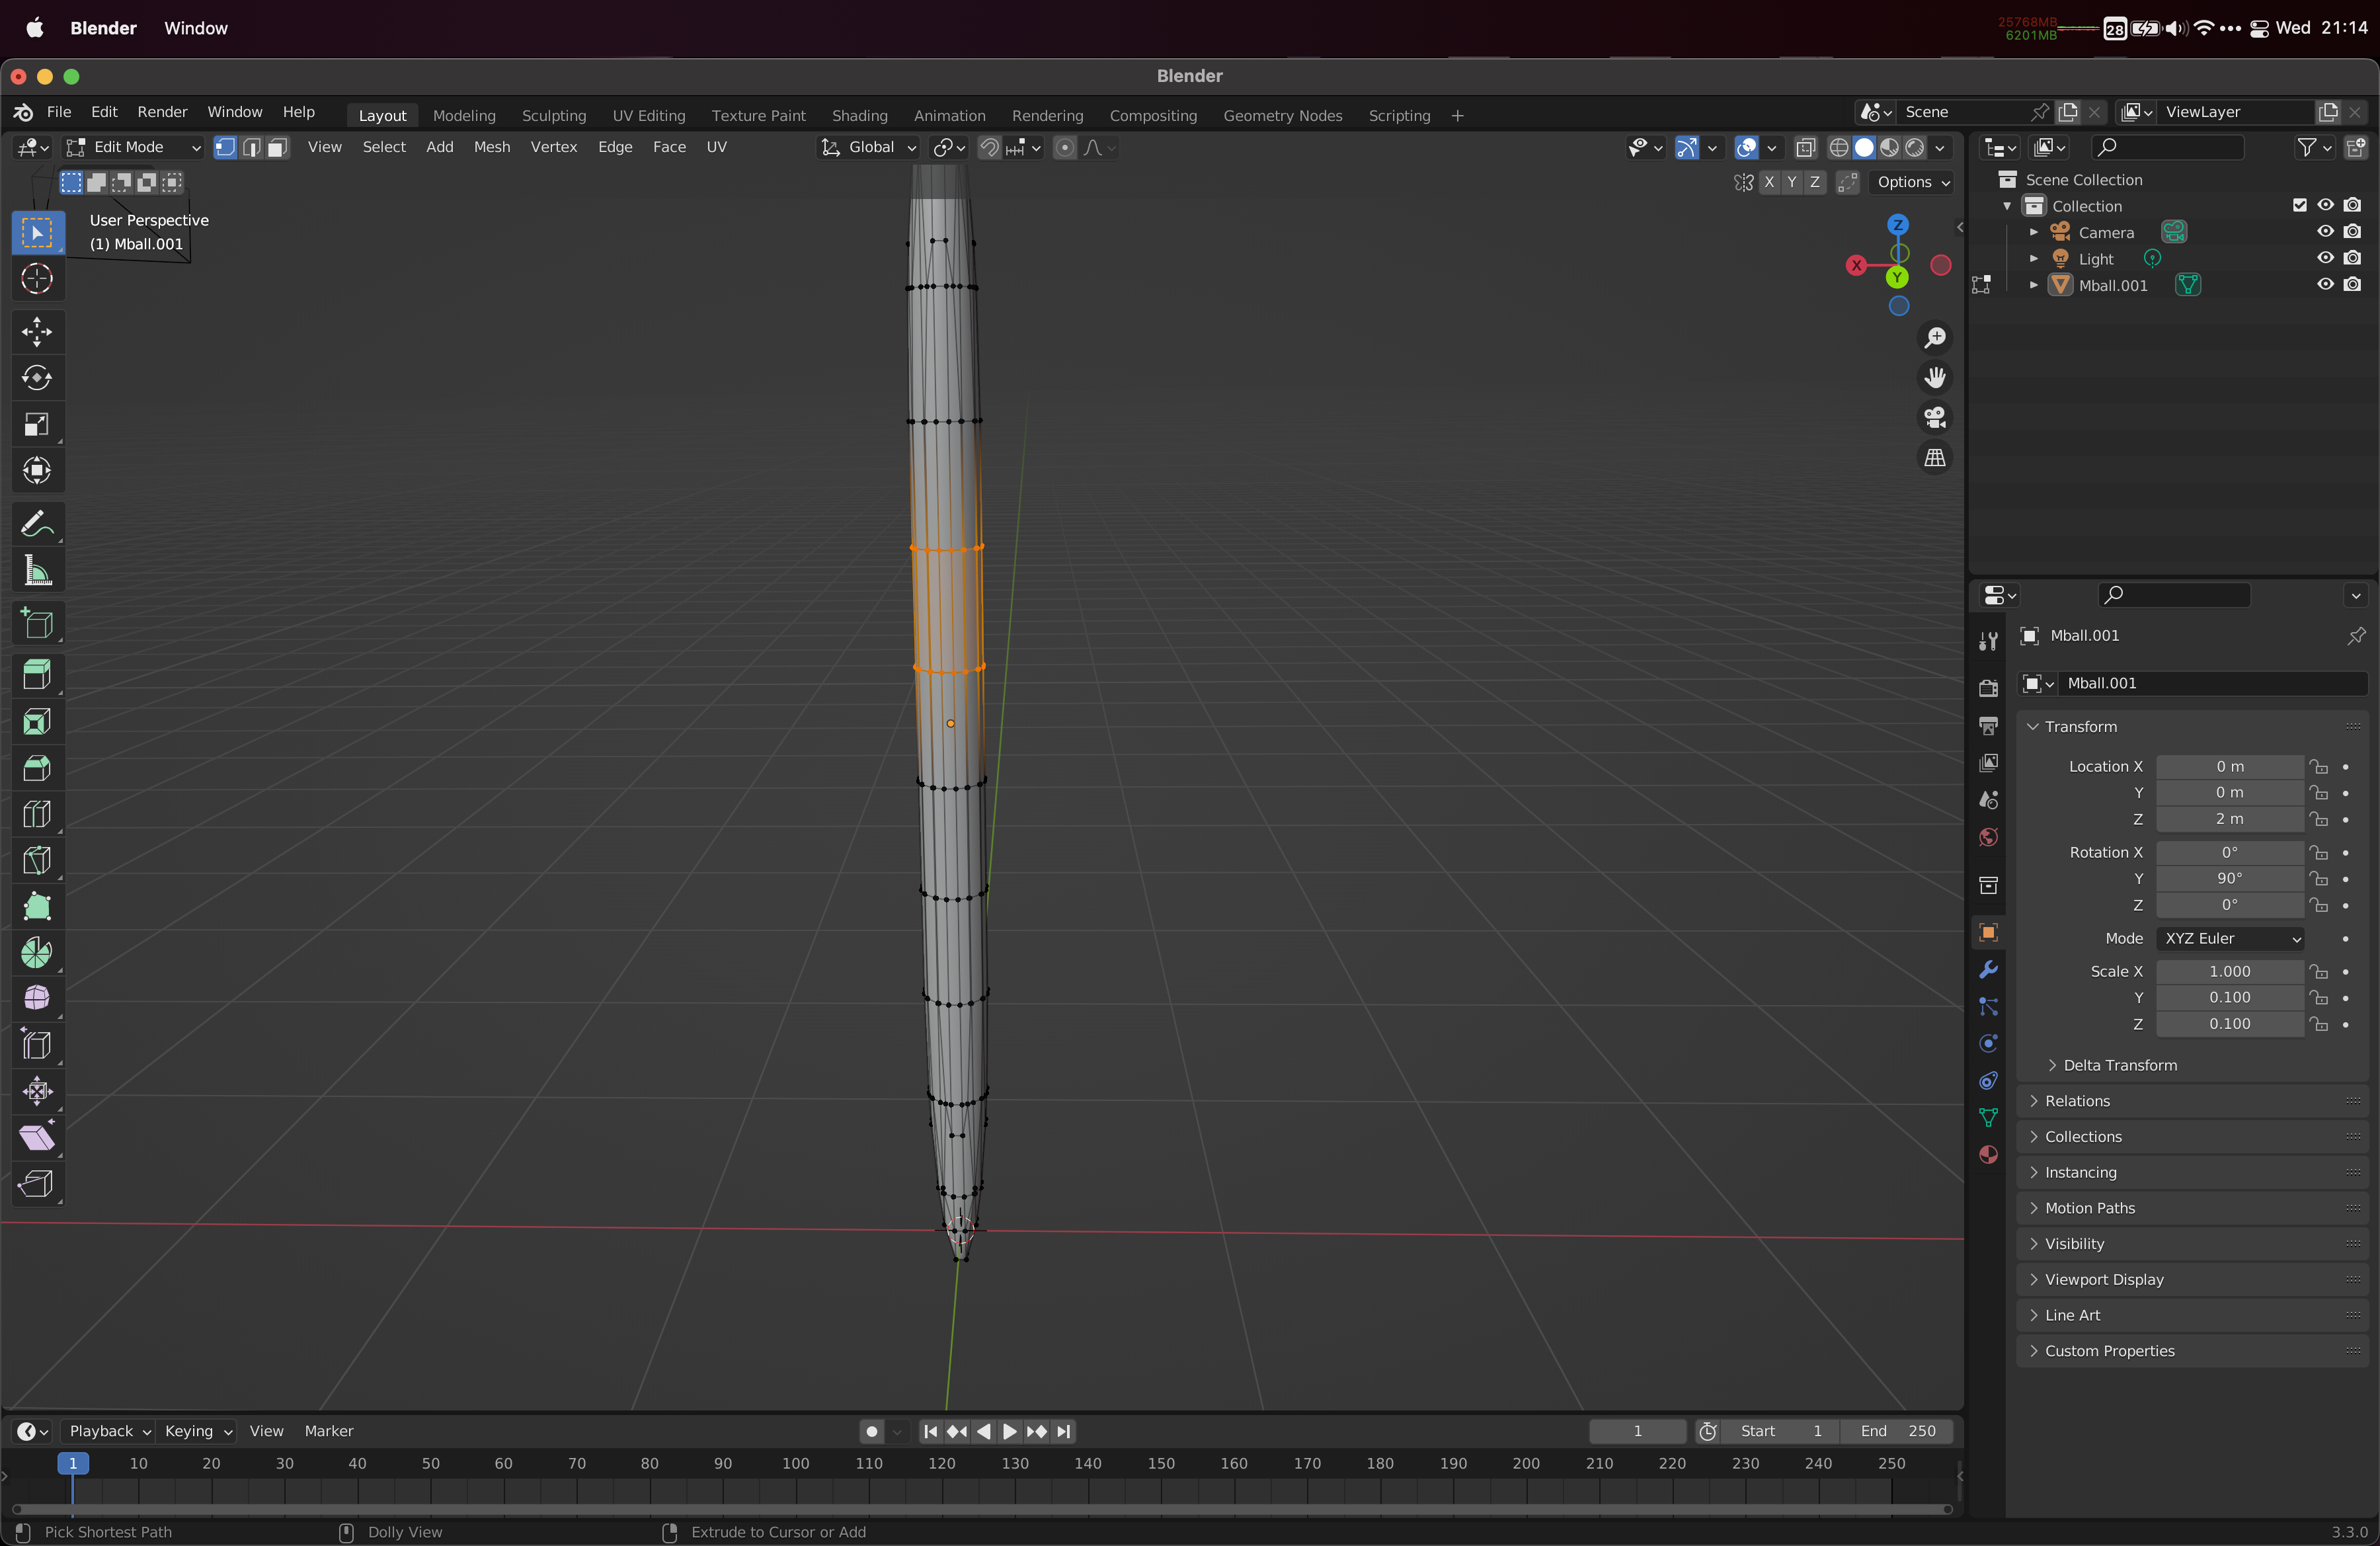
Speedy removal can be done by selecting in Face Select mode, and delete using the X button and choosing Face removal.

Carving out a pattern
To carve out a pattern, we will go in and create Seams. There should be a way to then use the resulting seams for pulling the shape apart, but since I couldn’t make it work, we will instead separate the seam edges ourselves afterwards.
Use the Zoom and Pan controls on the right to get a close enough view of the mesh to pick out the details you need.
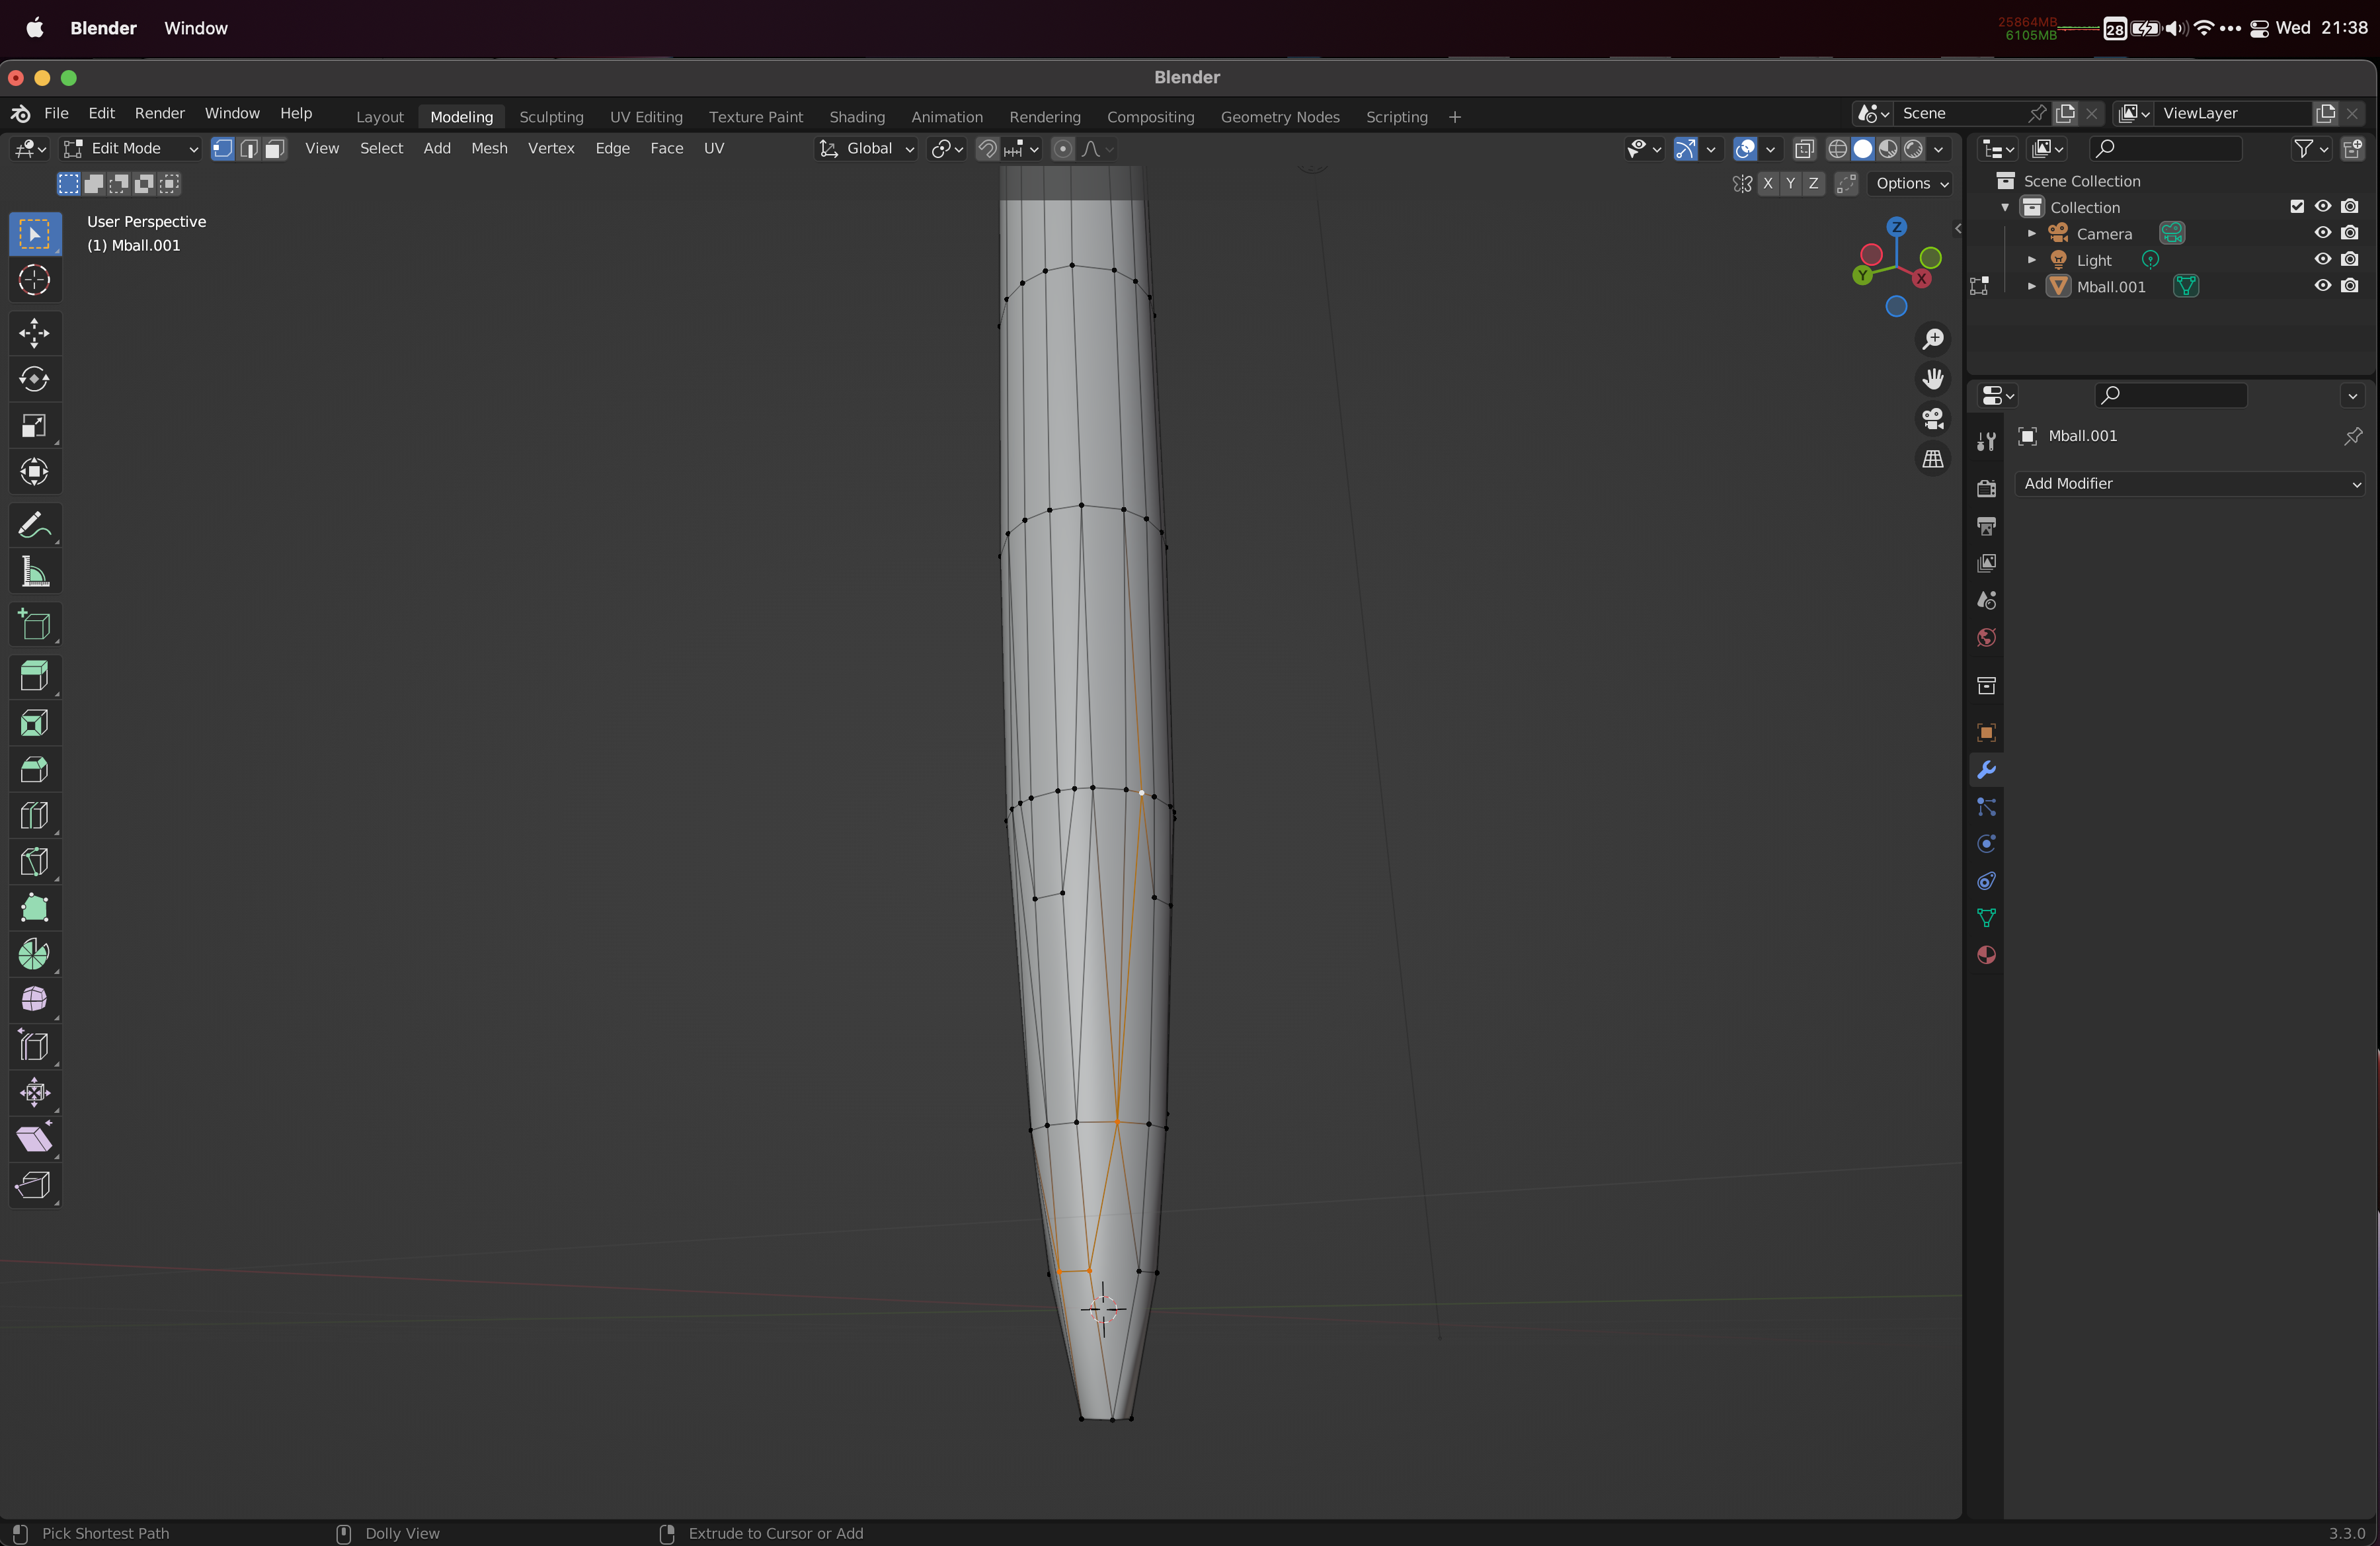
When doing this, I quickly realized there are some clusters of vertices that are very tightly connected, so maybe to make it all easier we will start by Merging by distance. Select everything (with A), and go to Mesh -> Merge -> By Distance. Then open up the small popup block bottom right labeled Merge by Distance to change the settings for merging by distance. Click the > symbol to open it up, and start increasing the Merge Distance until the little text-information at the bottom tells you that some (maybe 60 or so) vertices have been merged. 0.1m works for me.
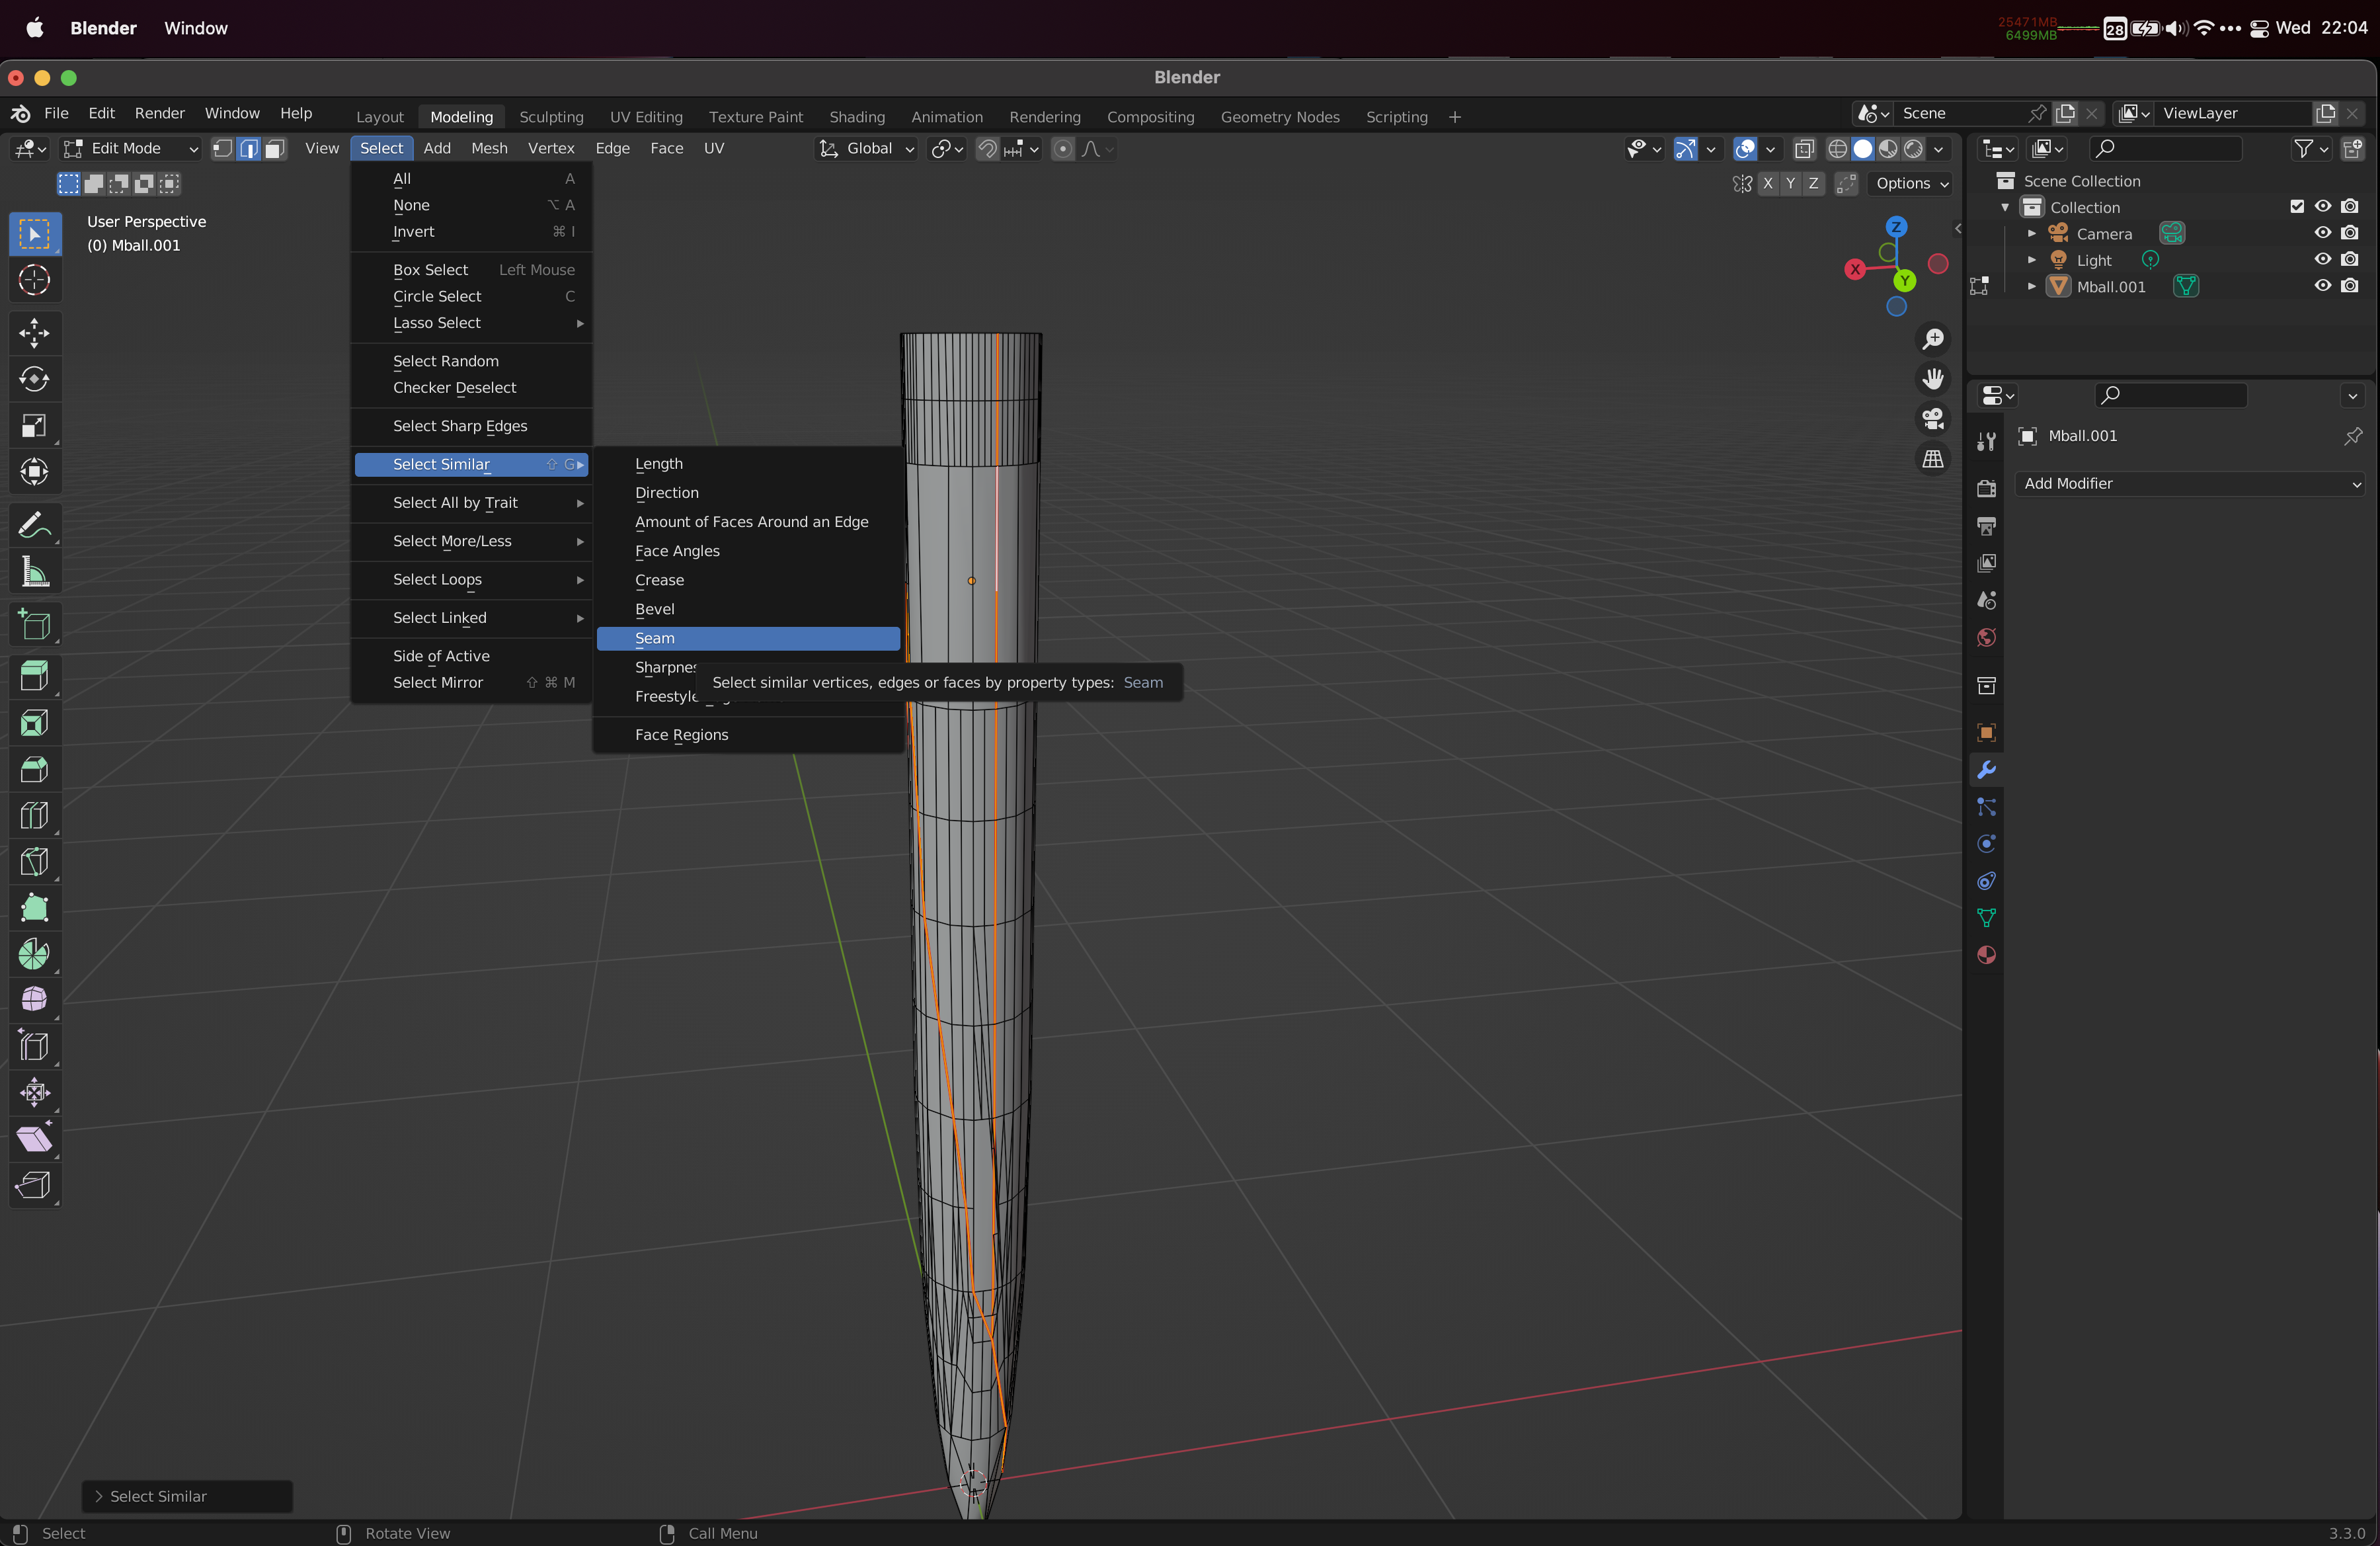
Pick Vertex Select mode, and go through selecting vertices where you want seams between the pieces, and then use the Vertex -> Connect Vertex Path (or J) to make sure you have edges everywhere you need them. Once you have all the edges in place, go to UV -> Mark Seam.
Keep going, and subdivide the mesh if you need to. Most things you can do with J (connect vertex path), but some things may need for you to select, remove (with X) and then reintroduce faces (select vertices, press F to create a face spanned by them).
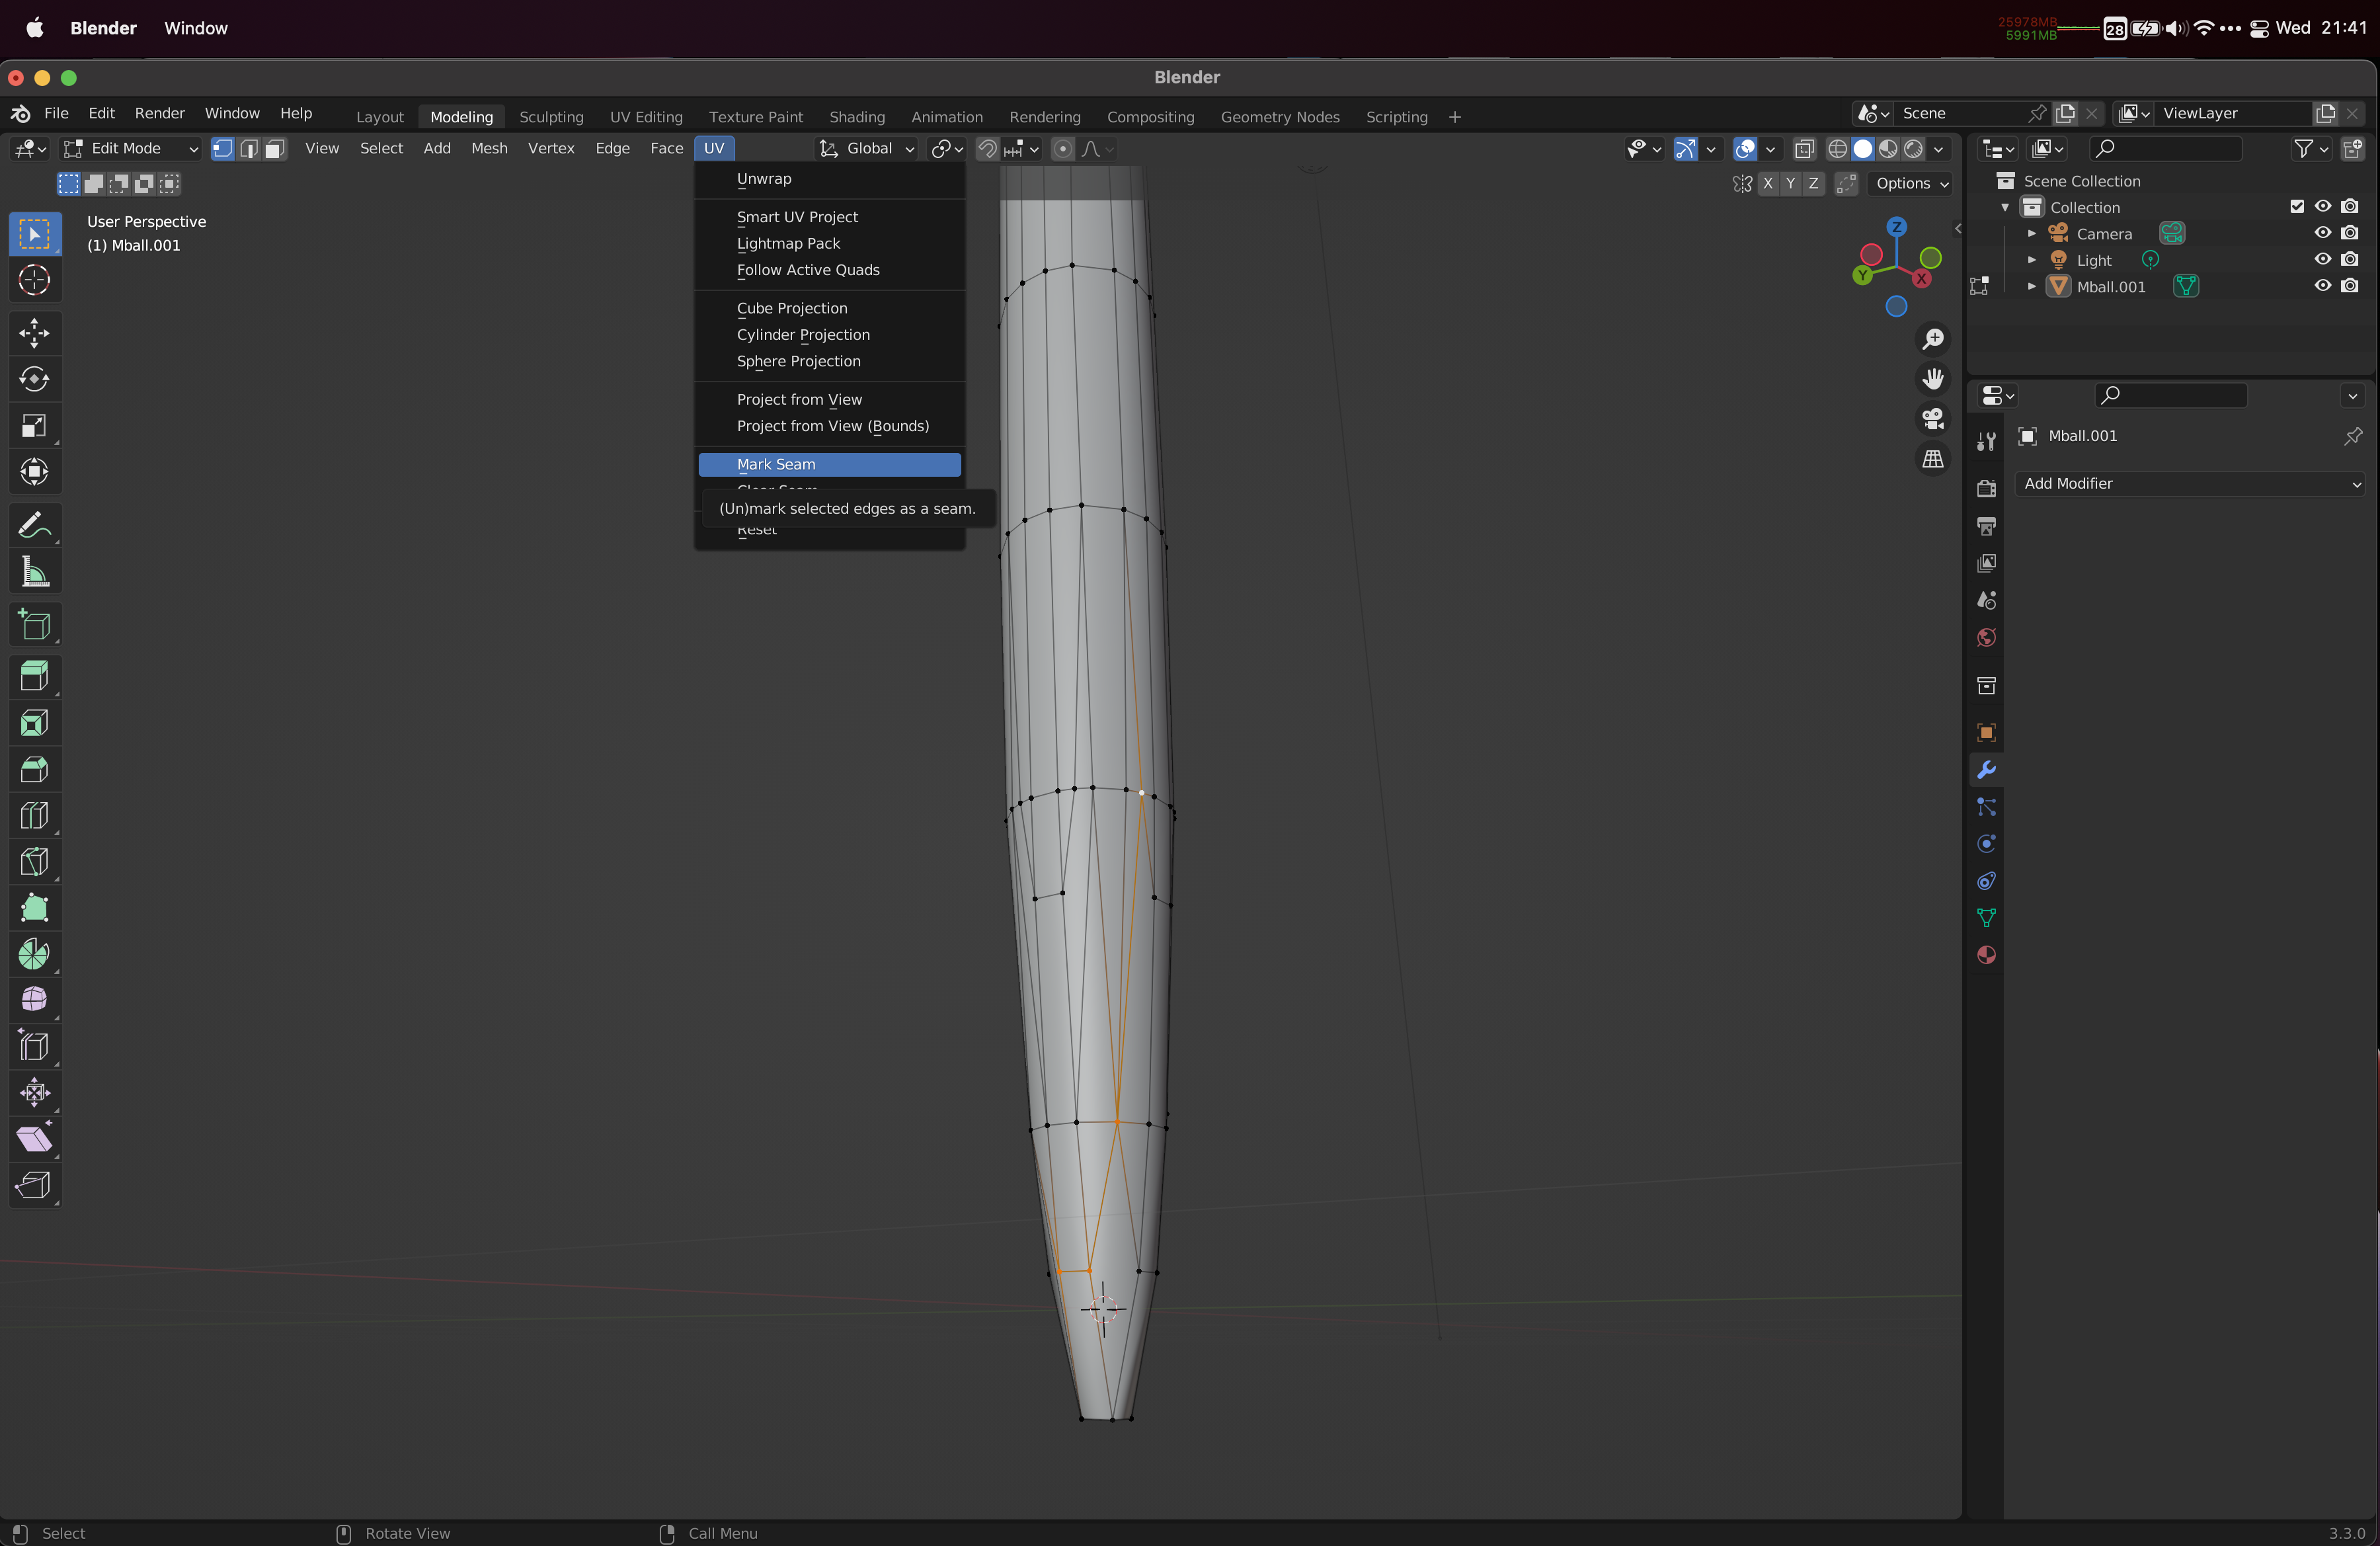

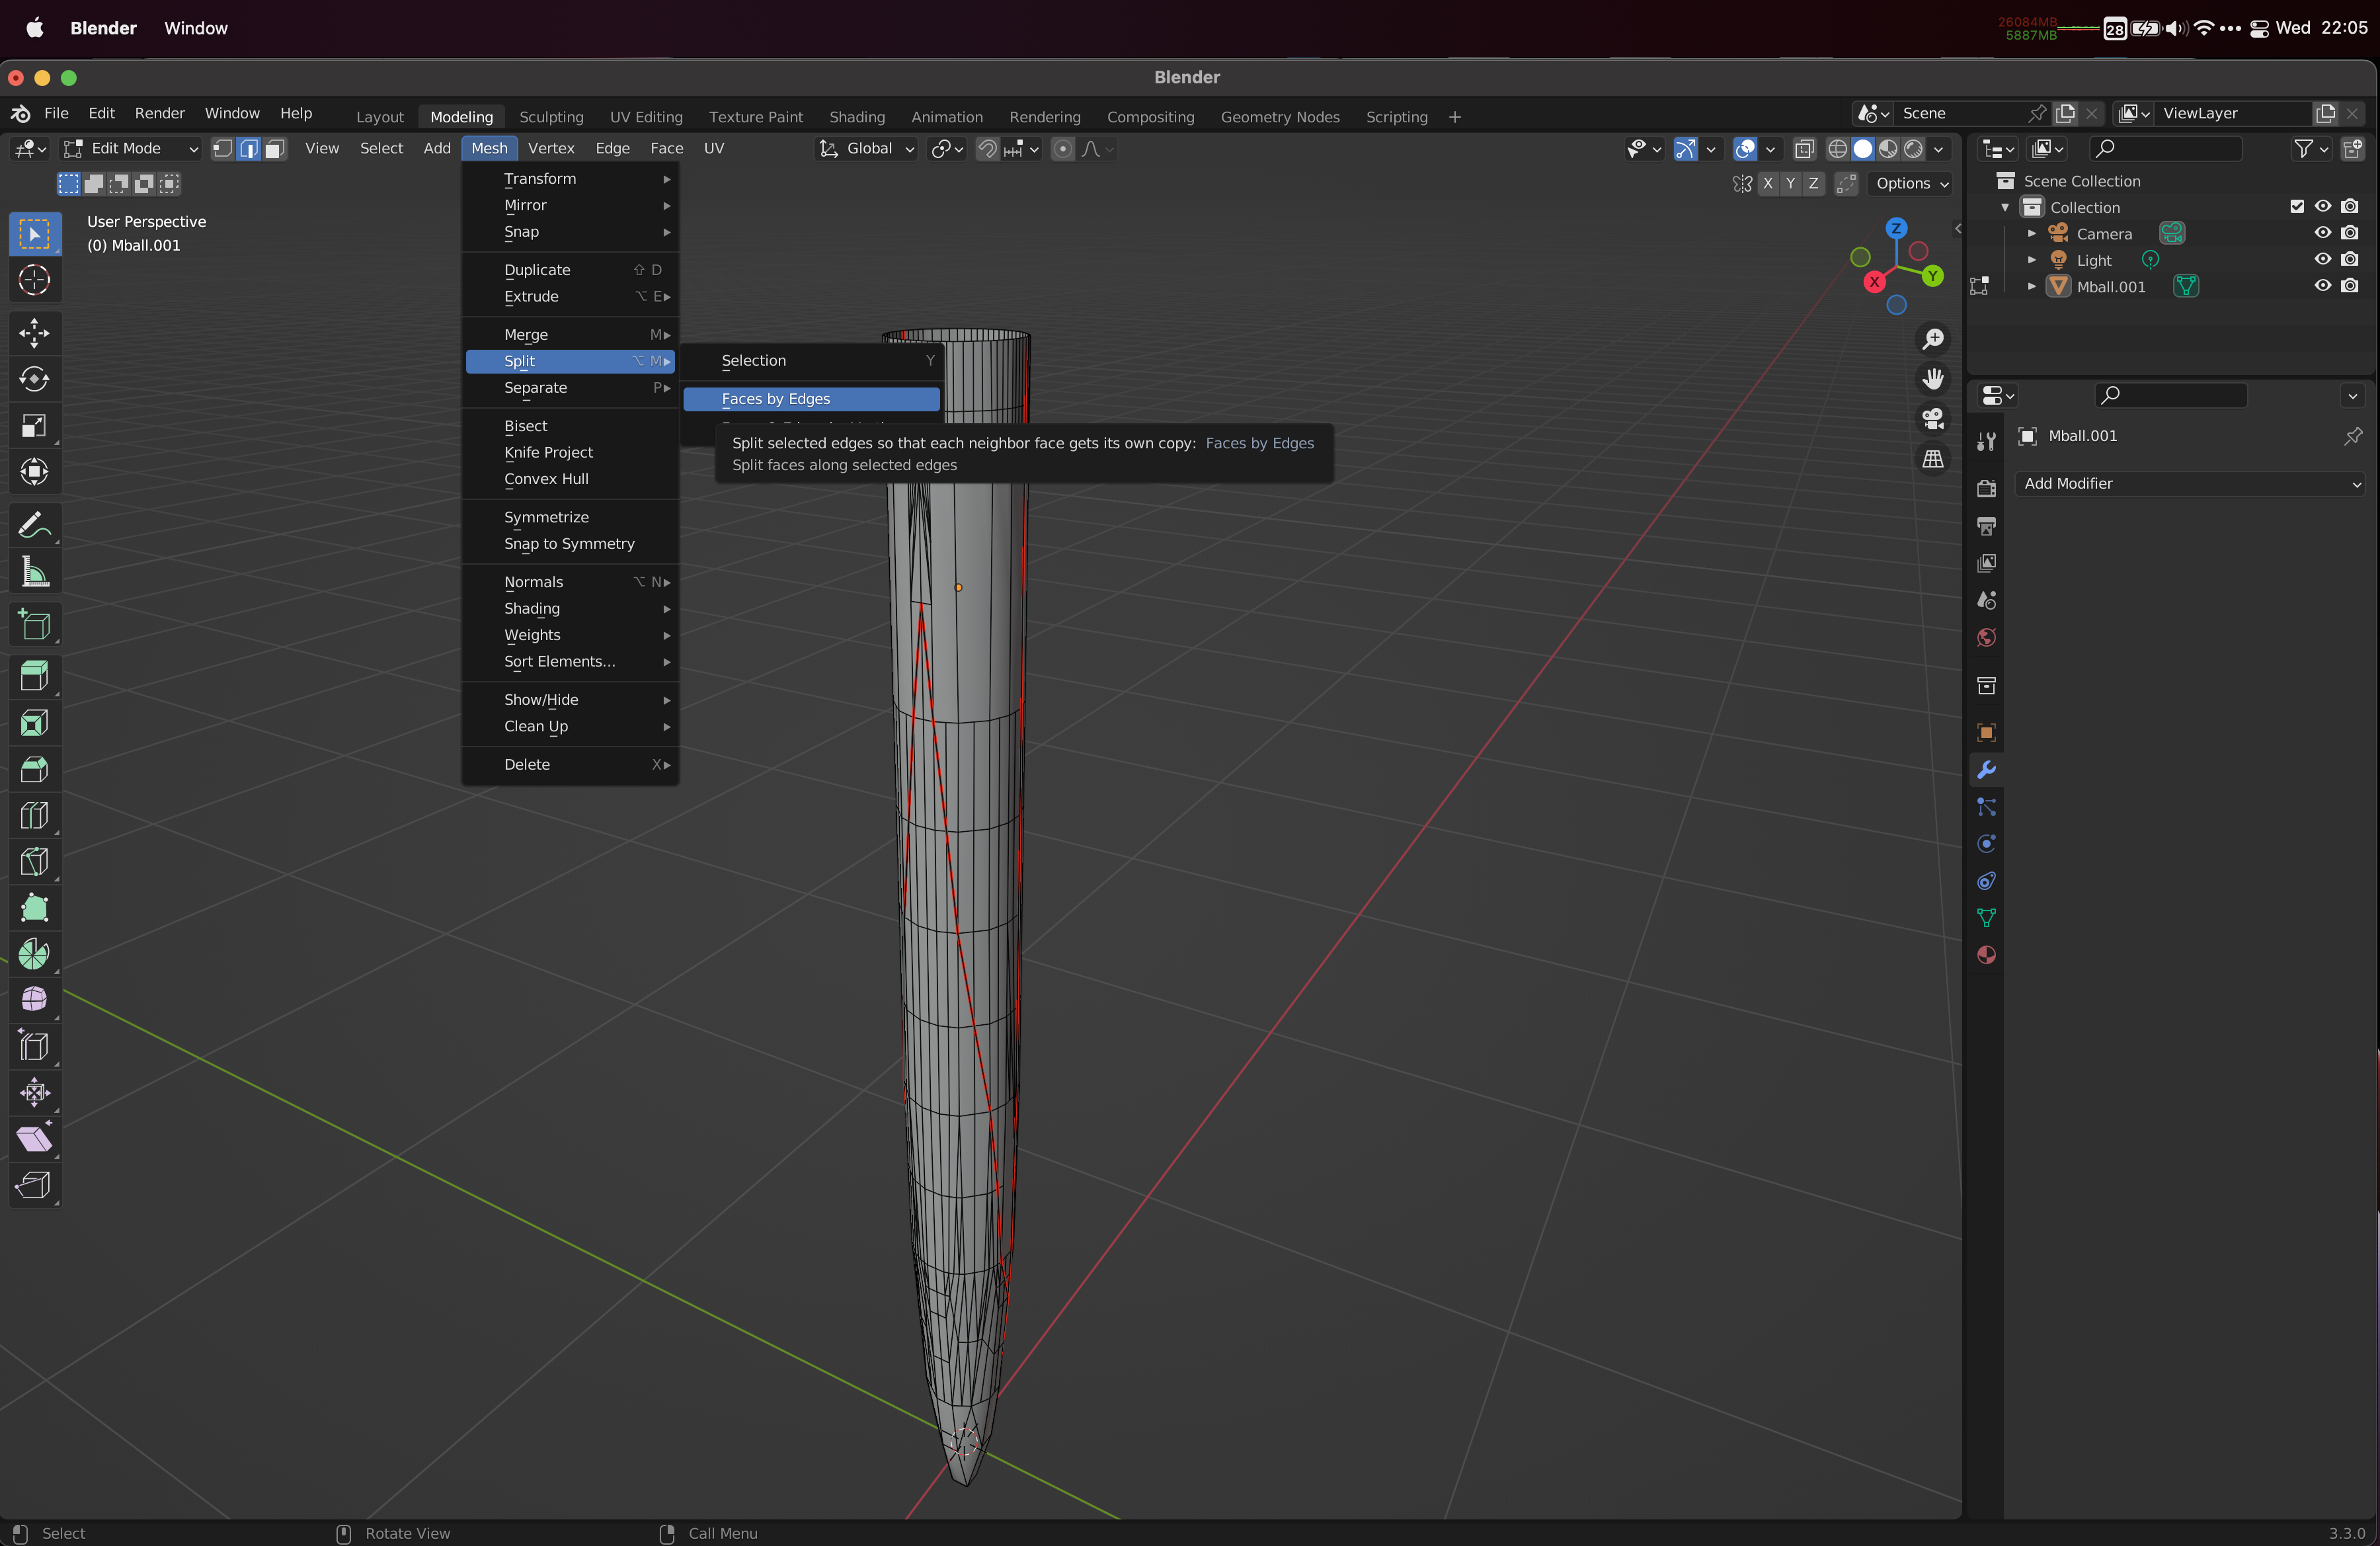
Now it is time to cut this surface up into the separate surface patches we need. Choose Edge Selection mode, and select any one of the Seam marked edges. Then Select -> Select Similar -> Seam to select all the seam edges. Then go for Mesh -> Split -> Faces by Edges to cut the pieces apart.
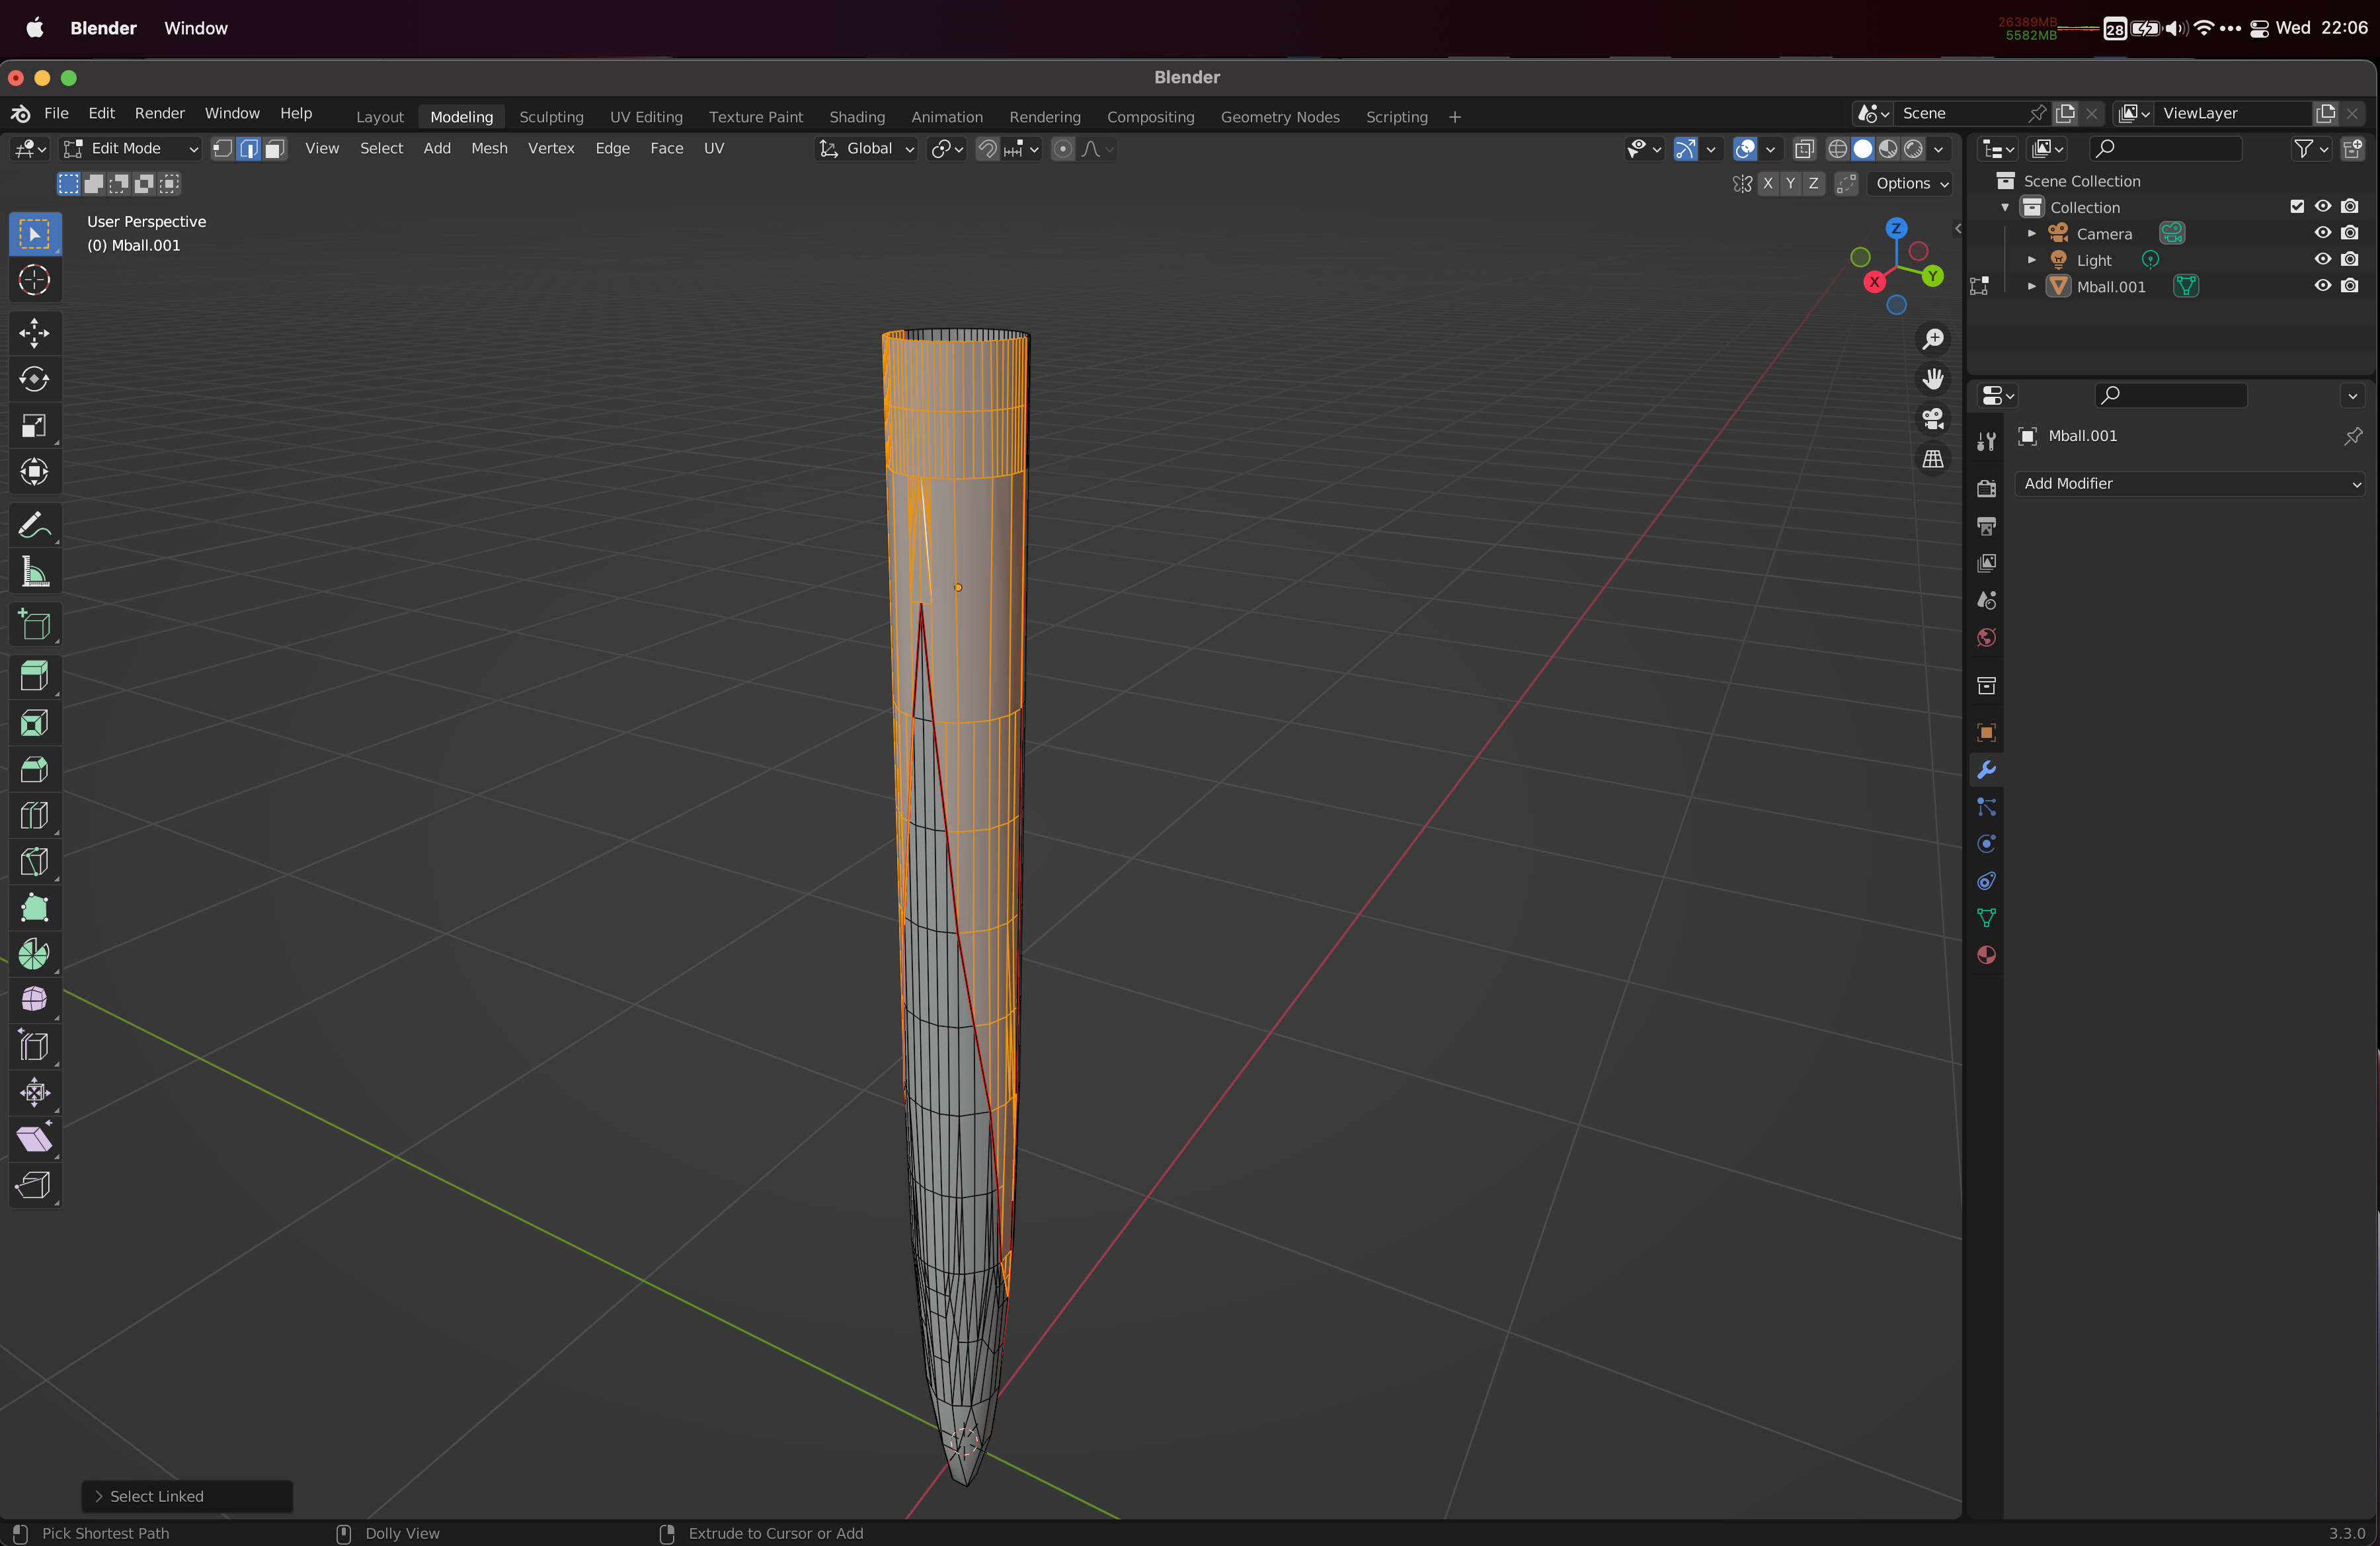
You can check your work by selecting anything in one component, and pressing L to select the entire connected component. If you get just your separated patch, you’re in good shape.
UV Coordinate Maps to flatten pattern pieces
Now we are getting close to where we can use the UV Layout engine to create pattern parts for a concrete sewing pattern for the quiver.
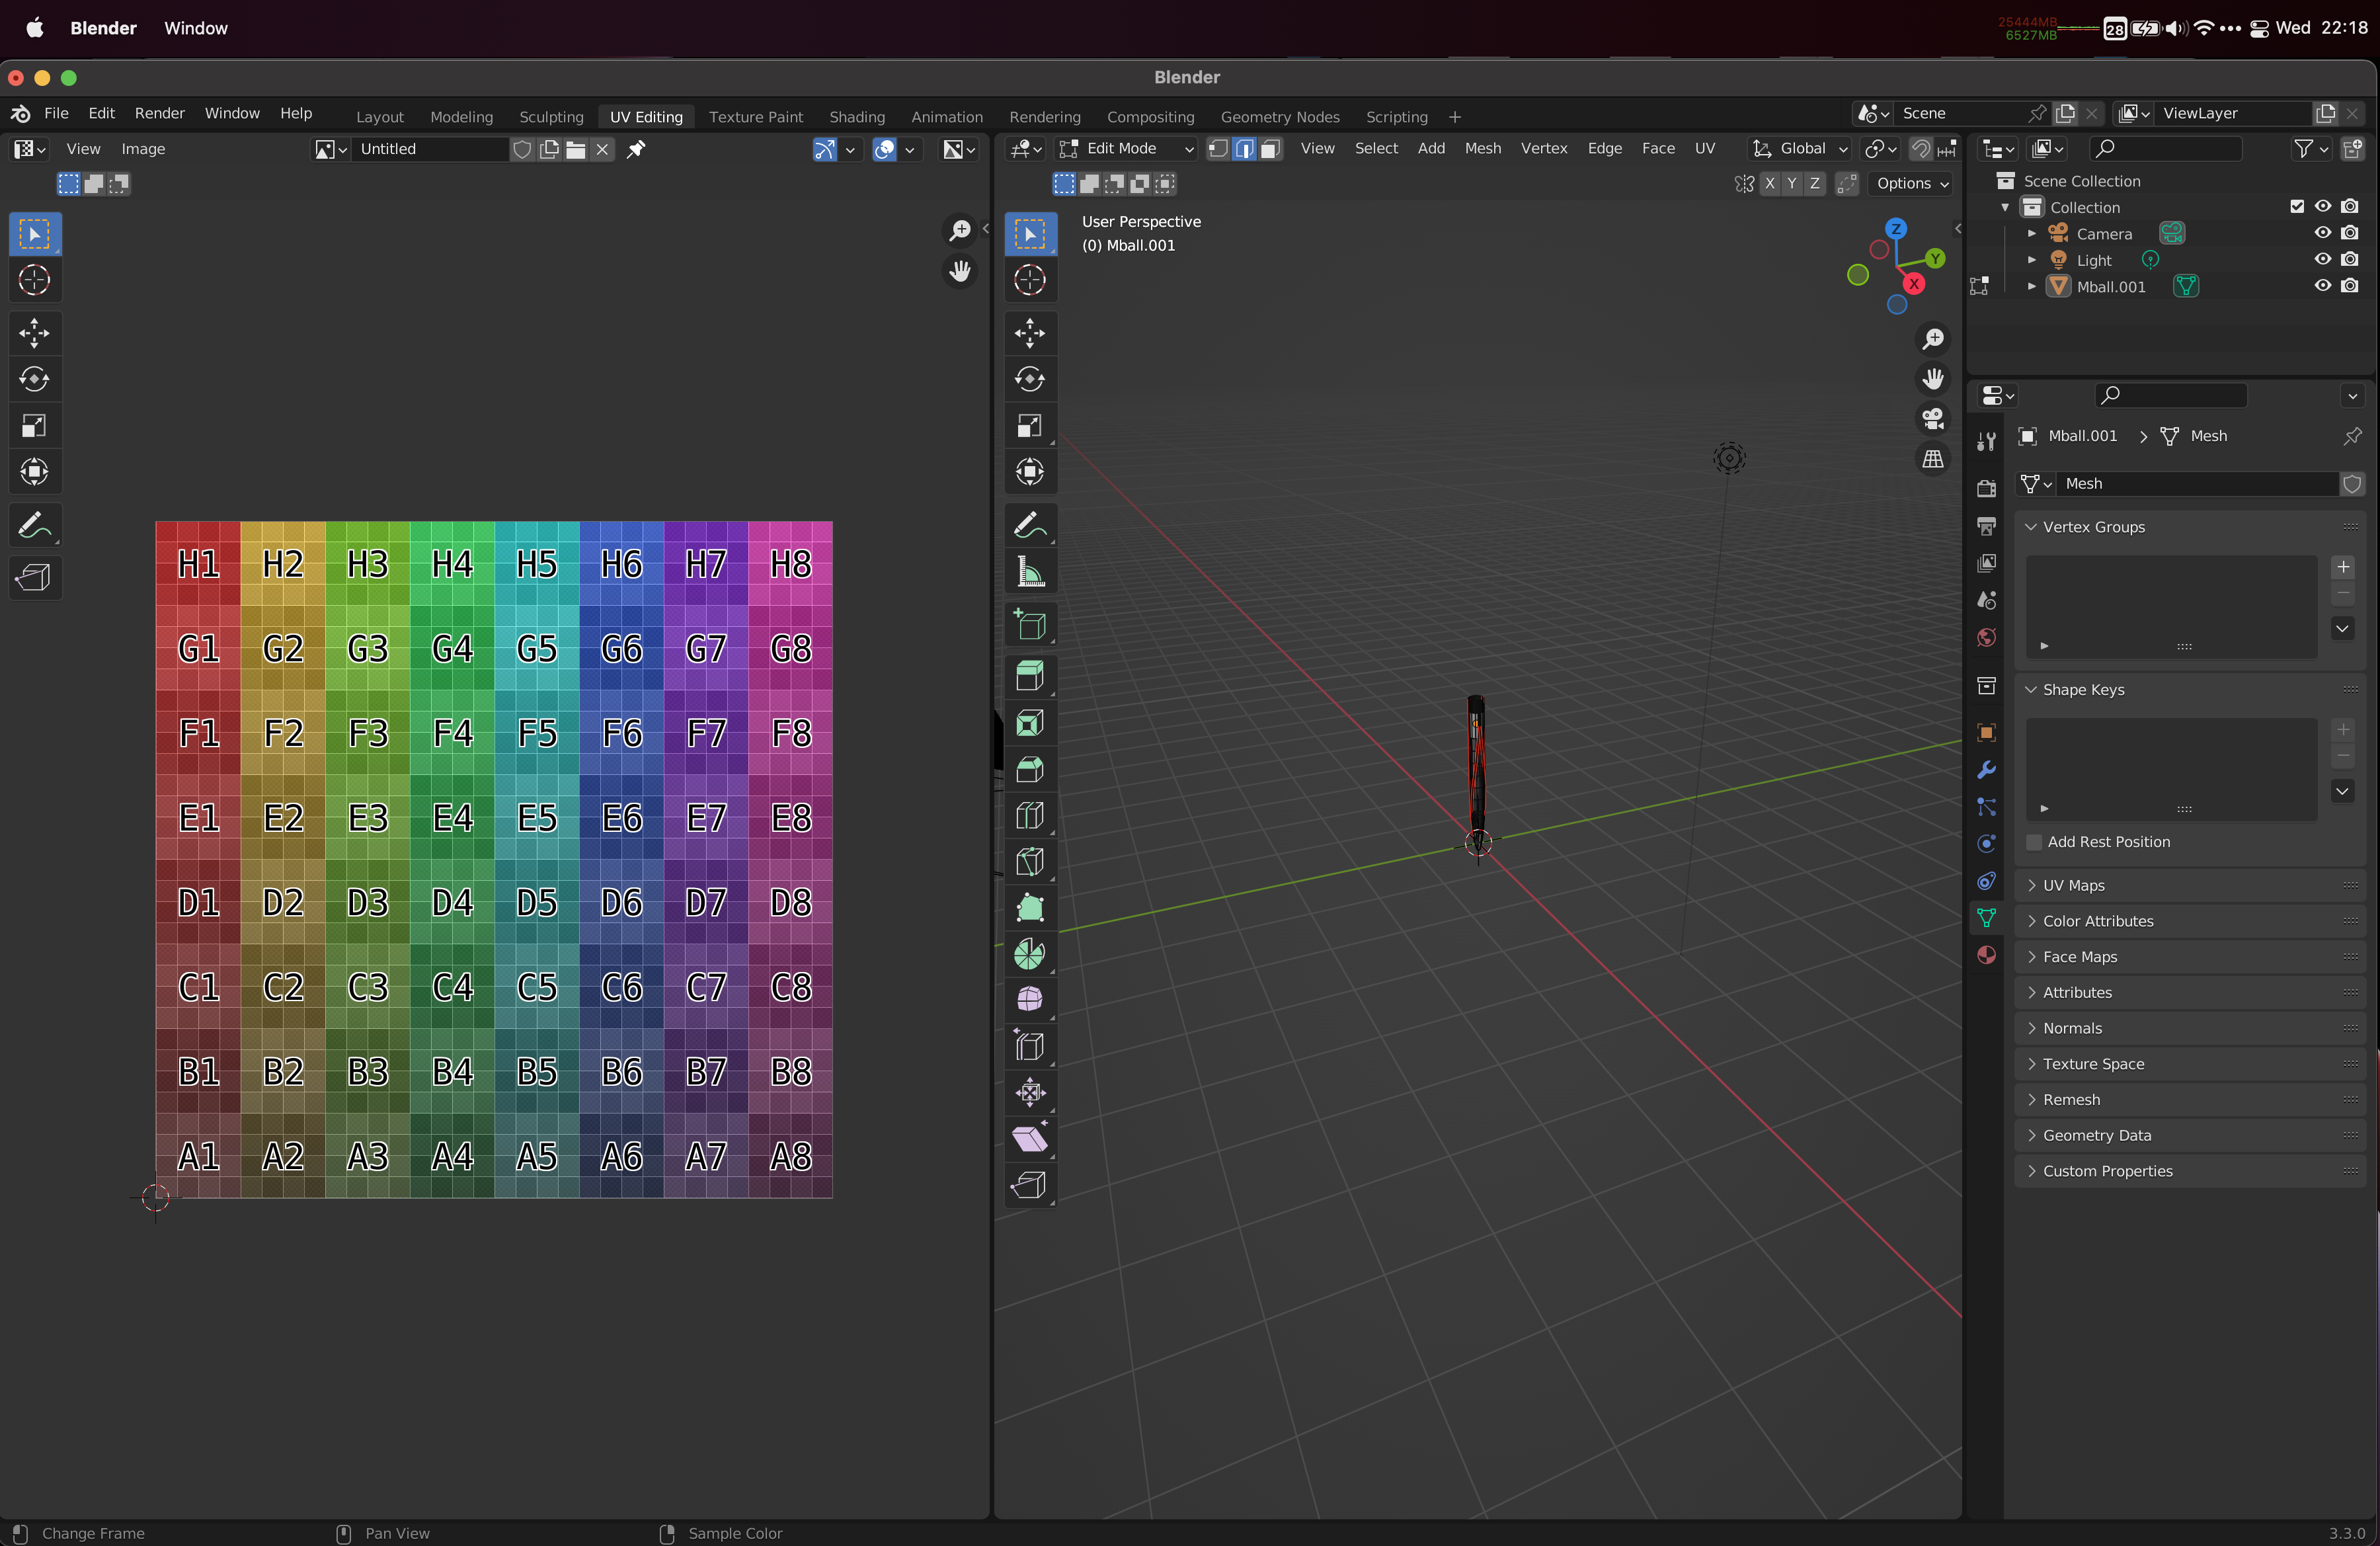
To be able to track how the UV coordinate map interacts with the shape, we will prepare the setup a little bit first. We will need to connect UV coordinates to the surface of the model somehow, so we will start by going to the UV Editing context. On the left hand side, do Image -> New and choose Generated Type to be something like Color Grid. You should see a bunch of colors and letters and numbers show up.
Next, we move to the Shading context to connect this UV map to the object itself. In the bottom left panel (with the grid), find the button that looks like this:  . Click it and choose the color grid you put in in the earlier step.
Next, in the bottom right pane, find the button that looks like this:  . Click New to create a new Material definition for the surface.
Then, still in the bottom right panel, go to Add -> Input -> UV Map to create a UV Map node. Place the node somewhere to the right of the other boxes, and connect its output to the Base Color connection point in the middle box, by clicking on the little dot where it says UV and dragging over to the dot next to Base Color.
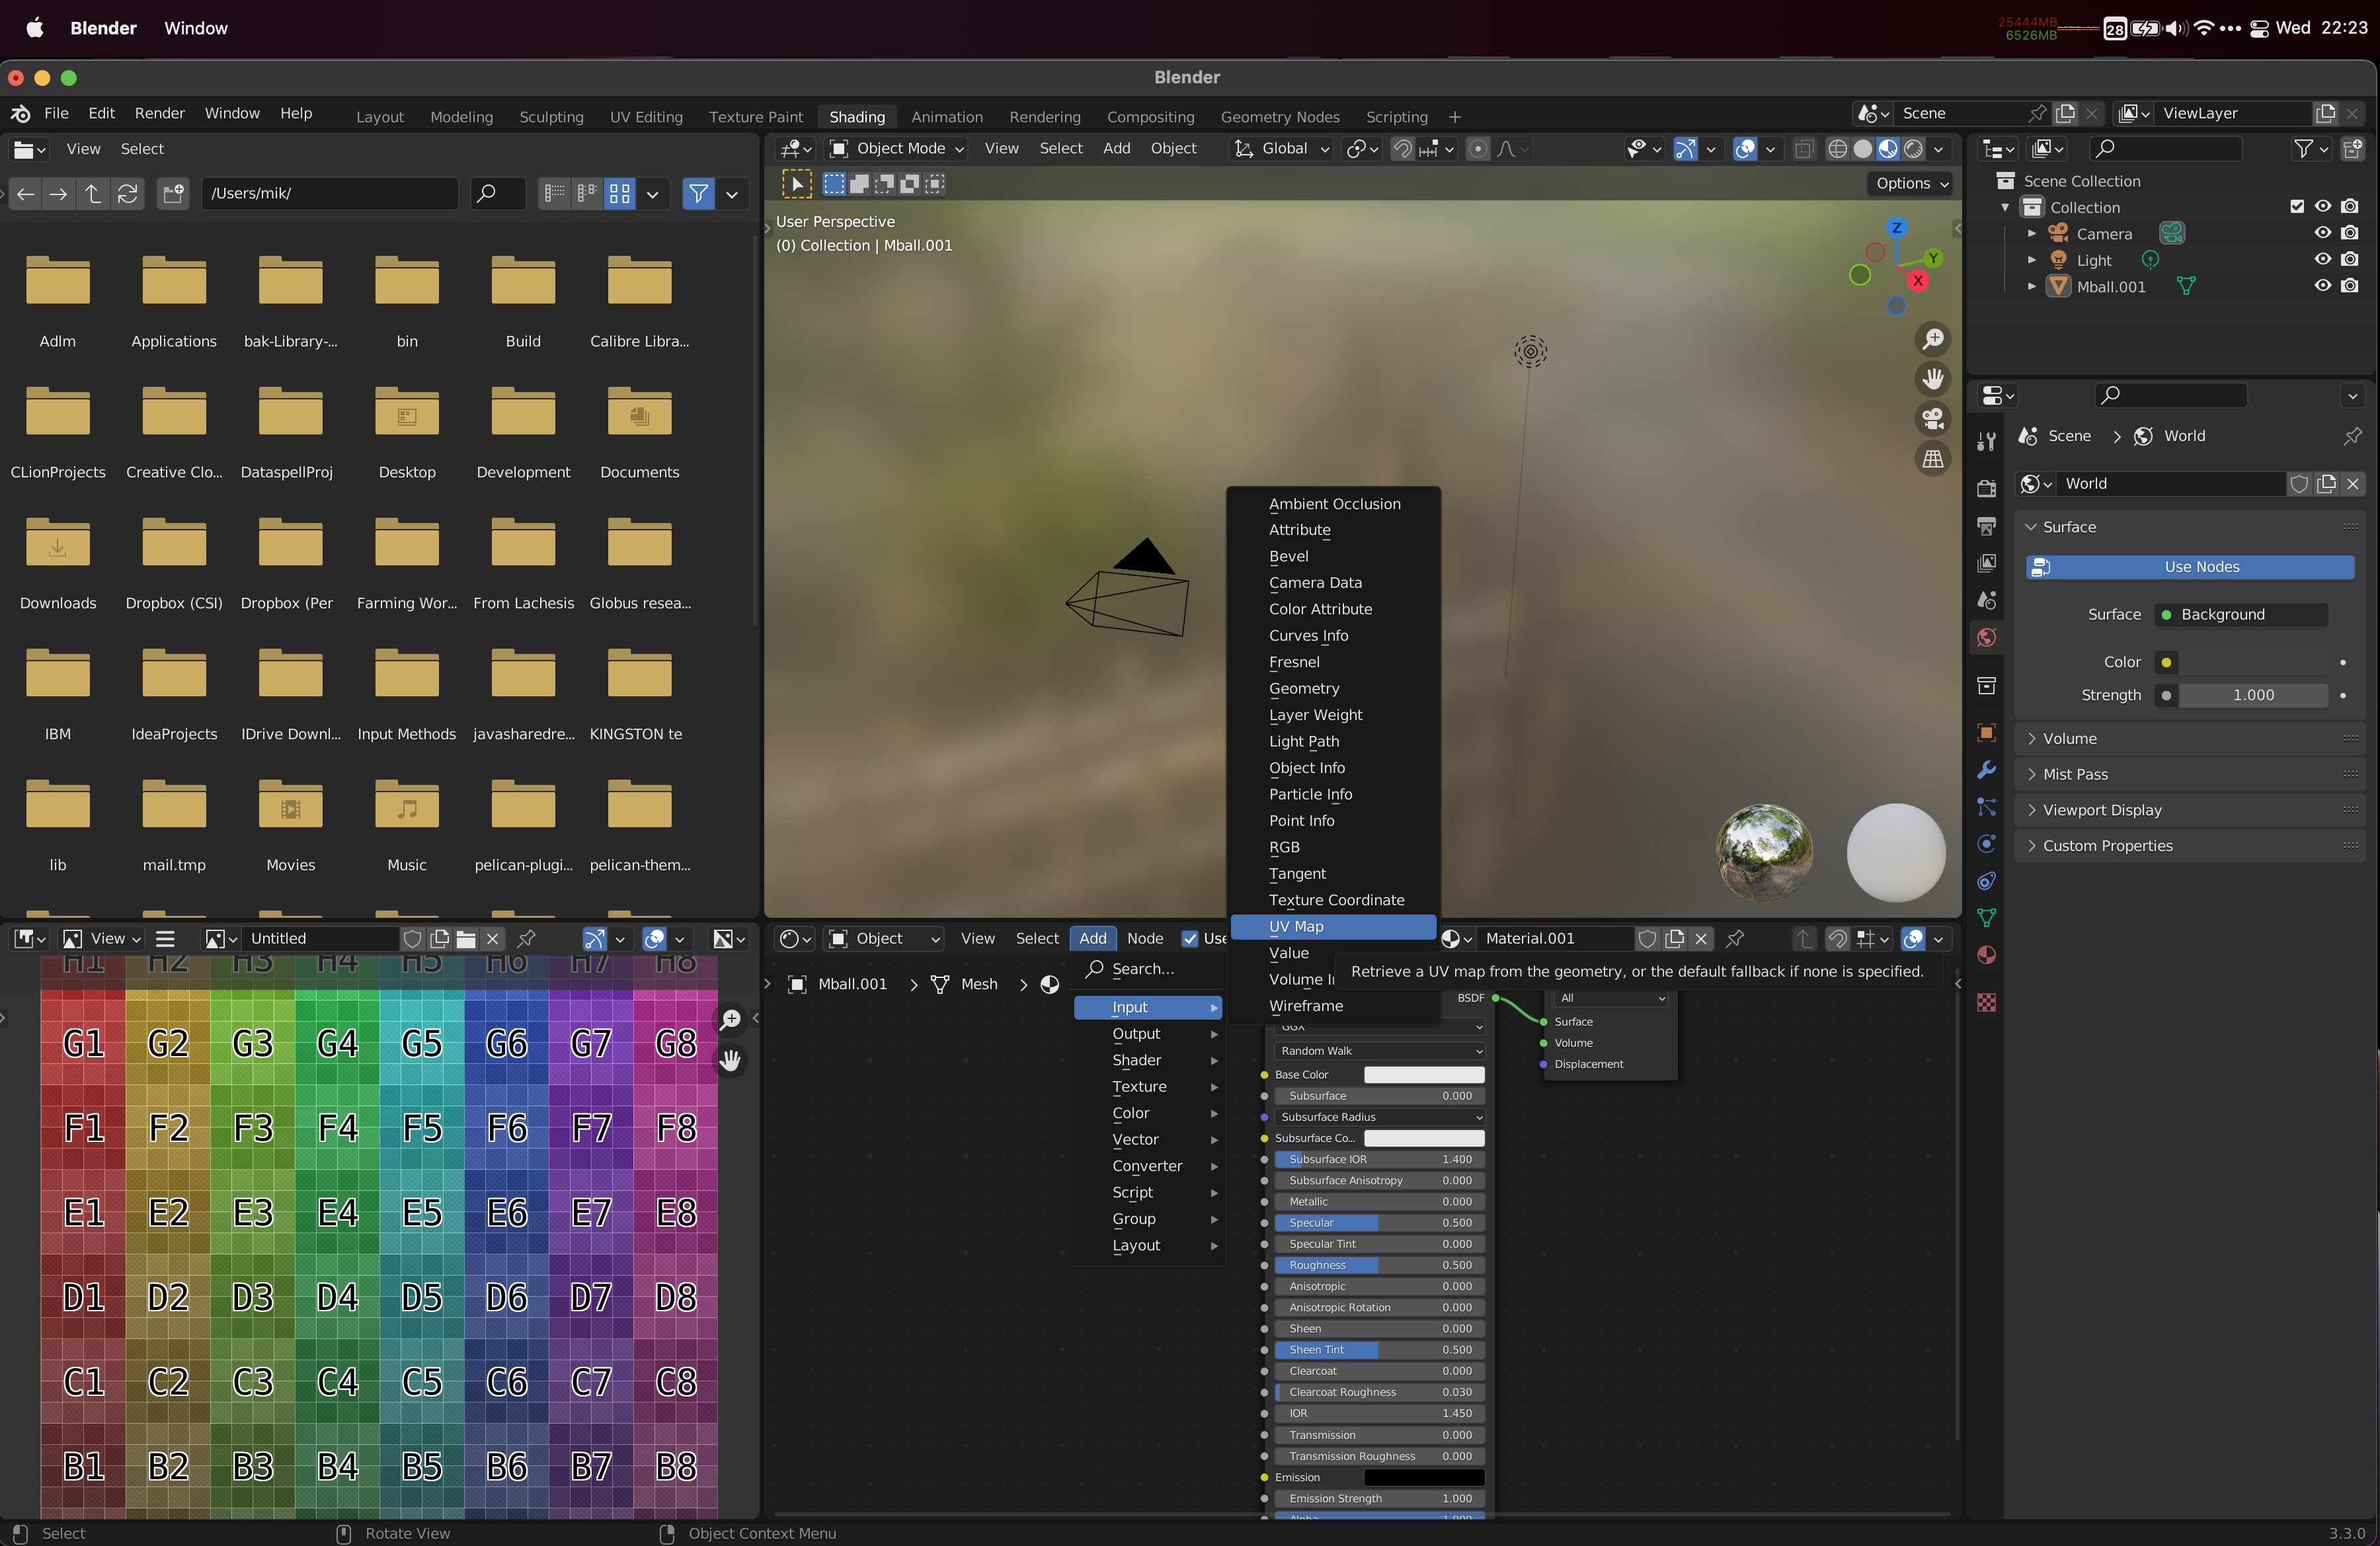
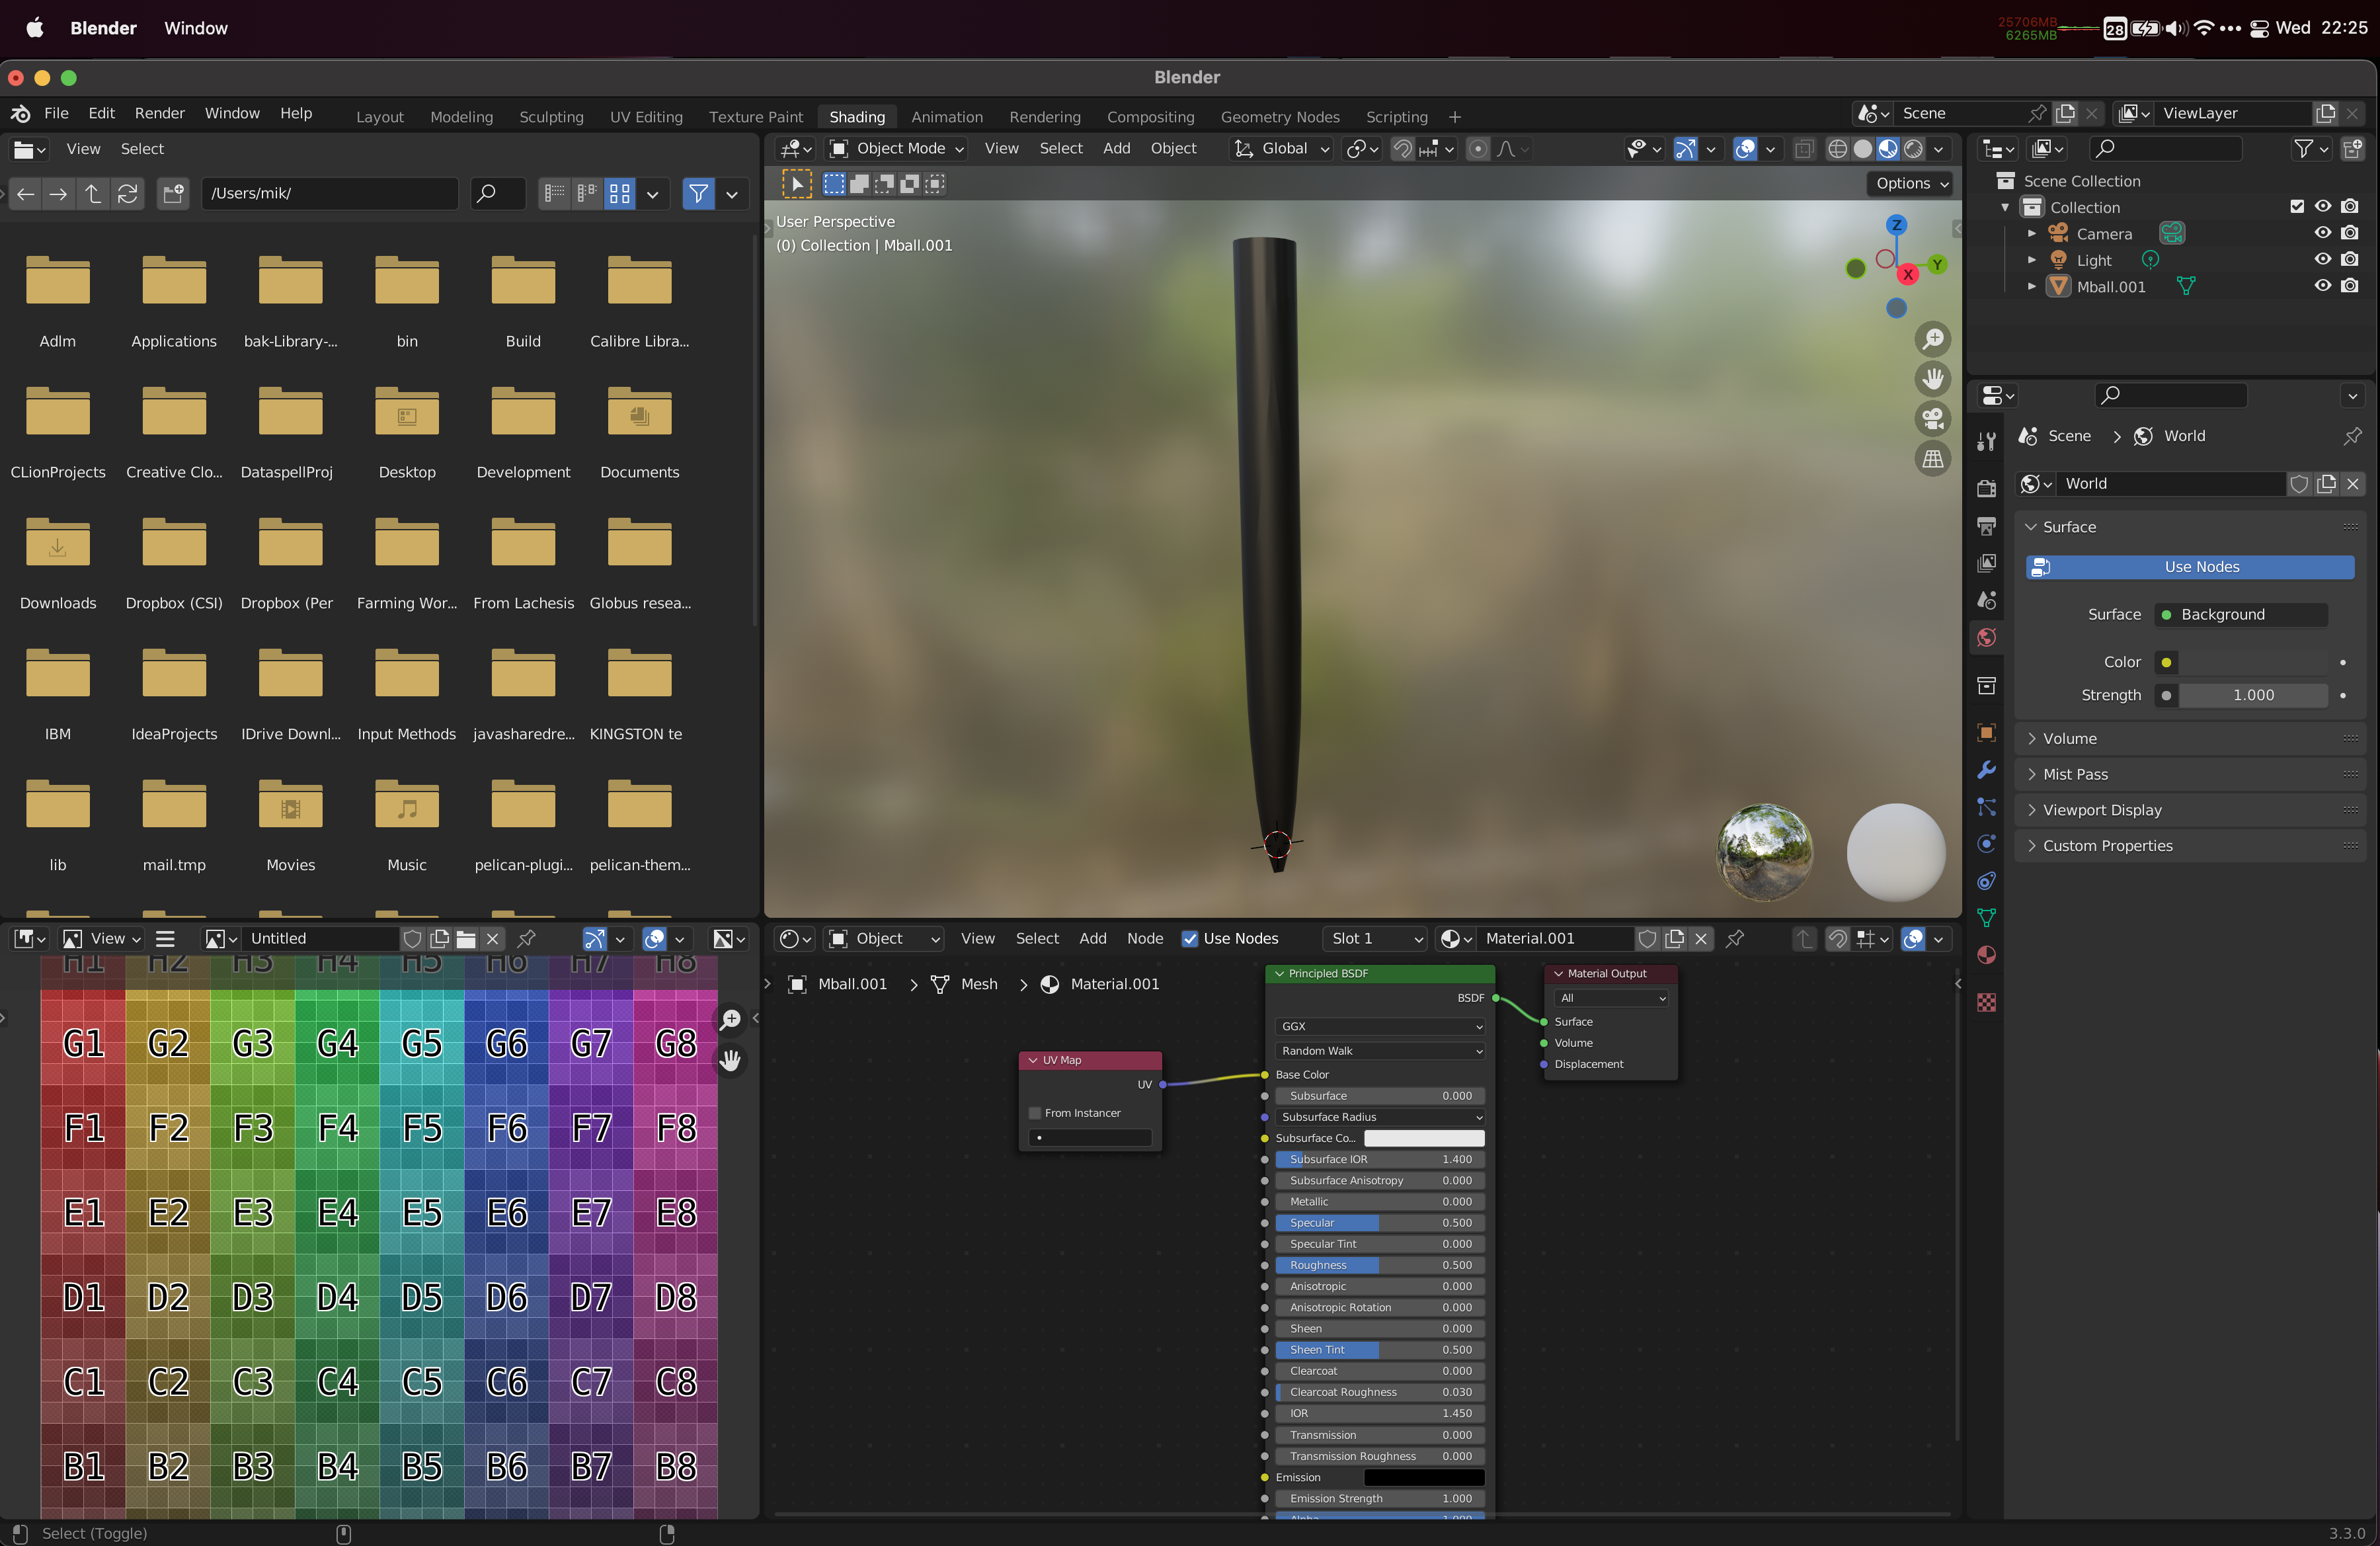
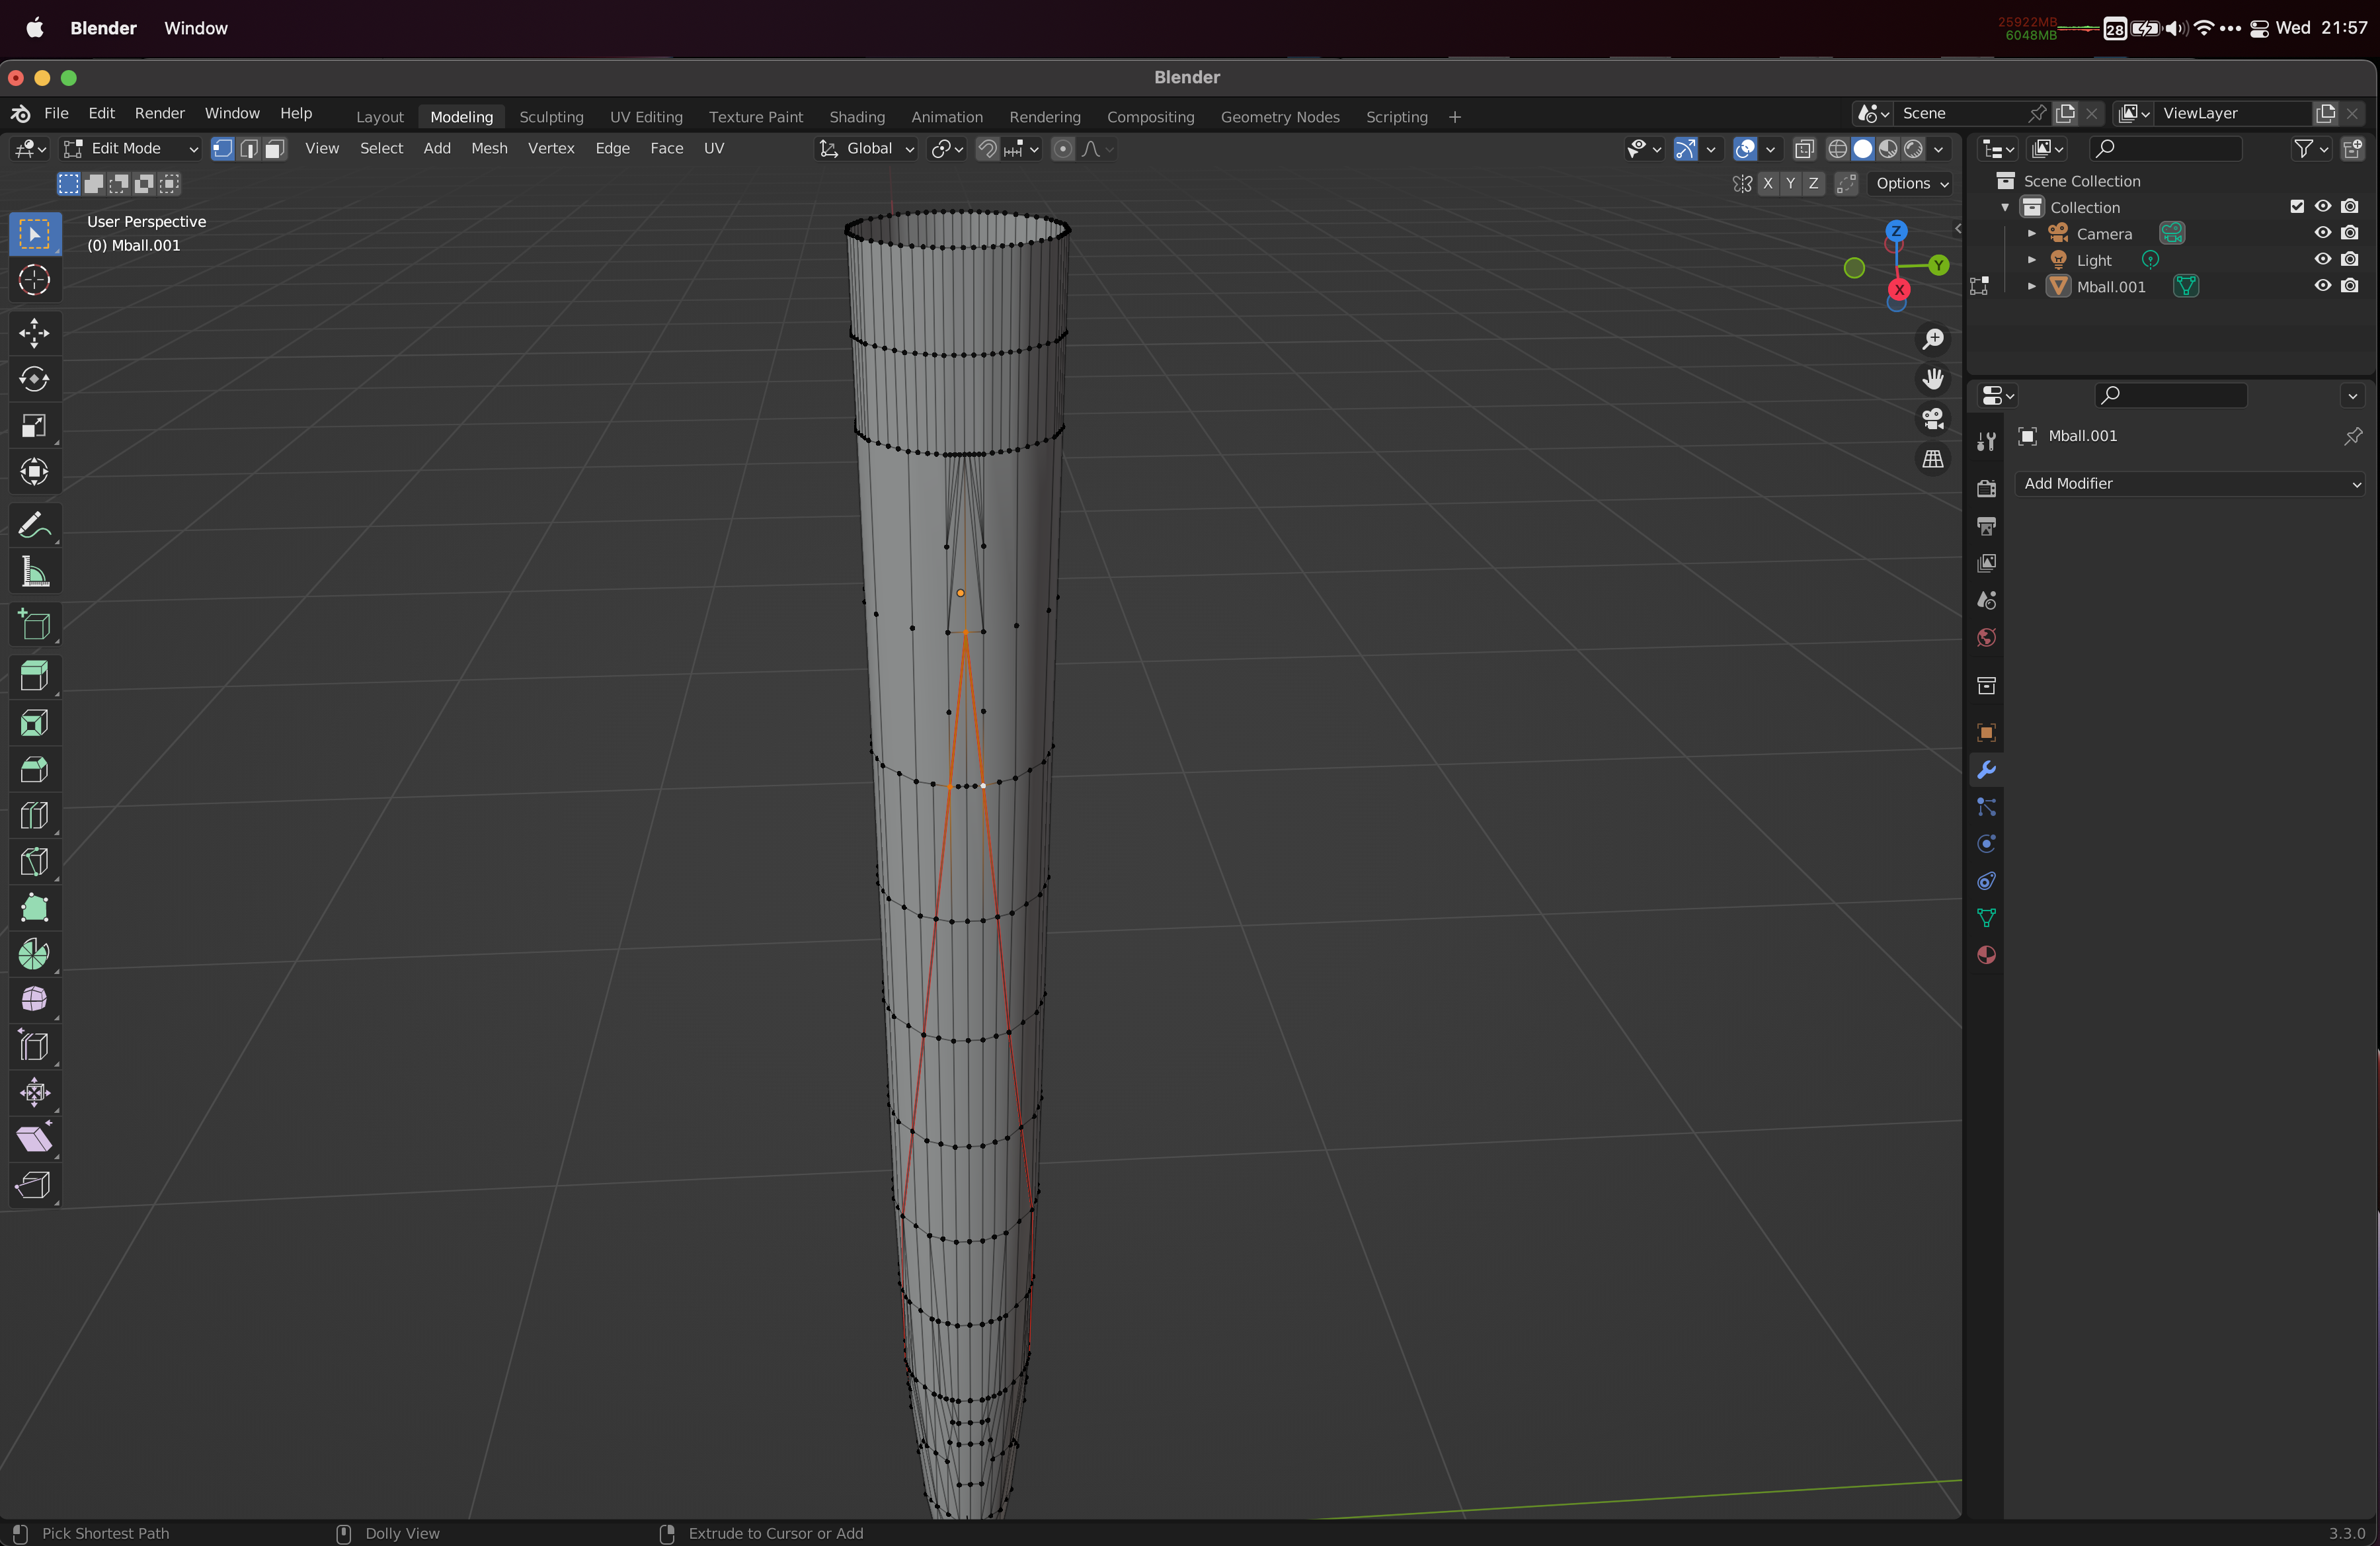
The quiver still does not look terribly exciting, but that’s because we have not yet connected the UV coordinate map to the mesh itself. So let’s go to Edit Mode in the top right panel (where we see the quiver model floating around) and let’s create a UV coordinate map.
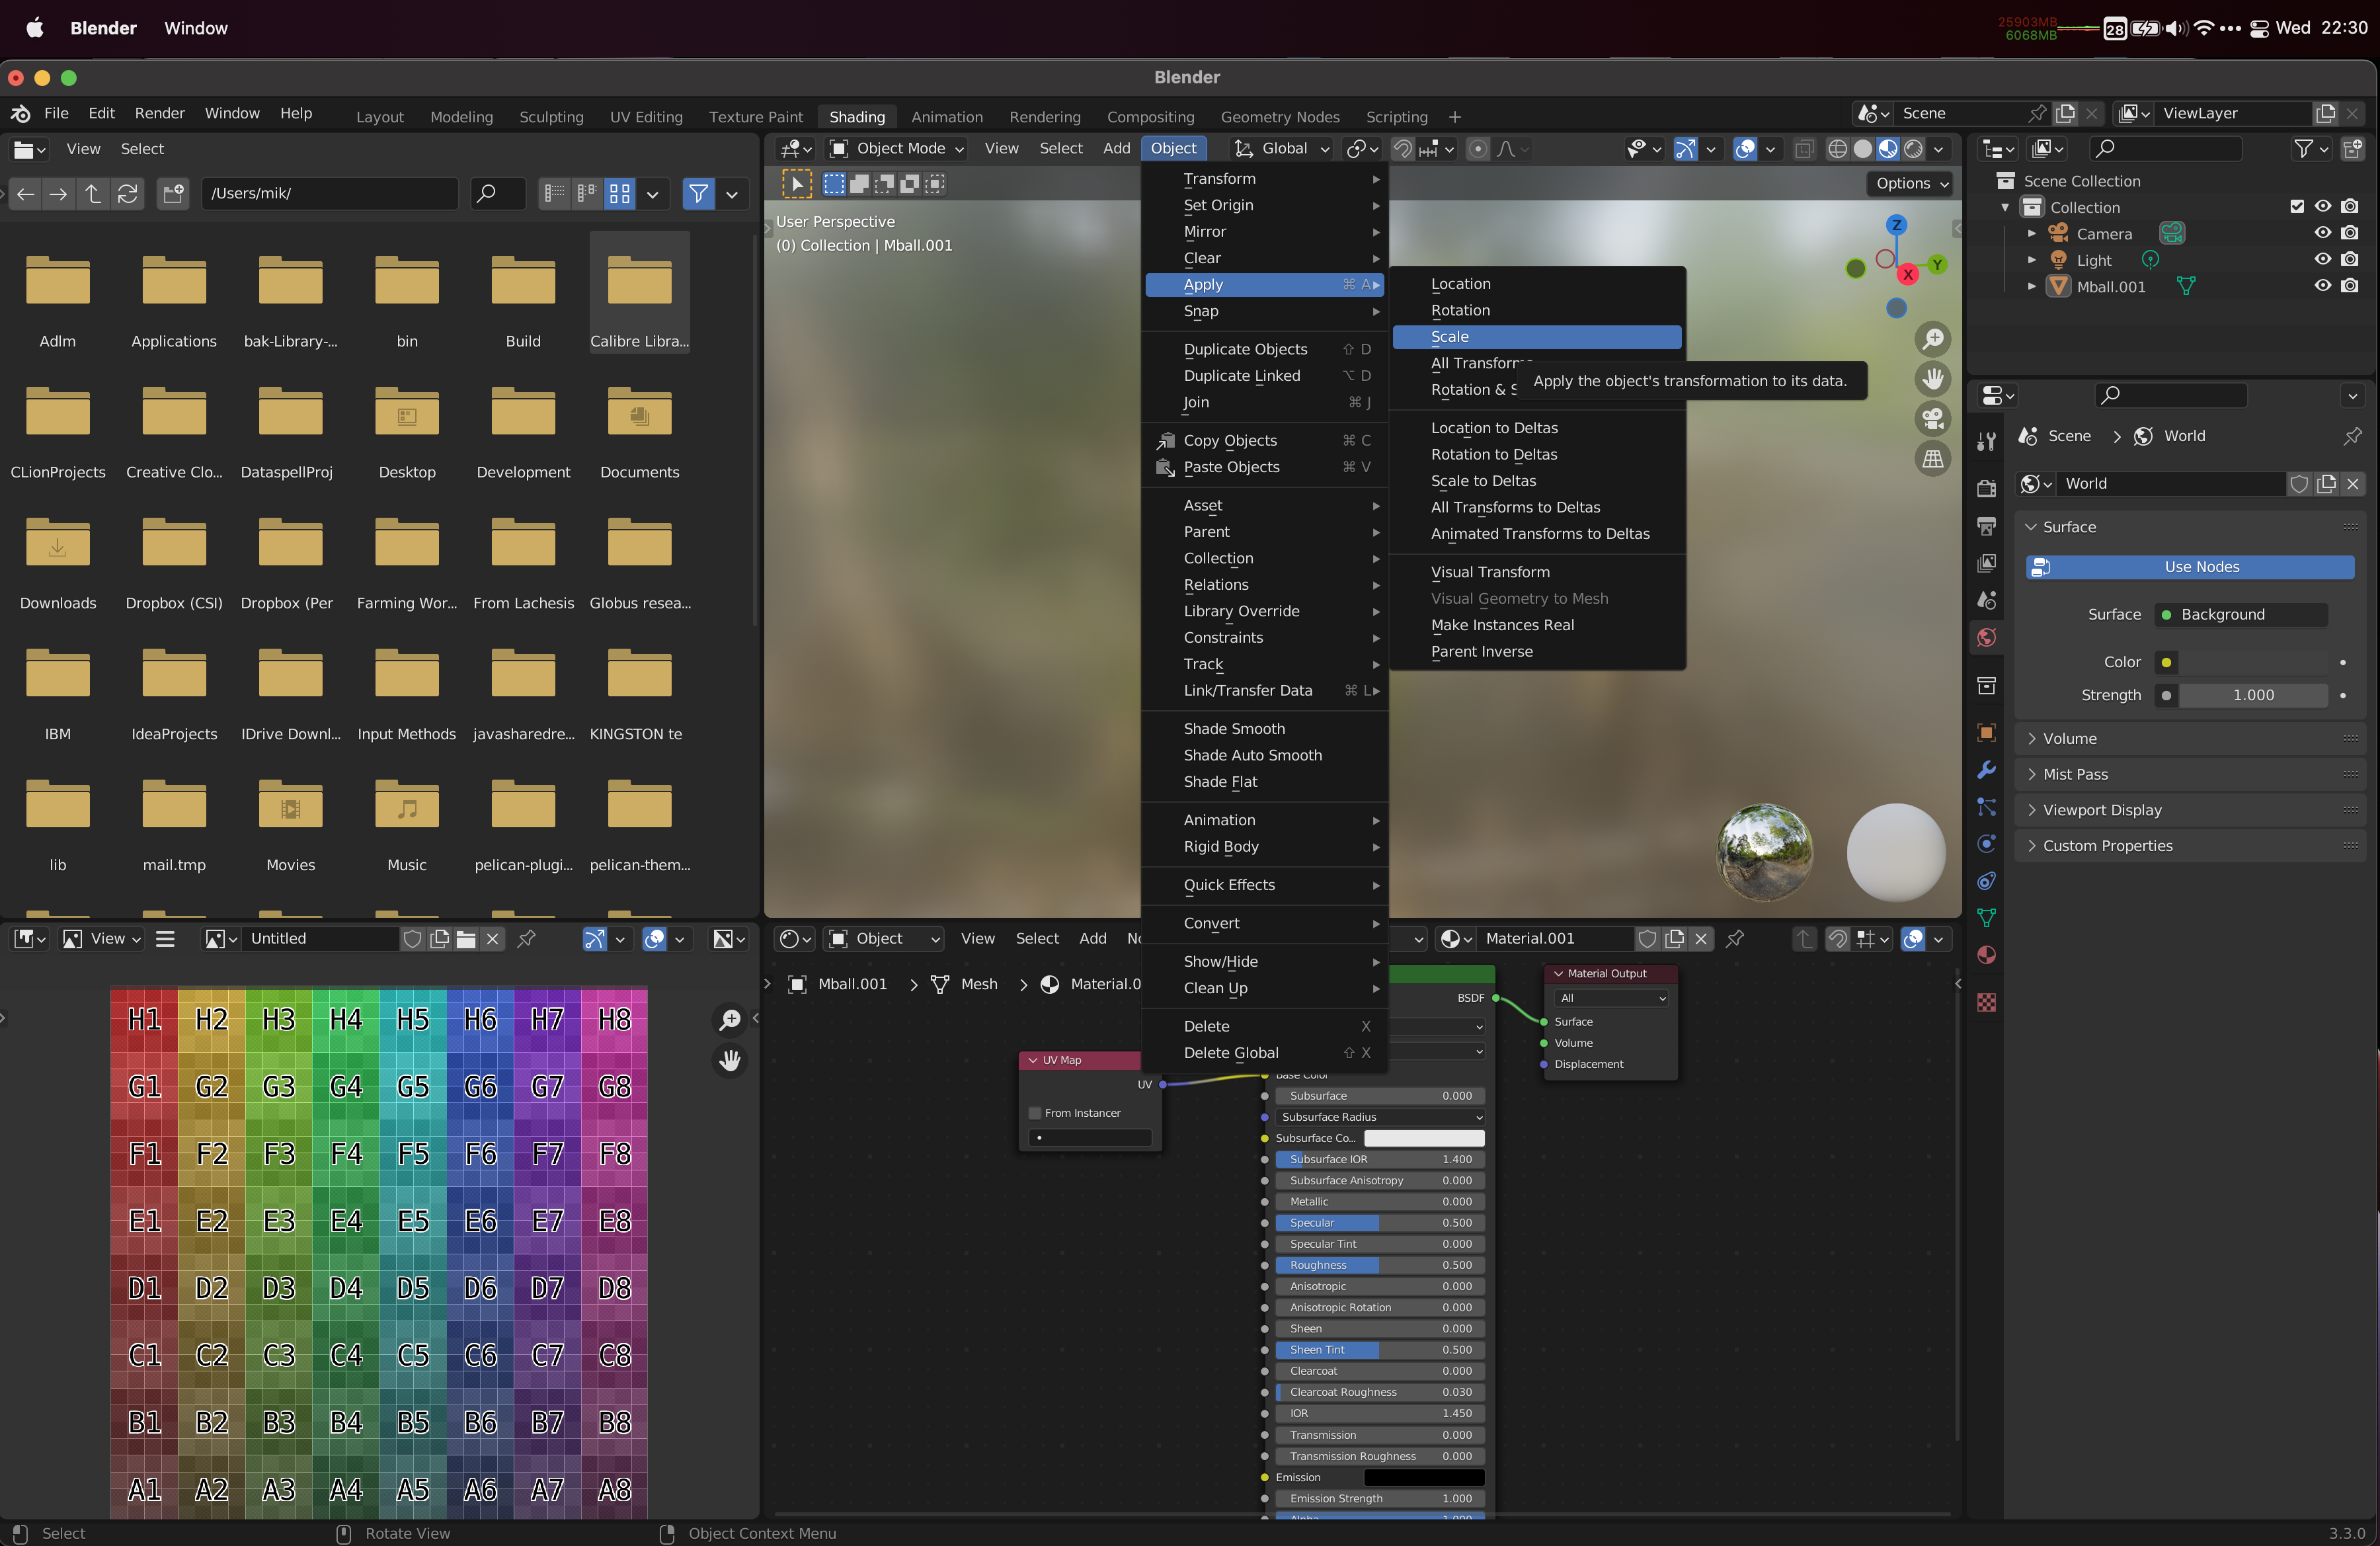
Press A to select the entire mesh, and then press U (or go to the UV menu), and choose Unwrap.
You will get an error message about non-uniform scales, which turns out to be because we did a bunch of rescaling operations - but didn’t quite finish the operations early on. Switch to Object Mode, click on the mesh to select it, and press Ctrl+A and choose Scale (or go to Object -> Apply -> Scale) to apply our earlier transformations.
Then back to Edit Mode, press A to select the entire mesh, and U to choose Unwrap. Switch to UV Editing context to see the effects of doing this - you can now see the unwrapped mesh laid out on the UV plane to the left. If you find the four balls to the far right on the menu bar of the right hand panel and click the Material Preview or the Render Preview viewing mode, you can see the pieces of your mesh color in according to where they are in the UV plane.
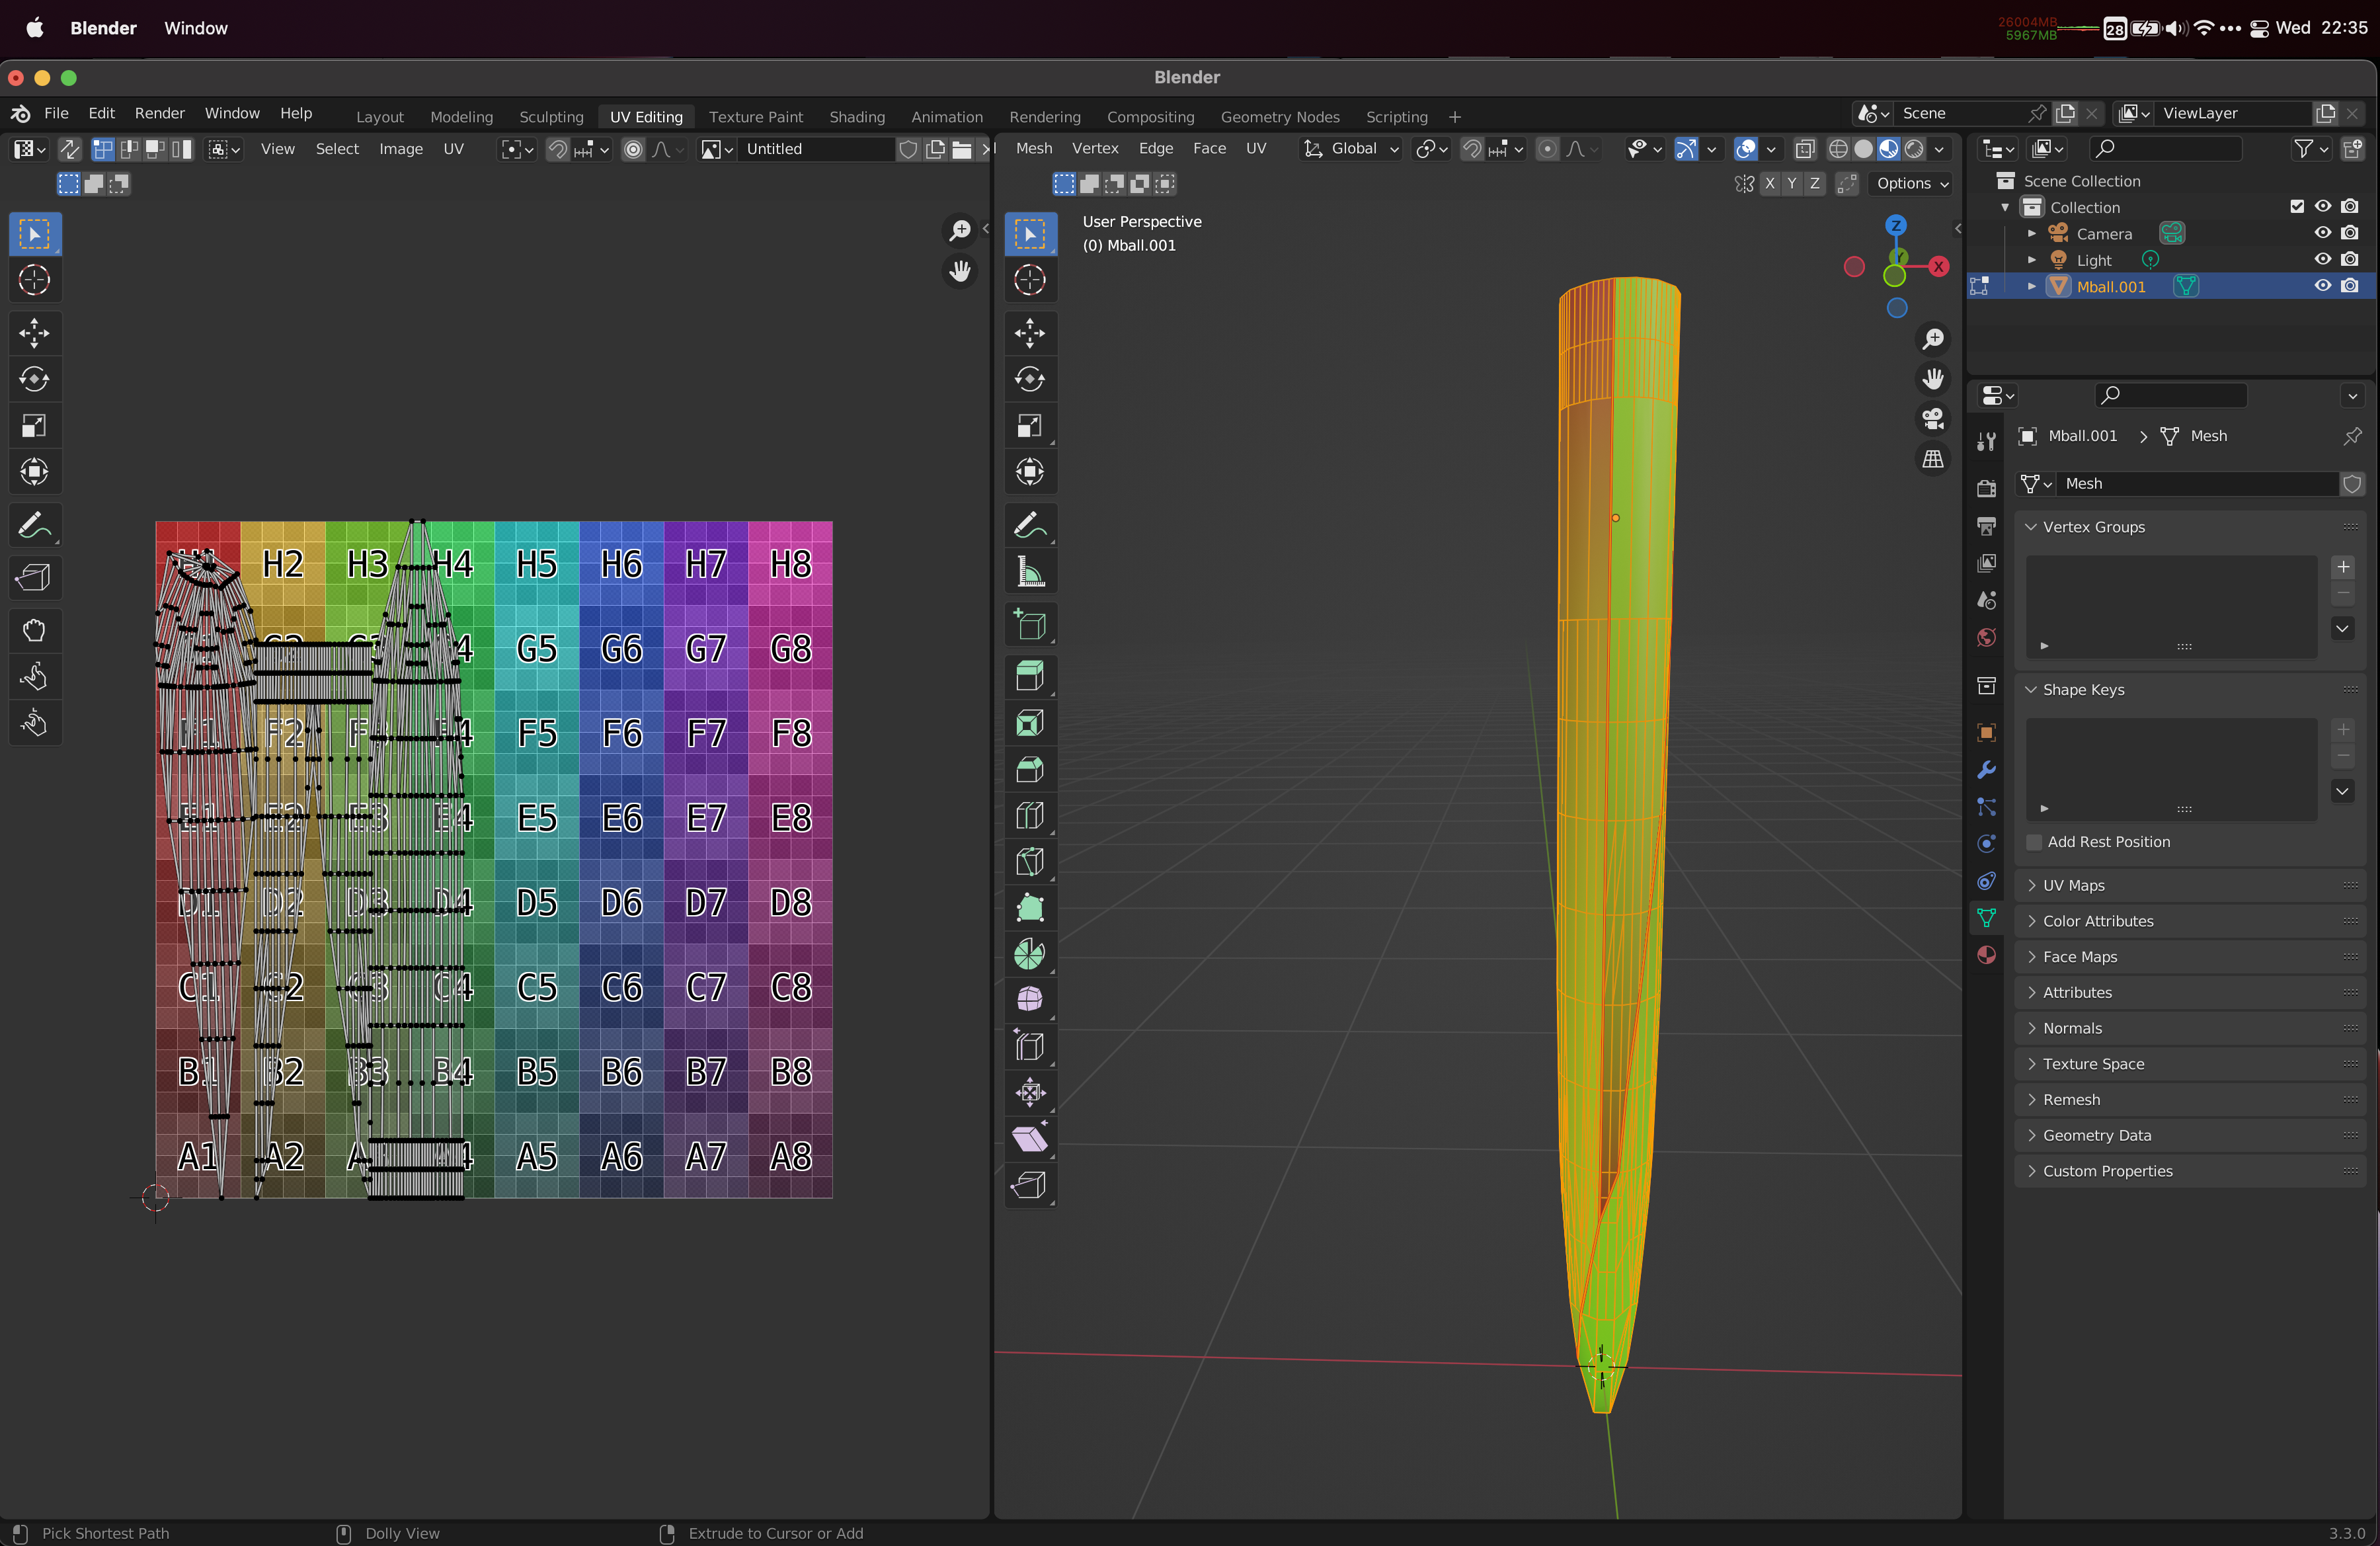
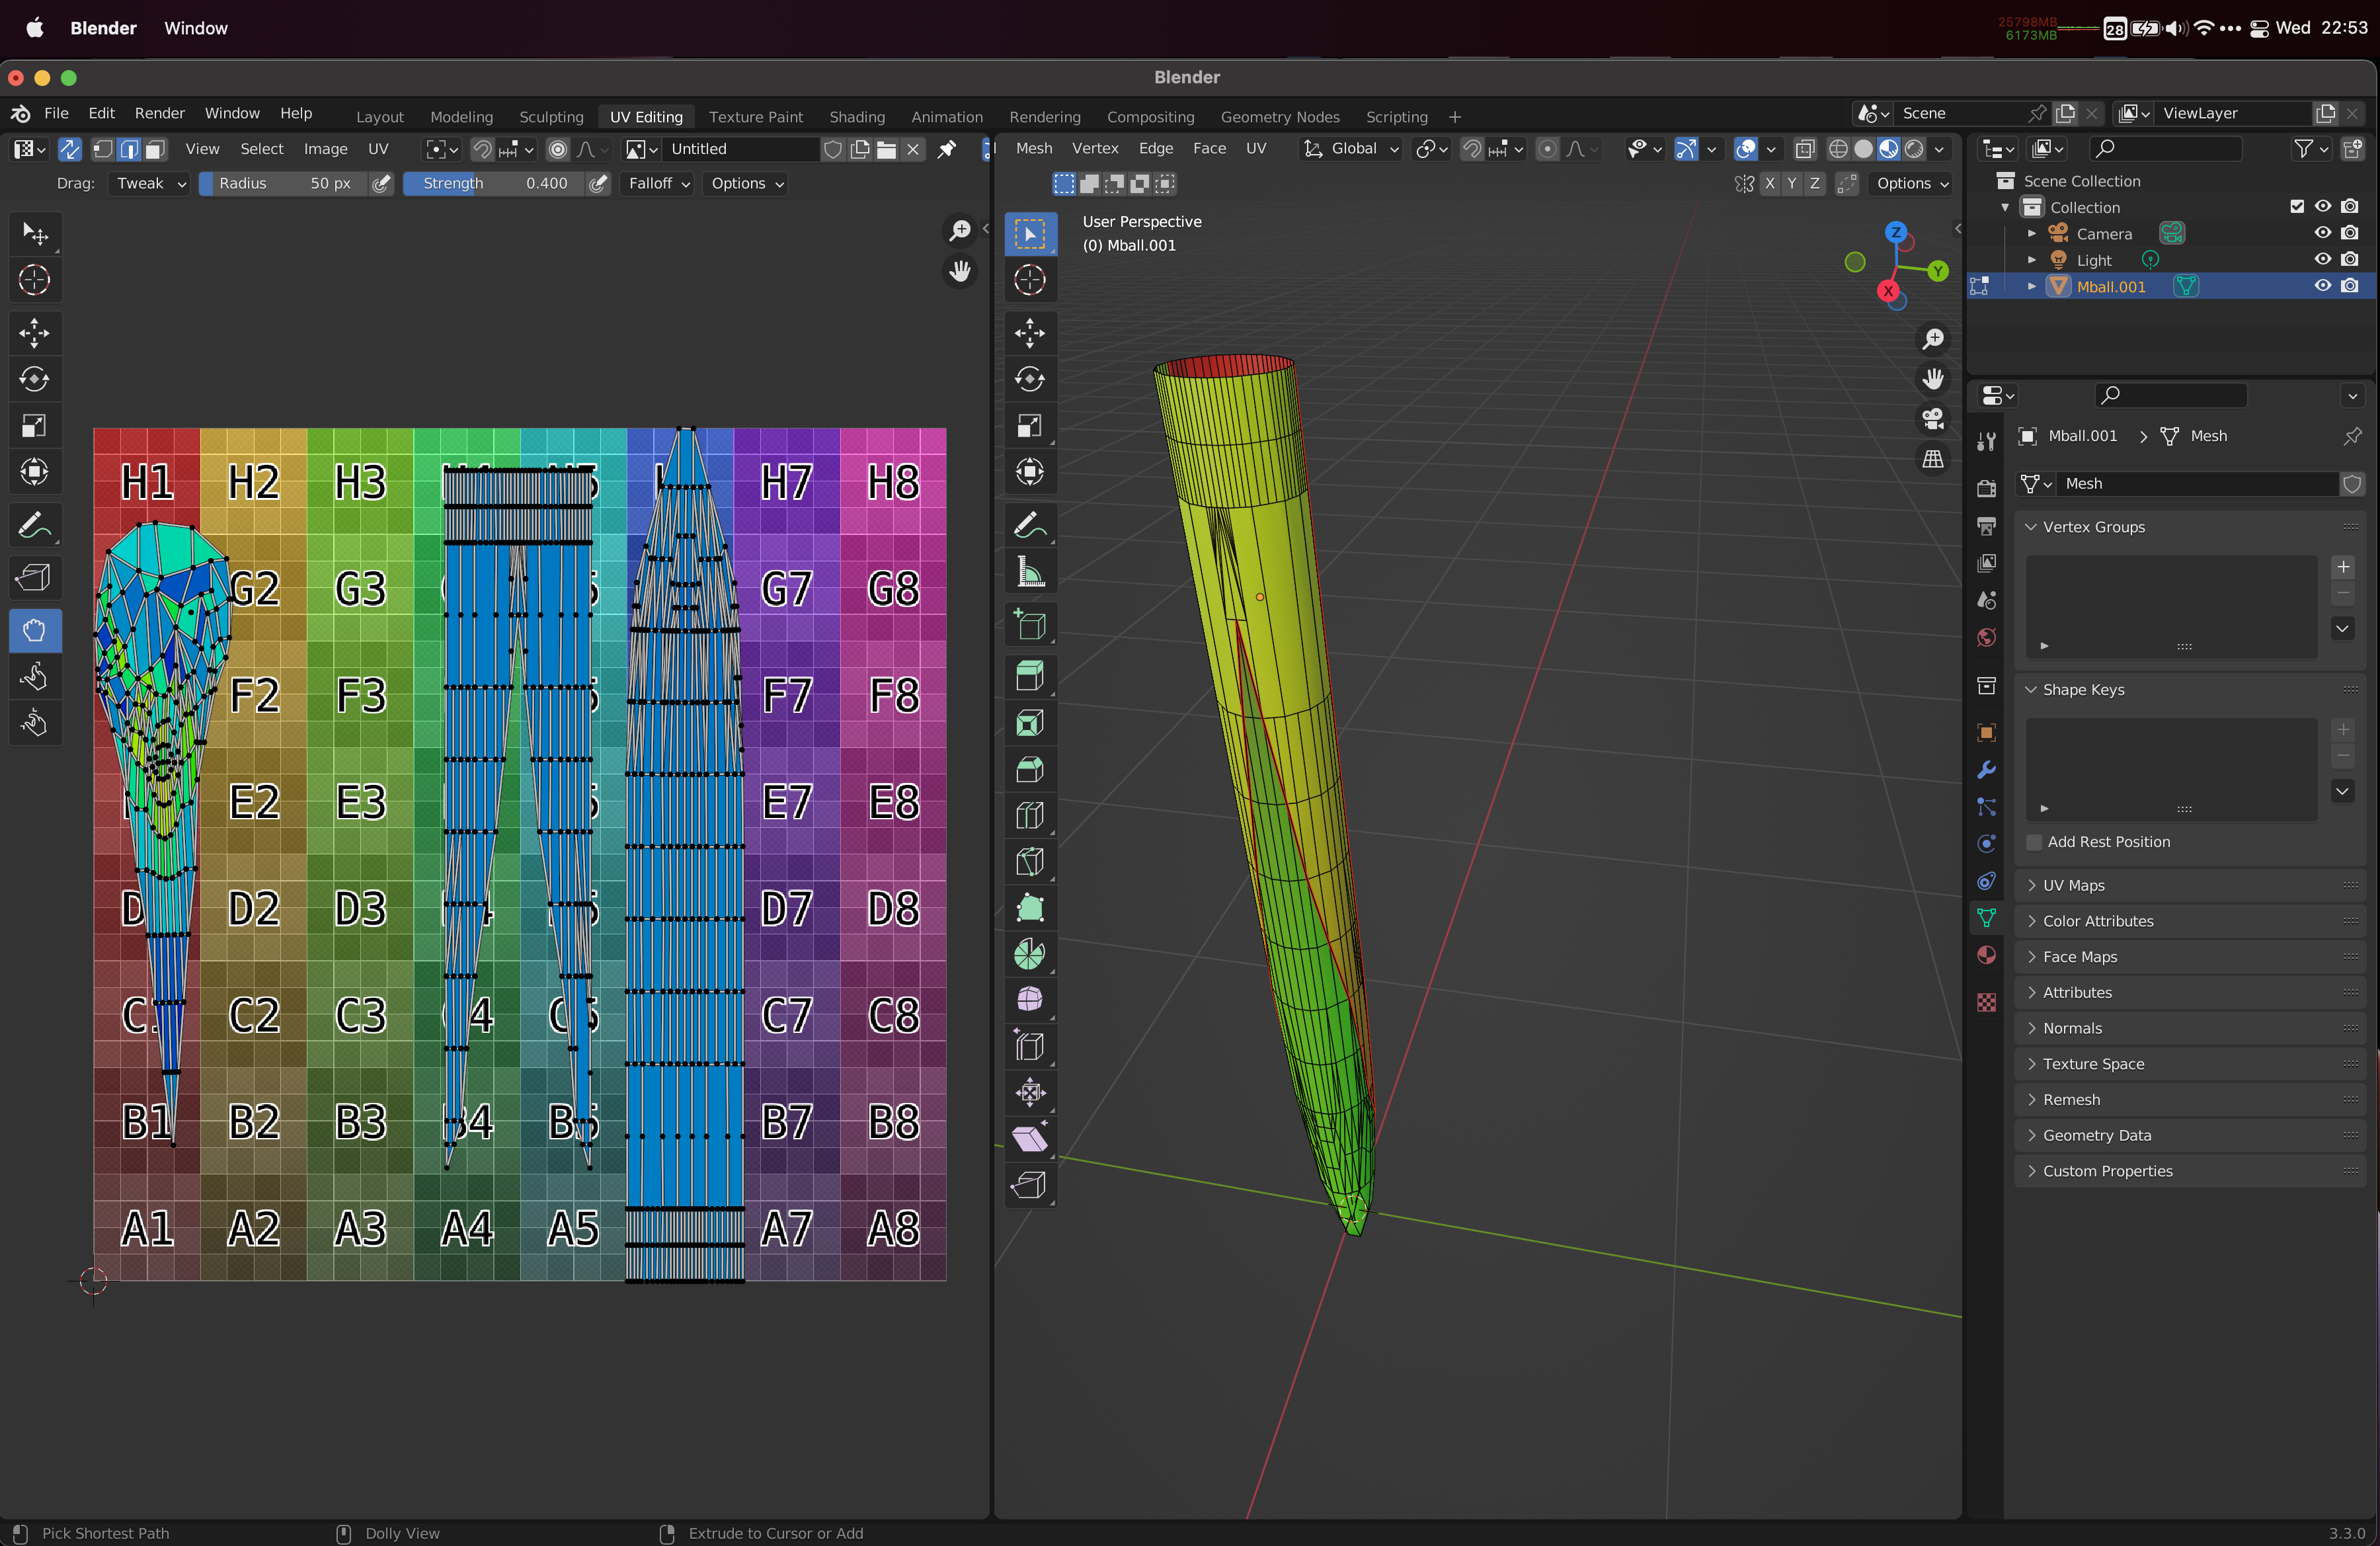
You should now be able to select something (vertex, edge, face, anything) on the UV plane to the left, and use L to select an entire connected component. You can then maneuver this around the UV plane (use G to move, or R to rotate, moving the mouse to actually move and rotate).
Also helpful is to go, in the left hand (UV plane) panel, to the Overlay button and select the Display Stretch option. For things like leather work, it’s probably more helpful to use the Area display mode than the Angle display mode - to see where the mesh is stretched out the most.

You can also at this stage in the left hand panel go to UV -> Minimize Stretch to see if it can come up with a better mapping of the pieces for you. Roll the scroll wheel down as far as possible to relax the mesh as much as you can.
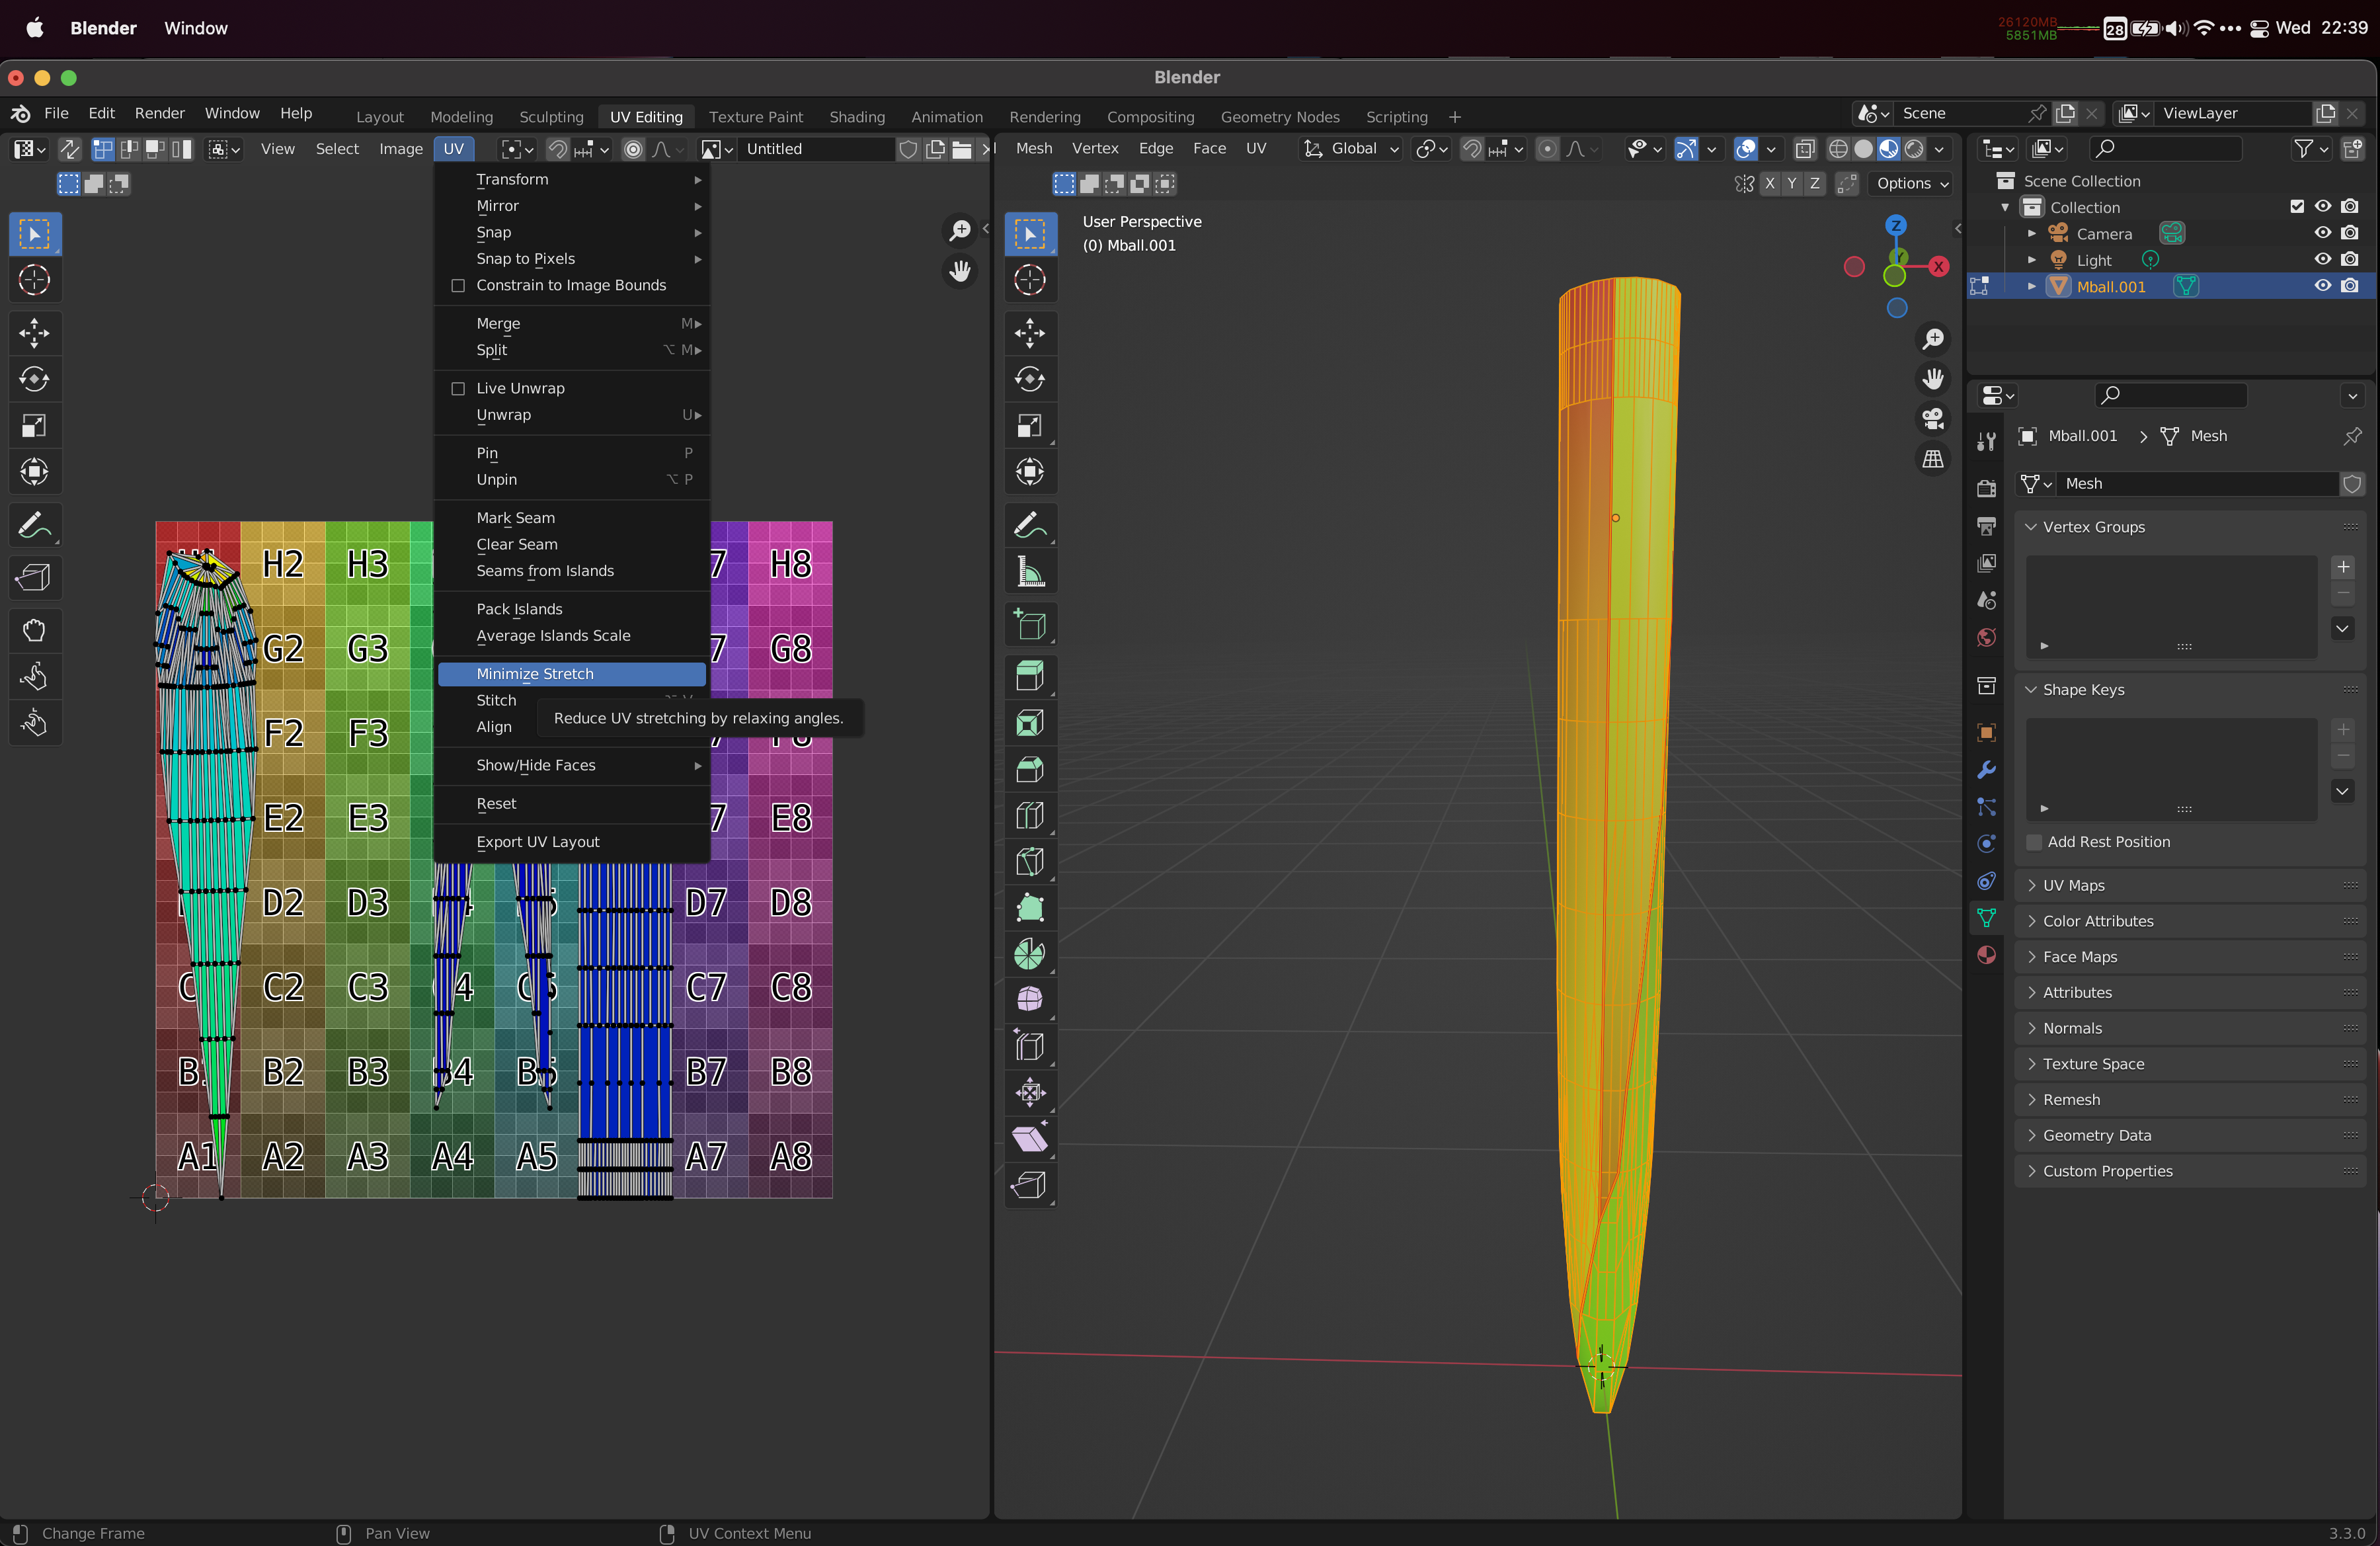
If you are ambitious, you can start using the three hand-shaped tools at the bottom to try to reduce the stretch (get as close to blue as possible), especially for the high-curvature piece to the left. Rescale it (select something, then L for the entire thing, then S and move the mouse to try different scales) and then start moving things around where it’s still not blue. Periodically select the component (with L) and do Minimize Stretch again to see if it gets better. You will have to change the shape yourself – Minimize Stretch only moves the interior pieces around for you.
Once you’re at a state where you are happy with the design, you can export the resulting UV coordinate map (and then use it as a sewing pattern). In the left hand panel, choose UV -> Export UV Layout. In the save file dialog, make sure you select All UVs, and pick a nice export format (such as SVG). Pick directory, filename, and export it.
The resulting SVG you can import into eg Illustrator or something else that you can print from, or instruct laser cutters, or however you want to use the pattern you put together.
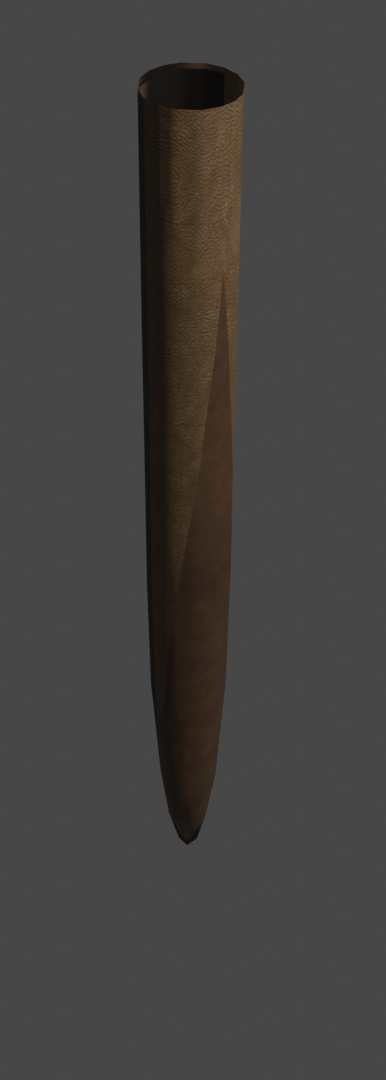
My Blender render of the intended final outcome, with leather textures in different colors to show the composition, can be seen here: